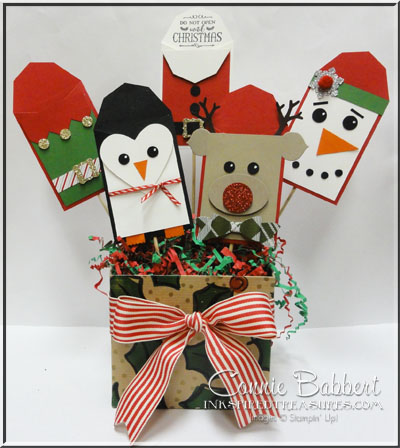
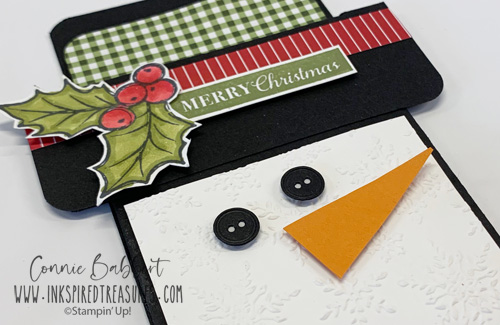
Happy Saturday! This week’s blog hop theme is “Christmas Gift Card Holders”. I’m excited to see what everyone comes up with for this one! I do have several people I give gift cards to and I like to dress them up a little! Since my wrapping is almost always snowman or snowflake themed (along with my Christmas cards!), I went with a snowman gift card holder, too! Isn’t he CUTE?


Stampin’ Details:
- The base is 4 x 10⁻³/4 Basic Black cardstock.
- With 10-3/4″ at top, score at 1-1/2 and 5-1/2
- With 4″ at top of Simply Scored, score at 1/2 and 3-1/2 from top to second score line ** DO NOT SCORE THE 1-1/2″ hat brim portion on each side
- Cut away the long side tabs, clip the tabs, and round the top and bottom with the Detailed Trio Punch.

- Fold as shown. Add Tombow Monoadhesive to the side tabs and fold in, then under hat brim to secure.

- For gift card insert, cut Heartwarming Hugs DSP to 2-3/4 x 6-1/4
- With 6-1/4 at top, score at 1-1/2, fold flap up.
- The insert will slide into the snowman base holding the gift card.
Decorate:
- Face: 2-1/4 x 2-3/4 Whisper White cardstock, emboss with Winter Snow Embossing Folder, add to base.
- Eyes: 2 small buttons from All Dressed Up Dies cut from Basic Black cardstock, add to face with Mini Stampin’ Dimensionals
- Nose: 3/4 x 1-1/2, cut a triangle and add to face with Mini Stampin’ Dimensionals
- Hat trim: 1/2 x 4 Heartwarming Hugs striped DSP, adhere to hat brim
- Whisper White c/s: 3 x 3, stamp holly leaves from Christmas Gleaming stamp set with Memento Black Ink, color with Old Olive and Real Red Stampin’ Blends, hand-cut. Stamp greeting with Old Olive Ink, hand-cut. Adhere both to hat brim with Stampin’ Dimensionals
- Add Wink of Stella to holly.
Isn’t that just the CUTEST gift card holder? I think so! OK, next up on our blog hop is our Create with Connie and Mary website, then on to creative Mary Brown, or head backwards to see Brenda Nelson’s fabulous card and see what everyone did with this challenge!


Use HOST CODE: EDUZSVGT
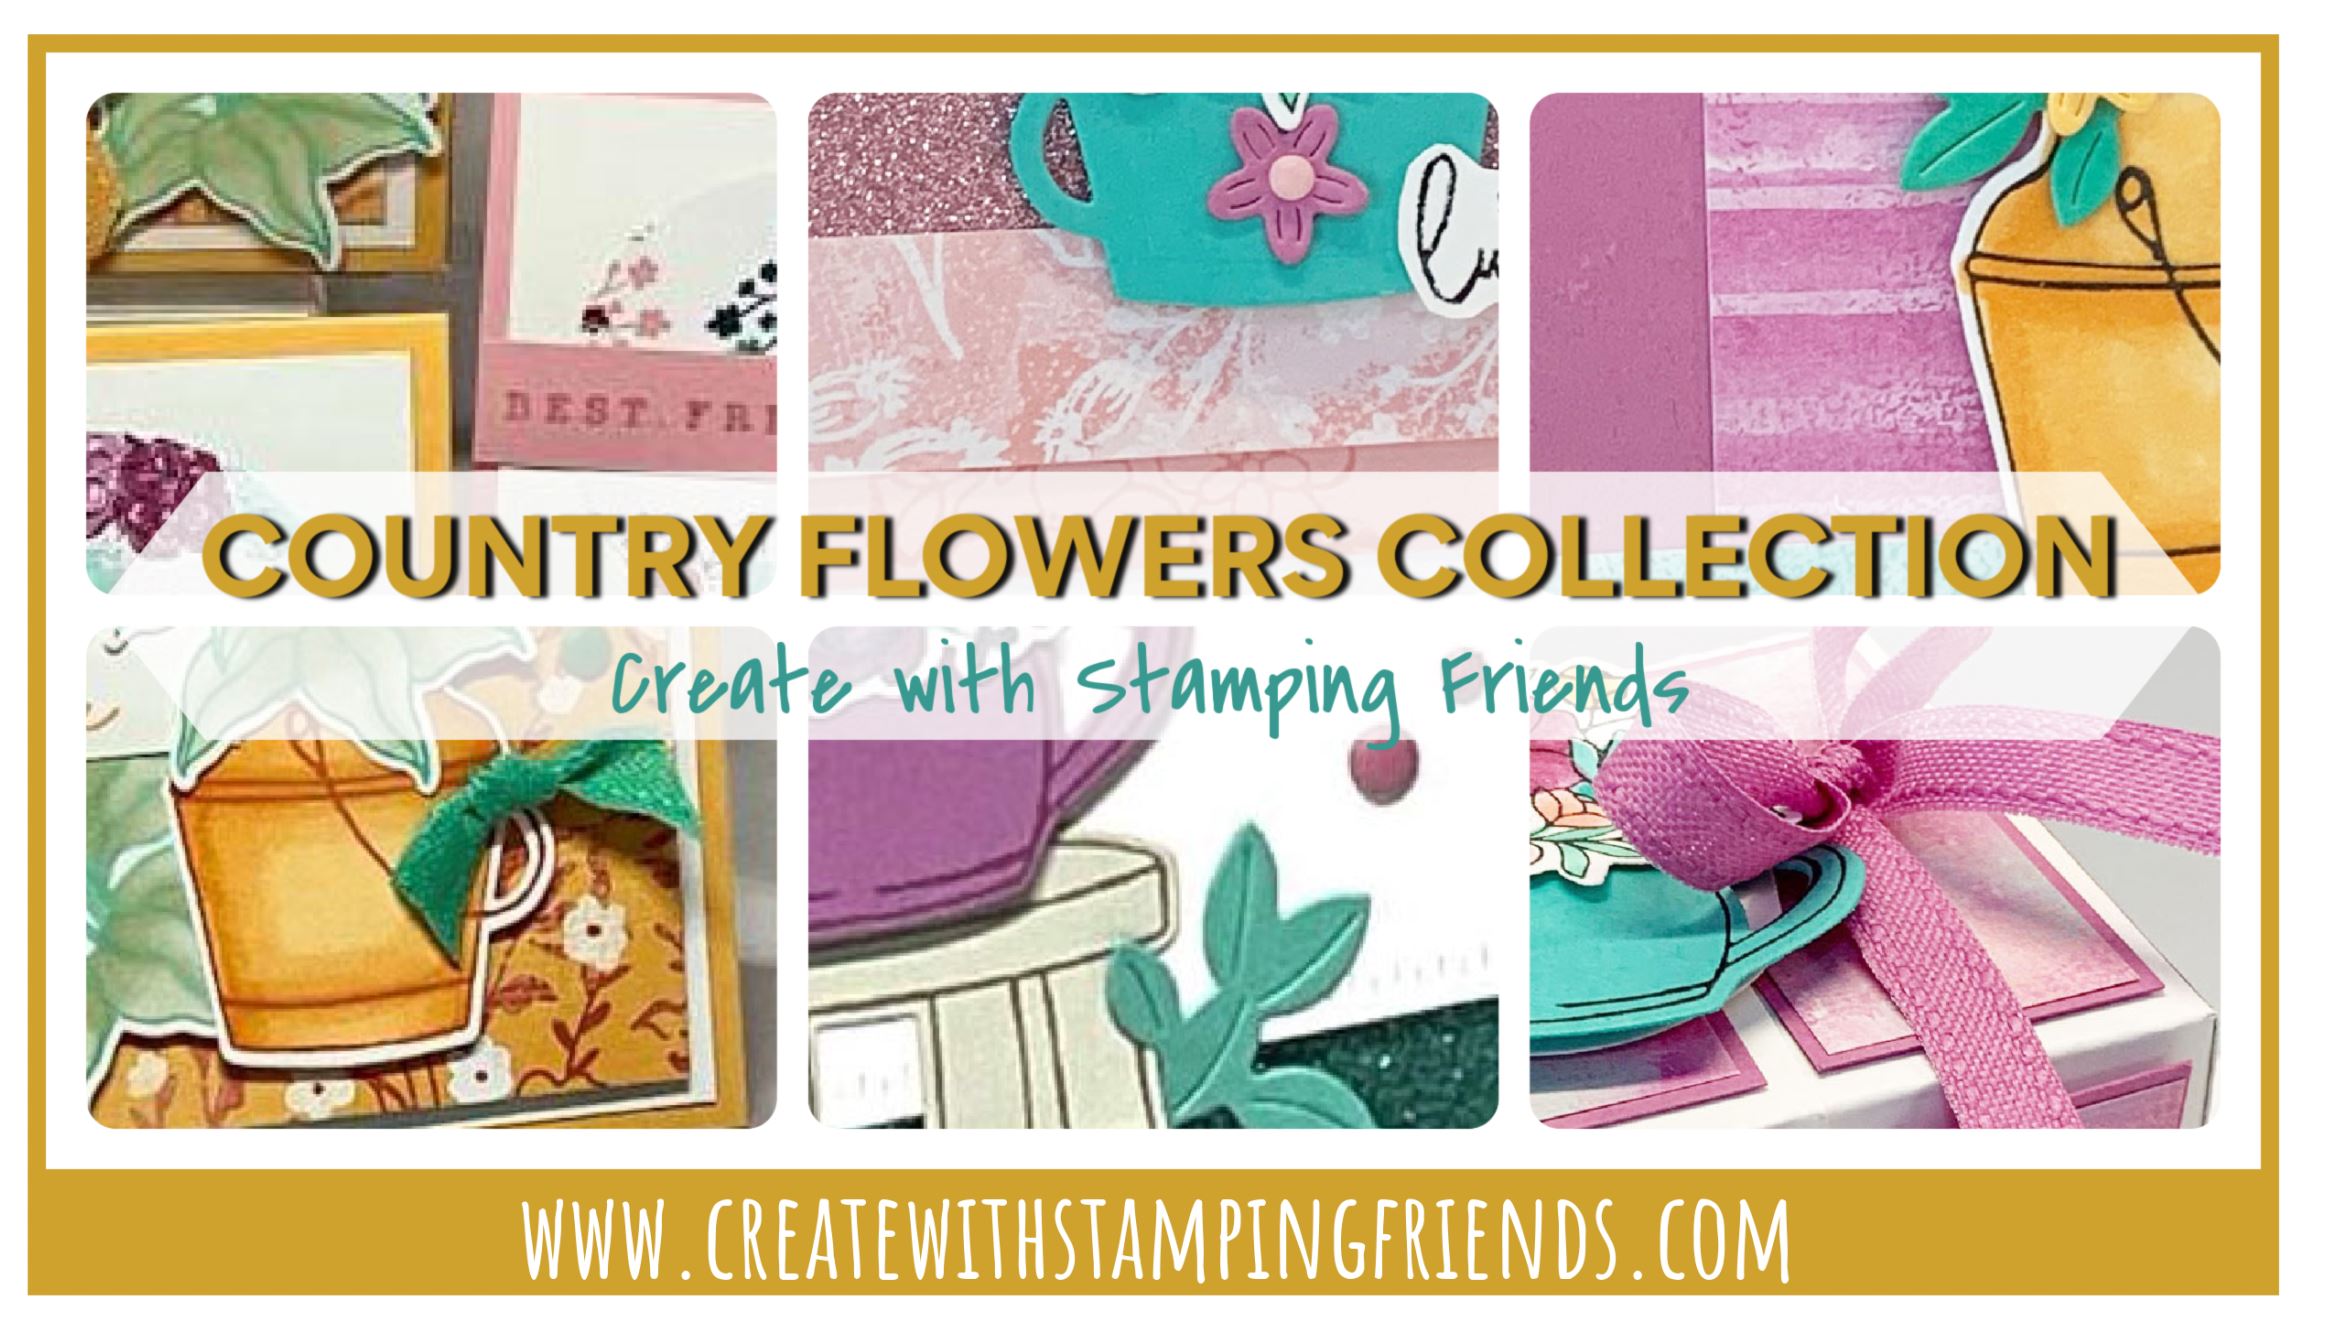
Spend the day at your local flower mart or create your own beautiful flower bouquets using Stampin' Up!'s new COUNTRY FLOWERS STAMP SET AND DIES, available for demos to preorder now and customers beginning May 1st! Fill the vases, pail and other containers with bold blooms on your cards or projects and add a beautiful script greeting! We've combined the COUNTRY FLOWERS BUNDLE with the NEW 2024-26 IN COLORS for some bright, colorful fun! The UNBOUNDED BEAUTY DESIGNER PAPER was a perfect match! Our new Collection includes tutorials for FOUR cards and TWO fun projects for your open houses and catalog launches! See more details HERE!
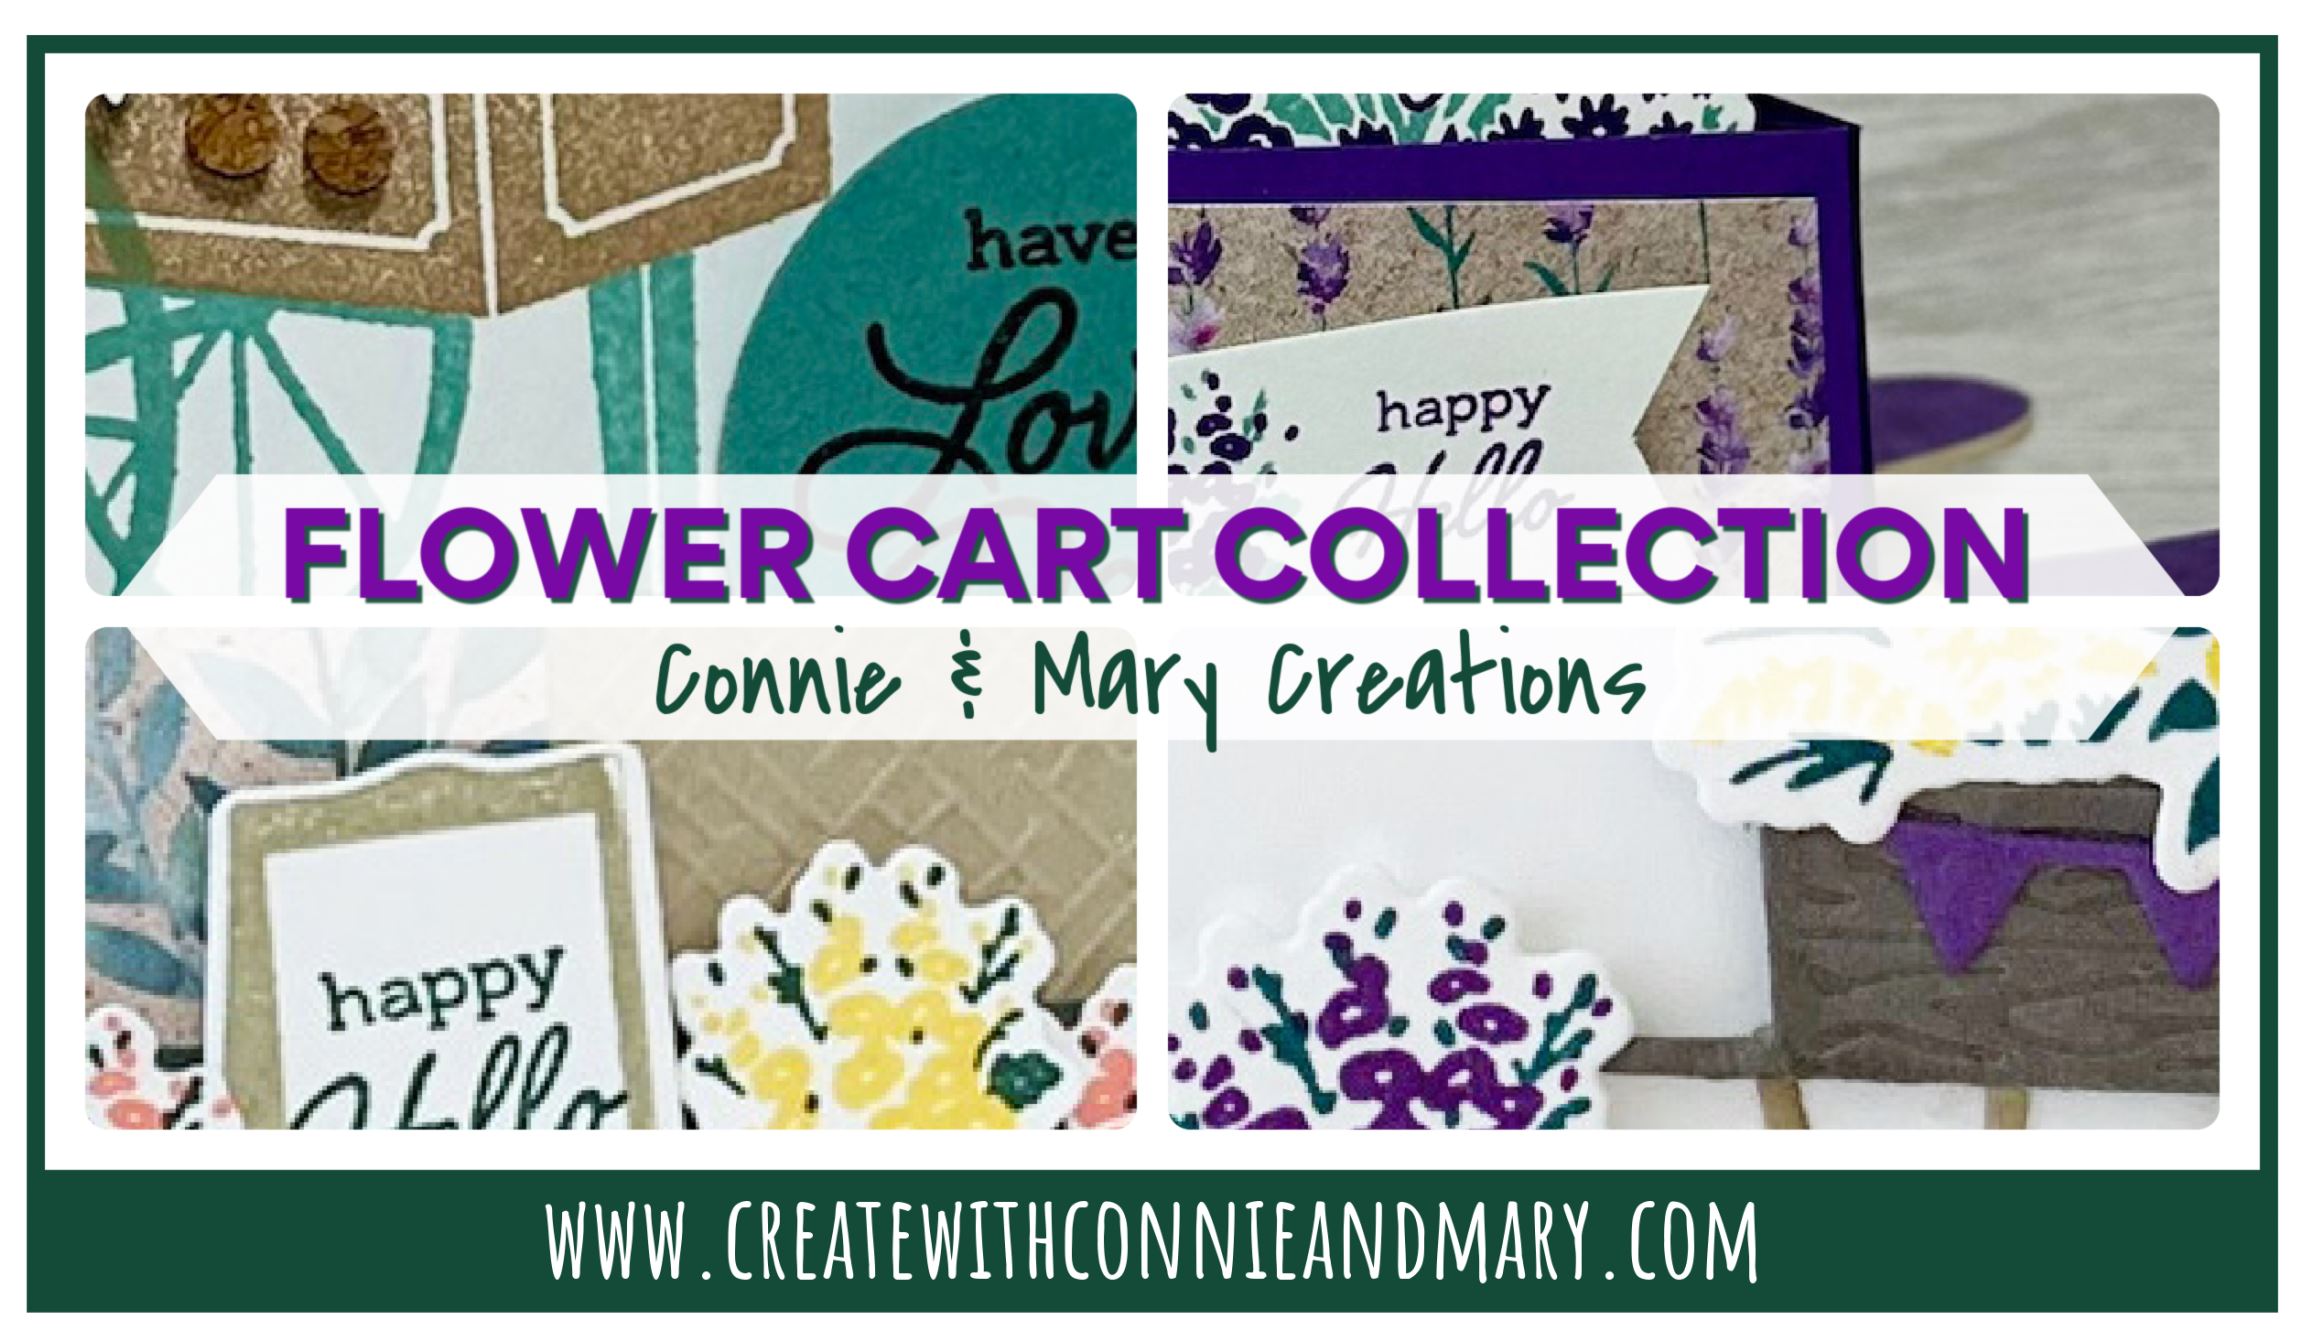
We were excited to see that the FLOWER CART BUNDLE will carry over to the new 2024-25 Annual Catalog! Build a scene by stamping bright and colorful flowers and filling the cute flower cart. Use the FLOWER CART STAMPS to stamp the cart and canopy or the detailed FLOWER CART DIES to cut the pieces easily and quickly! We've used the beautiful PERENNIAL LAVENDER DESIGNER PAPER to enhance this FLOWER CART BUNDLE! Our new Collection includes tutorials for three cards (one a special fold!) and a fun gift project! See more details here!
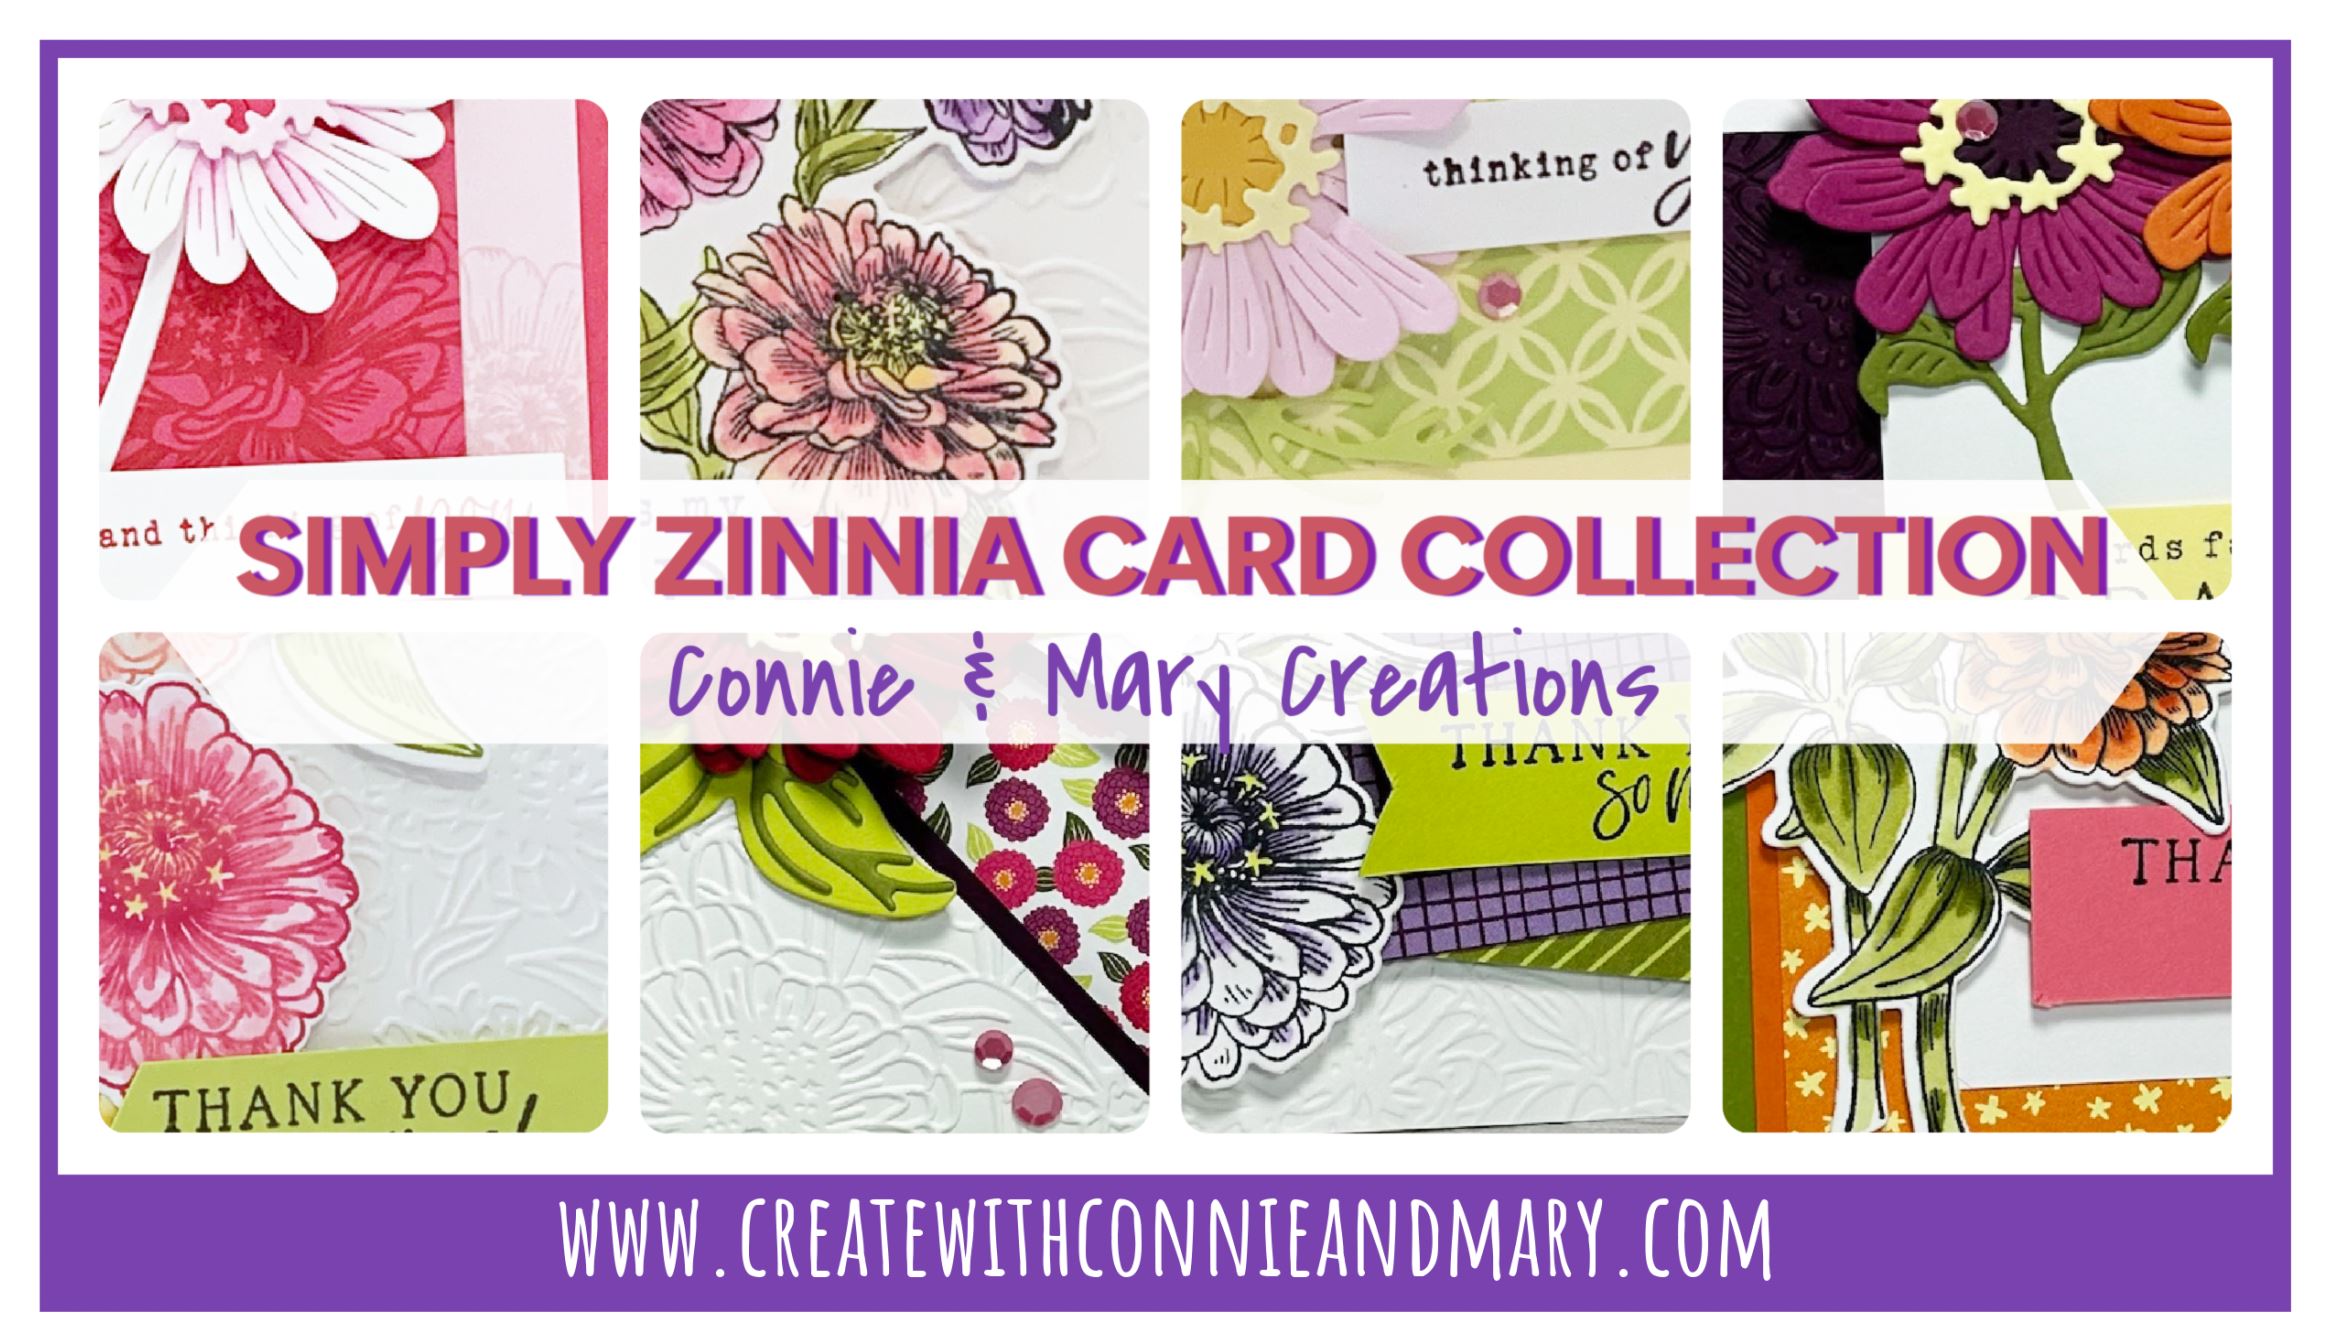
You can never have too many beautiful flowers and greenery in your life, especially ones you can create on paper! If you are like us, you are ready for bright colors! Stampin' Up!'s online exclusive SIMPLY ZINNIA BUNDLE has individual and cluster flower stamps to make your craft projects bloom! Or use the flower, stem and leaf SIMPLY ZINNIA DIES to create your own beautiful bouquets with lots of dimension! We've combined the SIMPLY ZINNIA BUNDLE with the bright bold colors in the FLOWERING ZINNIAS DESIGNER PAPER! Our new Collection includes tutorials for EIGHT CARDS to get you started. See more details here!