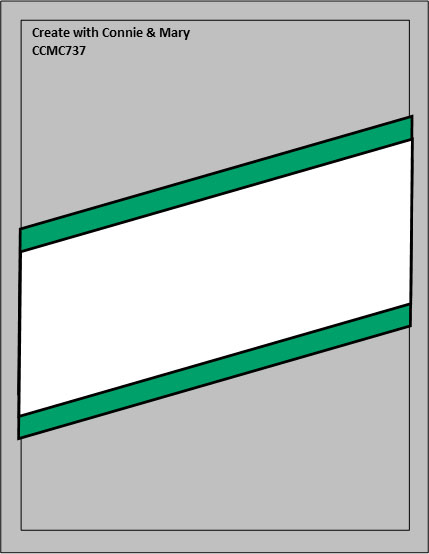
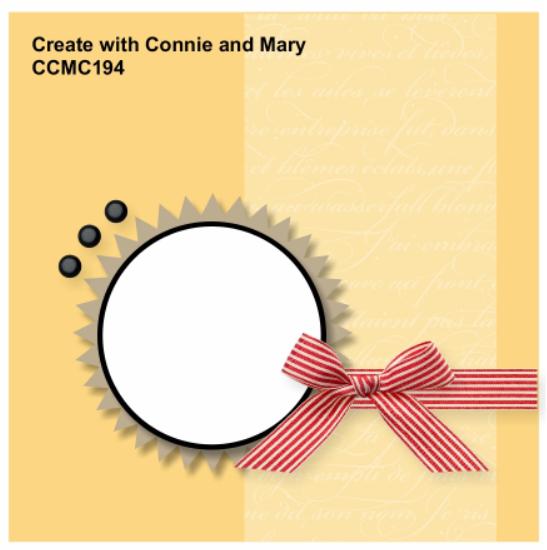
Hello! It’s Thursday and you know that means it is time for a Create with Connie and Mary Thursday Challenge. It’s a fun sketch again this week!
LEAVES OF HOLLY
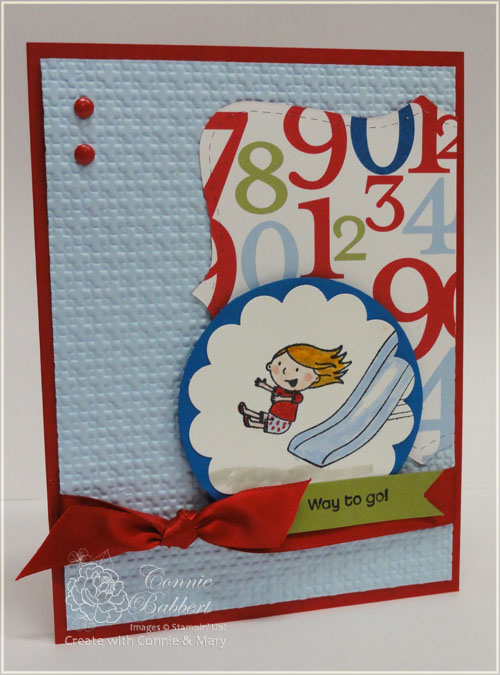
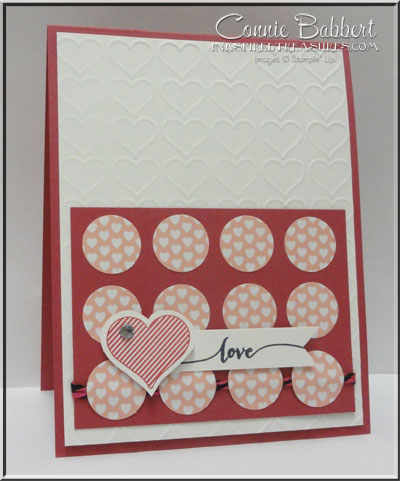
I love the poinsettia prints in the Boughs of Holly Designer Paper and let them do all the work on my card this week! The depth of these prints is so realistic!

Stampin’ Details:
- The base is 4-1/4 x 11 Thick Basic White cardstock, scored at 5-1/2 and folded.
- The top portion is embossed with the Wintry Embossing Folder.
- A 2-1/4 x 5-1/4 piece of Boughs of Holly was cut, then layered on a 2-1/2 x 5-1/4 piece of Mossy Meadow cardstock. It was adhered diagonally across the front of the base card, then trimmed off the sides.
- The greeting from Leaves of Holly stamp set was stamped with Mossy Meadow Ink diagonally.
- A trio of gold Festive Pearls were added to the background.

Quick and easy…but perfect to whip up a bunch for the holiday season! Go check out what the rest of the Challenge Team did with this challenge over on Create with Connie and Mary

Supplies:
Stamps: Leaves of Holly
Ink: Mossy Meadow
Cardstock: Thick Basic White, Mossy Meadow
Accessories: Boughs of Holly Designer Paper, Wintry Embossing Folder, Festive Pearls, Adhesives

Use HOST CODE: EDUZSVGT
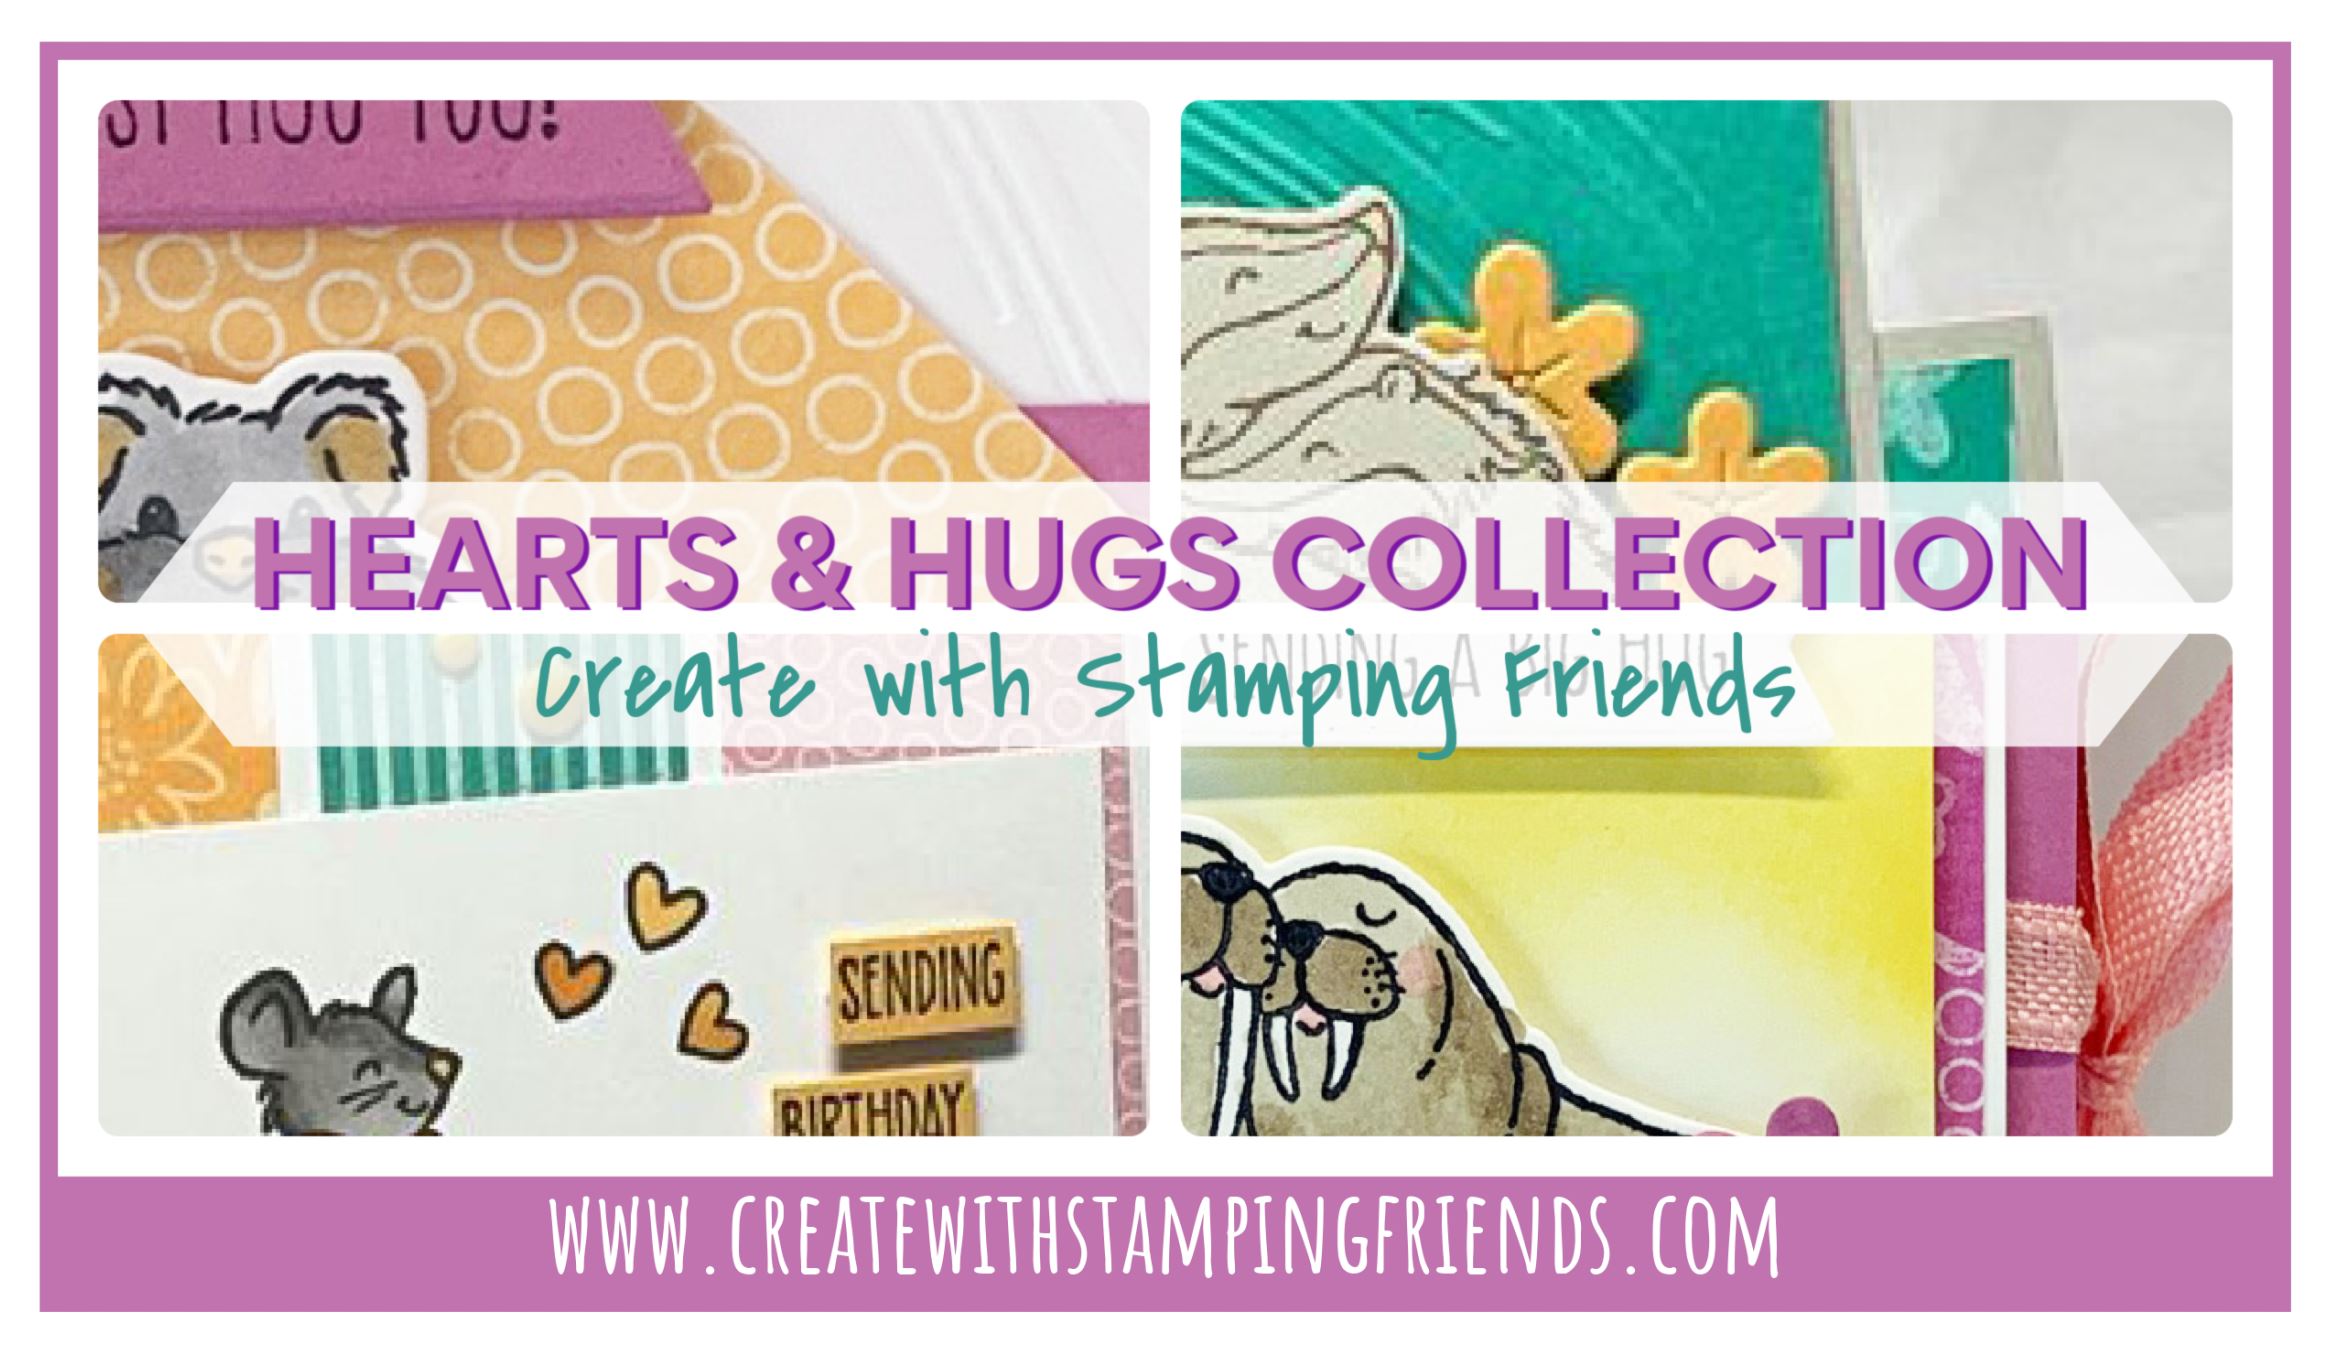
Send some hugs and support to your friends and family with these furry friends images and everyday sentiments! The HEARTS & HUGS STAMP SET and DIES are available for demos to preorder now and customers beginning May 1st! Stamp and cut the cuddly animal images in one solid color or onto a fun piece of Designer Series Paper. Or try a watercoloring technique. Pair them with the flowers, hearts and banner diecuts to complete your look. We've combined the HEARTS & HUGS BUNDLE with the NEW 2024-26 IN COLORS 6x6 DESIGNER PAPER for sending lots of cheer. Our new Collection includes tutorials for THREE cards (one a special fold) and a thoughtful gift project to show someone you care. See more details here!
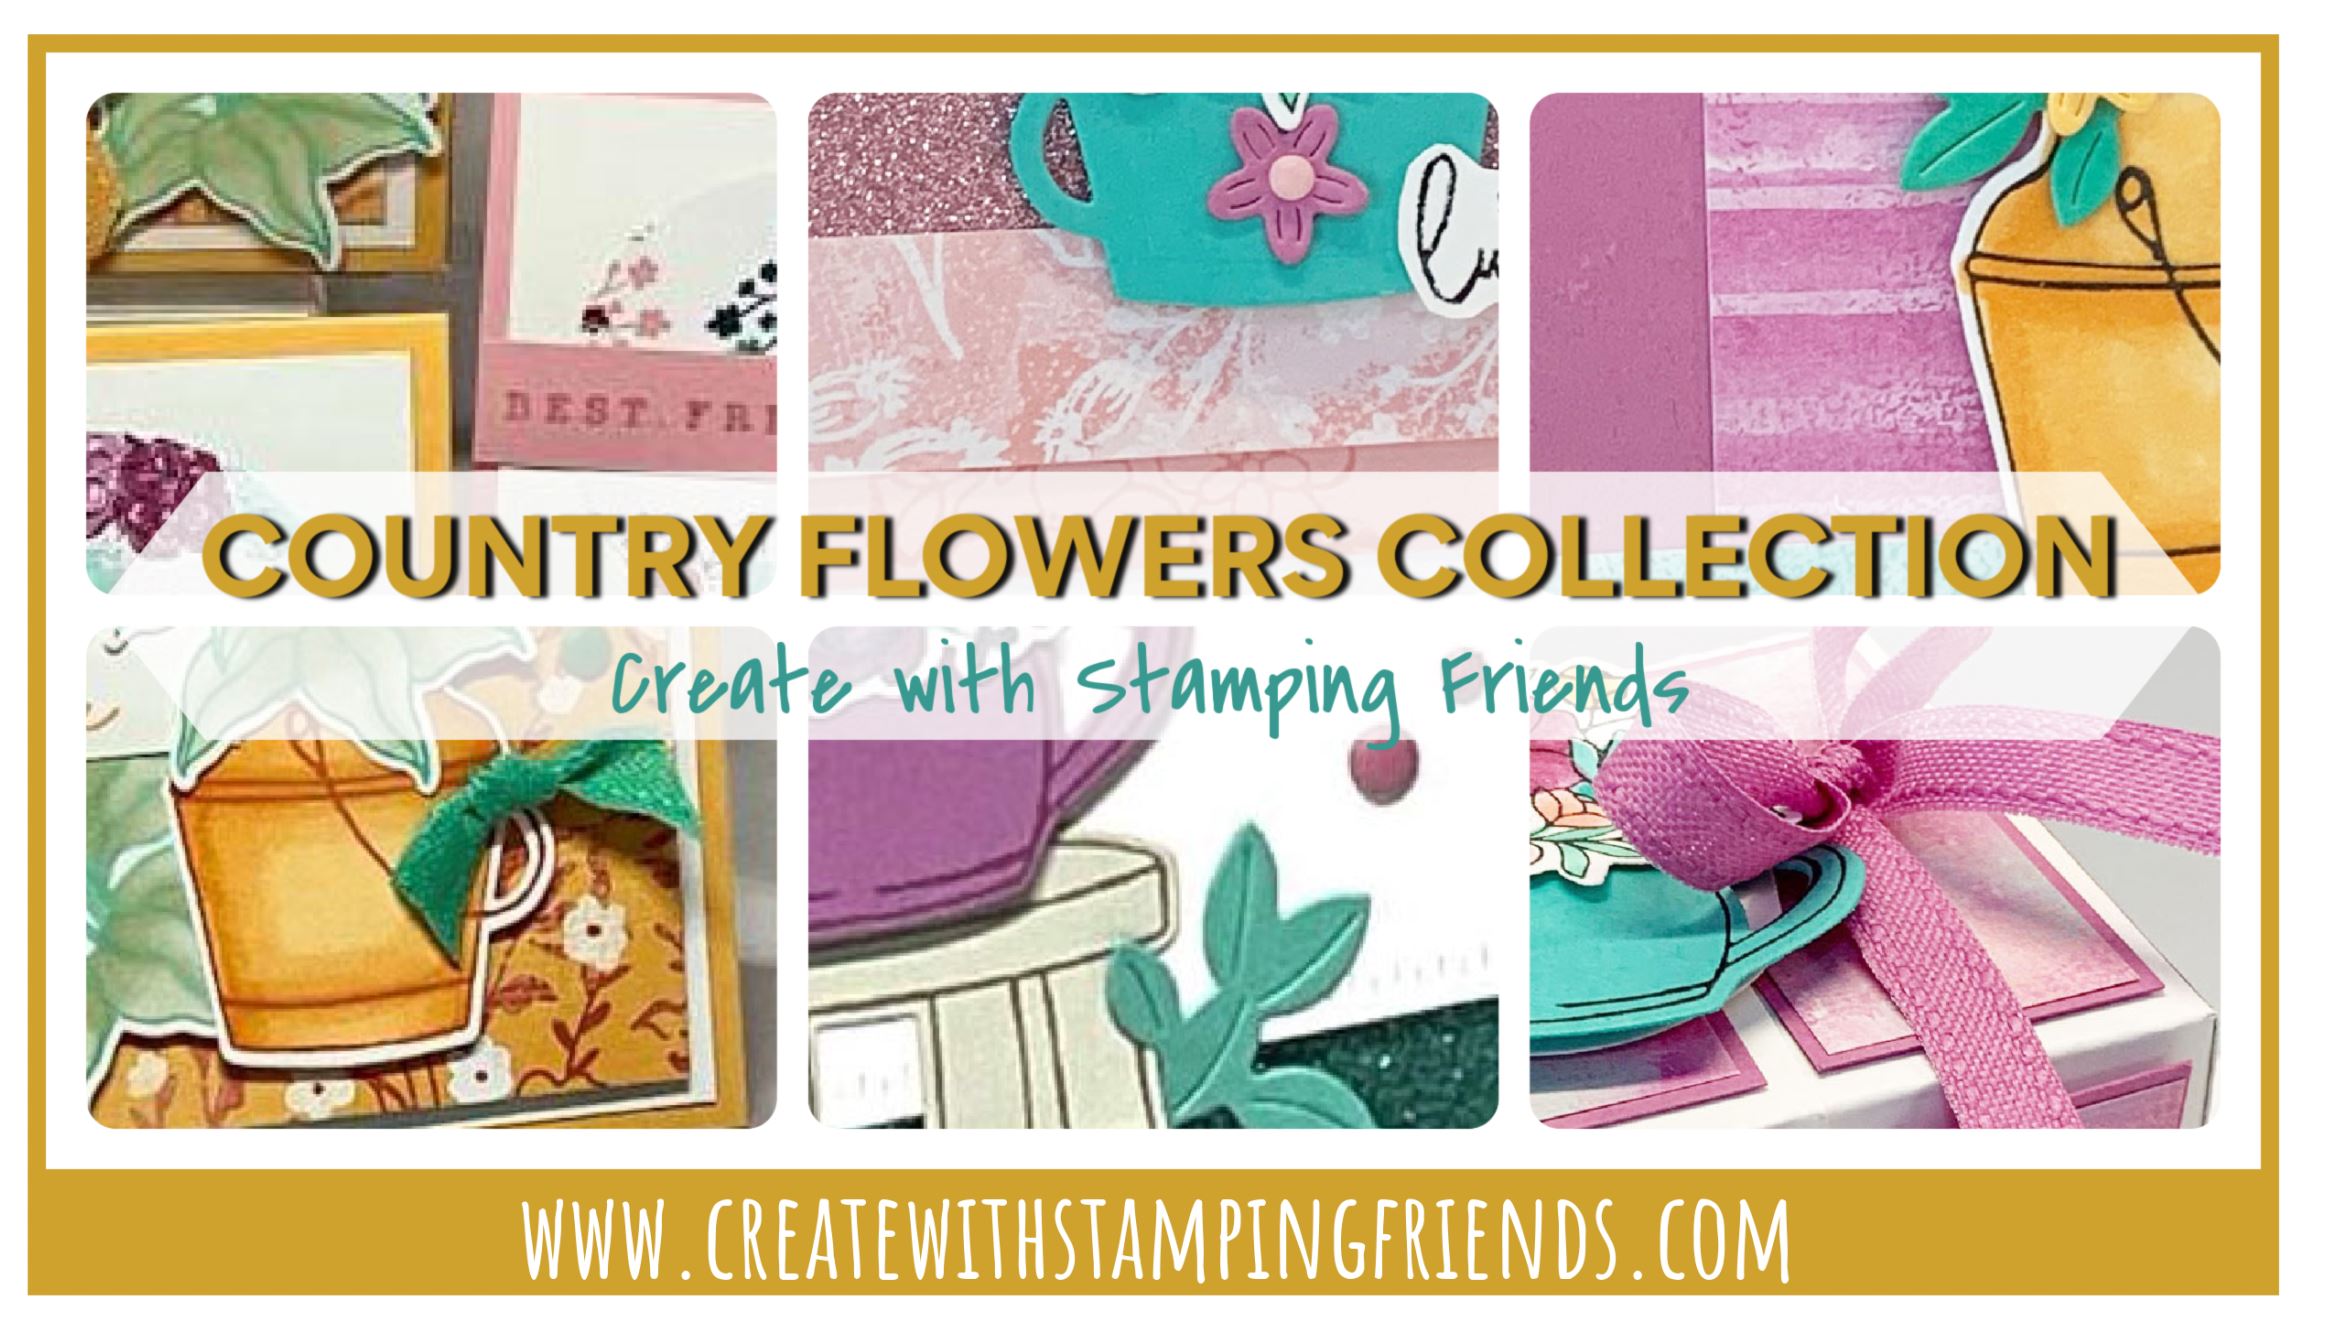
Spend the day at your local flower mart or create your own beautiful flower bouquets using Stampin' Up!'s new COUNTRY FLOWERS STAMP SET AND DIES, available for demos to preorder now and customers beginning May 1st! Fill the vases, pail and other containers with bold blooms on your cards or projects and add a beautiful script greeting! We've combined the COUNTRY FLOWERS BUNDLE with the NEW 2024-26 IN COLORS for some bright, colorful fun! The UNBOUNDED BEAUTY DESIGNER PAPER was a perfect match! Our new Collection includes tutorials for FOUR cards and TWO fun projects for your open houses and catalog launches! See more details HERE!
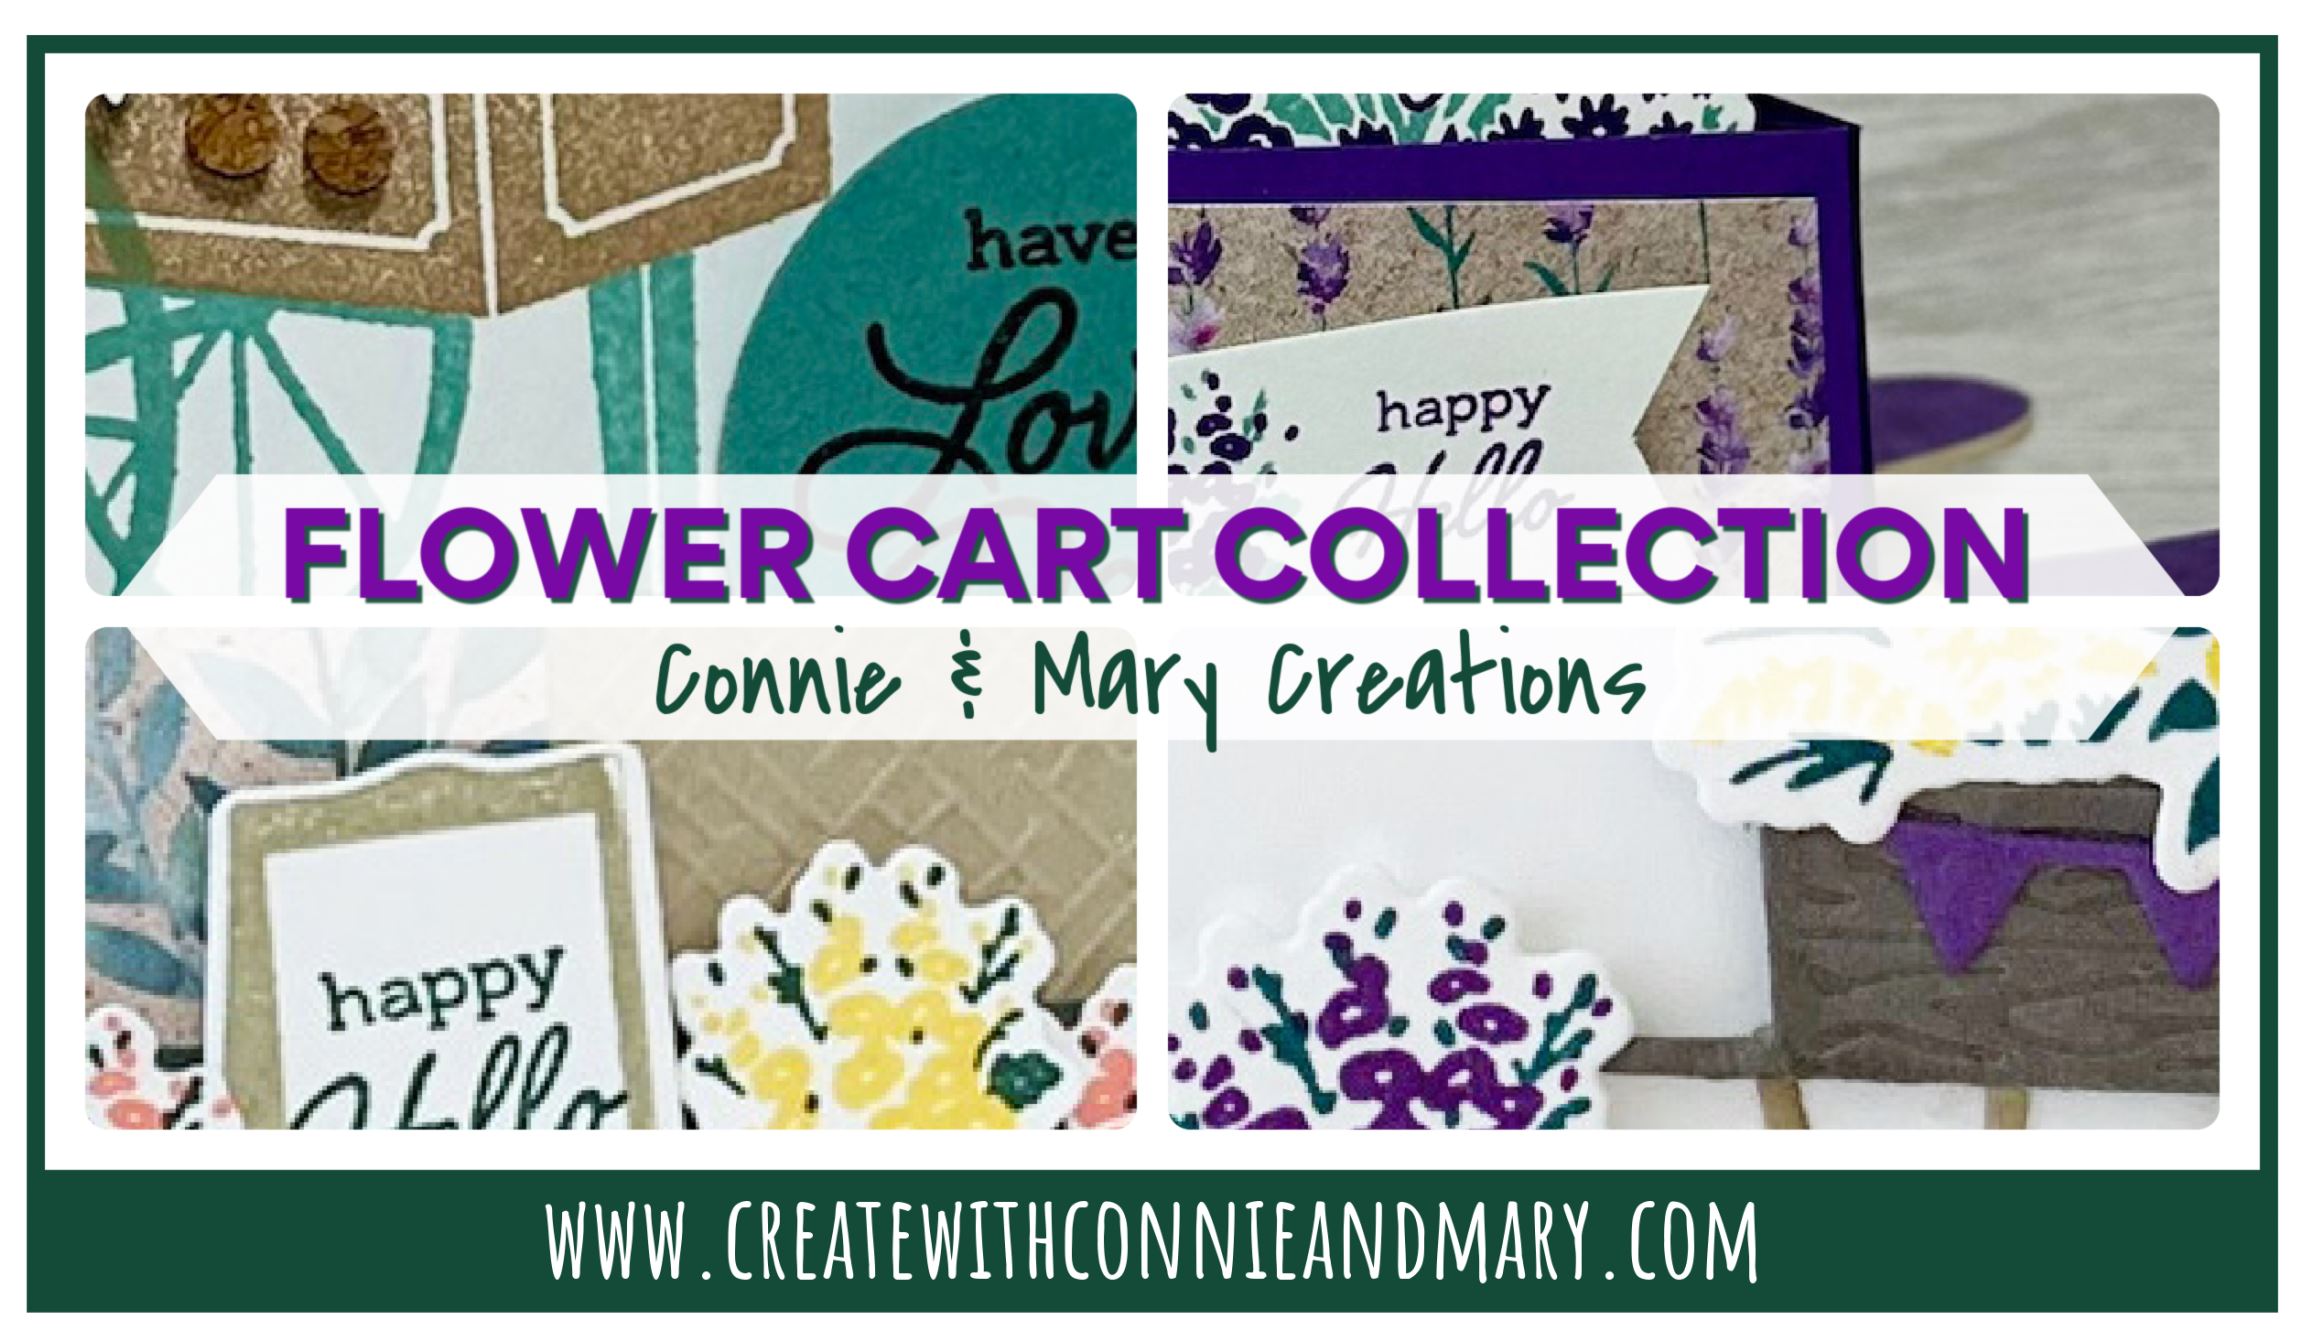
We were excited to see that the FLOWER CART BUNDLE will carry over to the new 2024-25 Annual Catalog! Build a scene by stamping bright and colorful flowers and filling the cute flower cart. Use the FLOWER CART STAMPS to stamp the cart and canopy or the detailed FLOWER CART DIES to cut the pieces easily and quickly! We've used the beautiful PERENNIAL LAVENDER DESIGNER PAPER to enhance this FLOWER CART BUNDLE! Our new Collection includes tutorials for three cards (one a special fold!) and a fun gift project! See more details here!
 We just launched our Create with Connie and Mary February Mini Session…and it’s not too late to sign up! Here is some information and a sneak peek for you! You can sign up over on


.png)