Hello everyone! The theme for this week’s Create with Connie and Mary’s Saturday Blog Hop is “Don’t Box Me In”. We are doing a little box favor this week! Will be fun to see what everyone has done! I went with a triangle box that I found online and thought it was so cute to hold a few pieces of candy, or small gift! It has the NEW Love What You Do stamp set and Share What You Love Designer Paper…love it!

Stampin’ Details:
- The base of the Triangle box is 7 x 9-3/4 Rich Razzleberry cardstock.
- With long side at top of Simply Scored, score at 2-3/8, 5-7/8 and 8-5/8.
- With short side at top, score at 2-1/8 and 4-7/8.
- Pencil mark the long edge midway at 1-3/4.
- Cut away the four corners (the short tab PLUS the next area on two corners).
- From the pencil mark, use scoring tool to score a diagonal line from mark to inside corner.
- Crease all the score lines. Then on the tabs with the pencil marks, trim parallel to the score line…leaving approx 3/8″ for tabs on the side to close the box.
- Decorate with 1 x 2-1/2, 2-1/8 x 2-5/8 and 2-1/2 x 2-5/8 pieces of Old Olive cardstock.
- Top with 7/8 x 2-1/8, 2 x 2-1/2 and 2-1/8 x 2-1/2 pieces of Share What You Love Designer Paper.
- Stamp Love What You Do with Old Olive on Whisper White cardstock, then punch with the Tailored Tag Punch, trim away approx. 1/8 from each angle. Layer on another Tailored Tag punched from Old Olive cardstock. Add to front with Stampin’ Dimensionals towards bottom of tag. The top flap will fold down under the tag to close.
- Cut out a small portion of the flower from DSP and add to front with Stampin’ Dimensionals.
Those directions are probably as clear as mud, so I’ll try to make a template when I get a chance.
OK…make sure to check out the rest of the Design Team’s creations by continuing on with the blog hop…they will have some wonderful ideas! Next up is our Create with Connie & Mary website and then Mary Brown and her creative design!


Create wonderful dimensional poinsettias in a variety of sizes with the PRETTY POINSETTIA BUNDLE! The dies cut and emboss at the same time for lots of detail and texture. The coordinating stamp images add fun seasonal greetings, sprigs and other festive touches to your cards and projects. We've combined the PRETTY POINSETTIA BUNDLE and the A STITCHED SEASON 12x12 DESIGNER PAPER for a traditional holiday look you'll love! You'll get step-by-step tutorials for SIX projects...FOUR cards and TWO favors in our PRETTY POINSETTIA COLLECTION! See more details HERE!
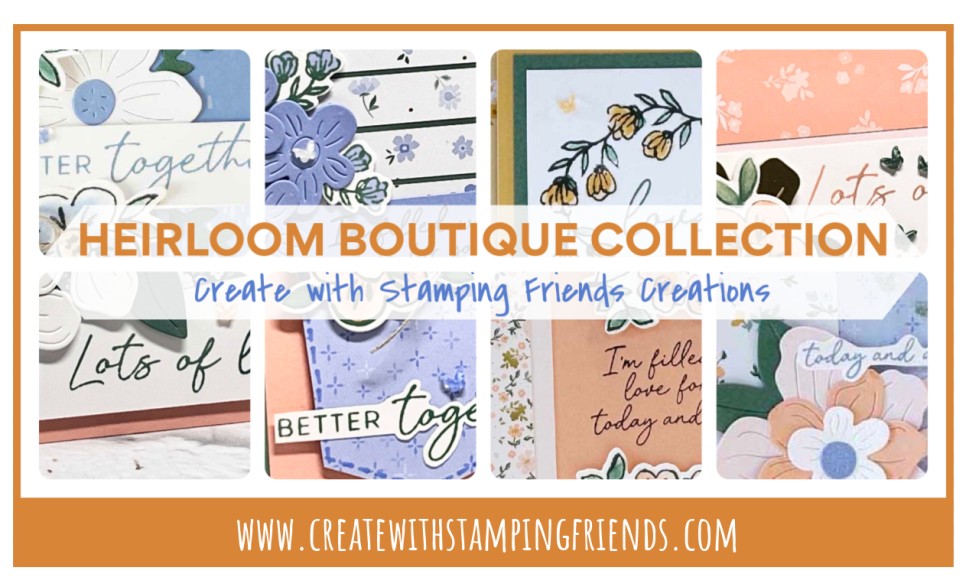
Bring your most meaningful memories to life with the HEIRLOOM BOUTIQUE BUNDLE. You’ll love how the coordinating stamps and dies add delicate florals, layered details, and heartfelt sentiments to your cards, scrapbook pages, and handmade gifts. These timeless designs will help you turn every project into a keepsake to share and cherish. We've combined the HEIRLOOM BOUTIQUE BUNDLE and the BLOOMS BOUTIQUE 12x12 DESIGNER PAPER for a soft artistic look! You'll get EIGHT step-by-step tutorials for EIGHT cards in our HEIRLOOM BOUTIQUE COLLECTION! See more details HERE!
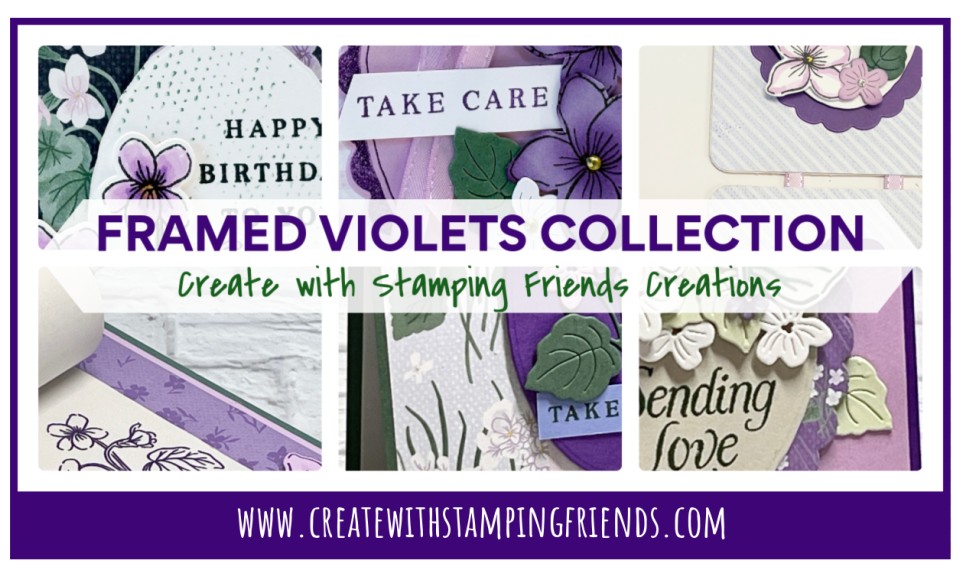
Stamp a bunch of violets quickly with the line-drawn images in Stampin' Up!'s FRAMED VIOLETS BUNDLE (available for customers beginning July 1st). Layer them together easily and add a die-cut oval, some accent florals and leaves for extra texture and subtle details. Everyday greetings give a finished level of polish. We've combined the FRAMED VIOLETS BUNDLE and the VIOLET DREAMS 12x12 DESIGNER PAPER for an eye-catching cohesive look! You'll get SIX step-by-step tutorials for FOUR regular cards and TWO small 3D projects in our FRAMED VIOLETS COLLECTION! See more details HERE!

Leave a Reply