
Happy Monday! It’s time for our Create with Connie and Mary Inspiration Monday challenge! This week we have a fun picture of Valentine robots!
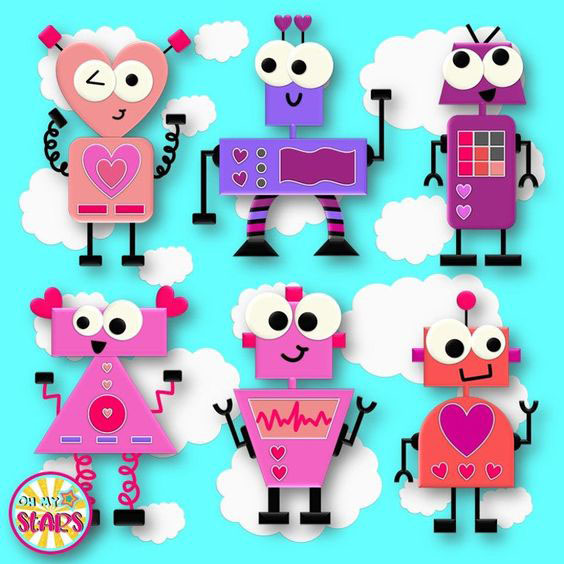
ROBOT PUNCH ART
Mary tried to trick me. I hadn’t purchased the cute little robot set in the mini catalog yet…been debating on getting it for my grandkids’ Valentines. But then I looked closer and thought I could do some robot punch art and get the look of the Inspiration Challenge! This little girl robot is for my granddaughter, Quinn!
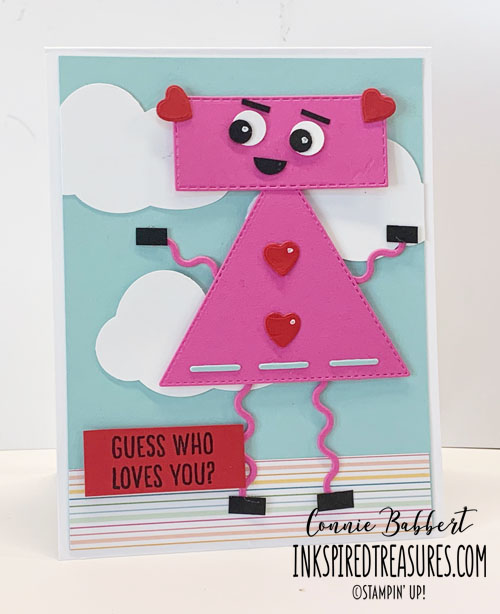
Stampin’ Details:
-
- The base is 4-1/4 x 11 Thick Basic White cardstock, scored at 5-1/2 and folded.
- On top is a 4 x 5-1/4 layer of Pool Party cardstock.
- Three clouds were punched with the Cloud Punch from Basic White Cardstock and added to the background.
- A 1 x 4 piece of Sunshine & Rainbows DSP was added along the bottom.
- The body of my robot is the Stitched Triangles (I just got these and can’t wait to use them more!), the head is a Stitched Rectangle, and the legs/arms from Hippo & Friends Dies. All were cut from Magenta Madness cardstock, adhered and added to the front of the card.
- The hearts were cut using the row of hearts die in the Sweet Heart Dies from Real Red cardstock and were added to her body and for her ears with Mini Glue Dots.
- The narrow slits were cut with the Hippo & Friends Dies from Pool Party cardstock and added along the bottom of her body.
- The hands/feet were 1/8″ strips of Basic Black cardstock added to the front.
- The eyes are 3/8″ Circles punched from Basic White cardstock and 1/4″ Circles punched from Basic Black cardstock. The mouth is half of the 1/4″ Circle. All were added with Mini Glue Dots to her head. Tiny slivers of Basic Black cardstock were used for her eyebrows.
- The White Chalk Pen was used for highlights in her eyes and on the heart buttons.
- The greeting from Banner Year was stamped with Memento Black Ink on a 3/4 x 1-3/4 piece of Real Red cardstock and added to the front with Stampin’ Dimensionals.
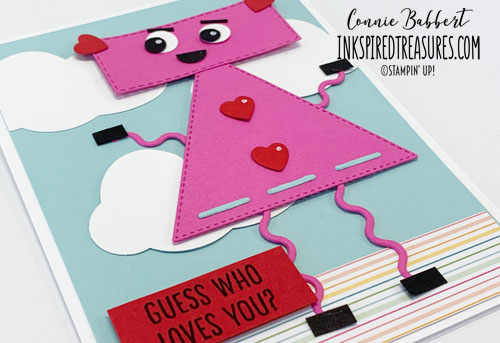
Isn’t this the CUTEST punch art robot? I was jumping up and down after I finished it because I was SO excited! I can’t wait to duplicate some of the others, but I still may get that Nuts & Bolts stamp set for the greetings! OK…check out what Mary did with the Inspiration Monday Challenge over on Create with Connie and Mary!


Create the feel of a nature walk through the winter woods with Stampin' Up! FROSTED PINECONES BUNDLE! Stamp the pinecone and then add textured details using the FROSTED PINECONES DECORATIVE MASKS or cut the detailed shapes with the FROSTED PINECONES DIES. Add one of the heartfelt winter sentiments to finish it off. We've paired the FROSTED PINECONES BUNDLE with the WHISPERING WOODS 12x12 DESIGNER PAPER. Our FROSTED PINECONES COLLECTION gives you step-by-step tutorials for FOUR cards and TWO small decor ideas for a total of SIX tutorials, all full of seasonal charm. See more details HERE!

Boo! October brings Halloween and the playful images in Stampin' Up!'s WEB OF FUN BUNDLE will create a little spooky fun on your cards, paper crafts, and scrapbook pages! The large greetings and detailed spiders and webs will fill your project space with eerie delights! We've paired the WEB OF FUN BUNDLE with the FRIGHTENING FUN 12x12 DESIGNER PAPER containing even more Halloween patterns and designs! Our WEB OF FUN COLLECTION gives you step-by-step tutorials for FOUR cards and TWO favor ideas for a total of SIX tutorials, all full of festive Halloween charm. See more details HERE!
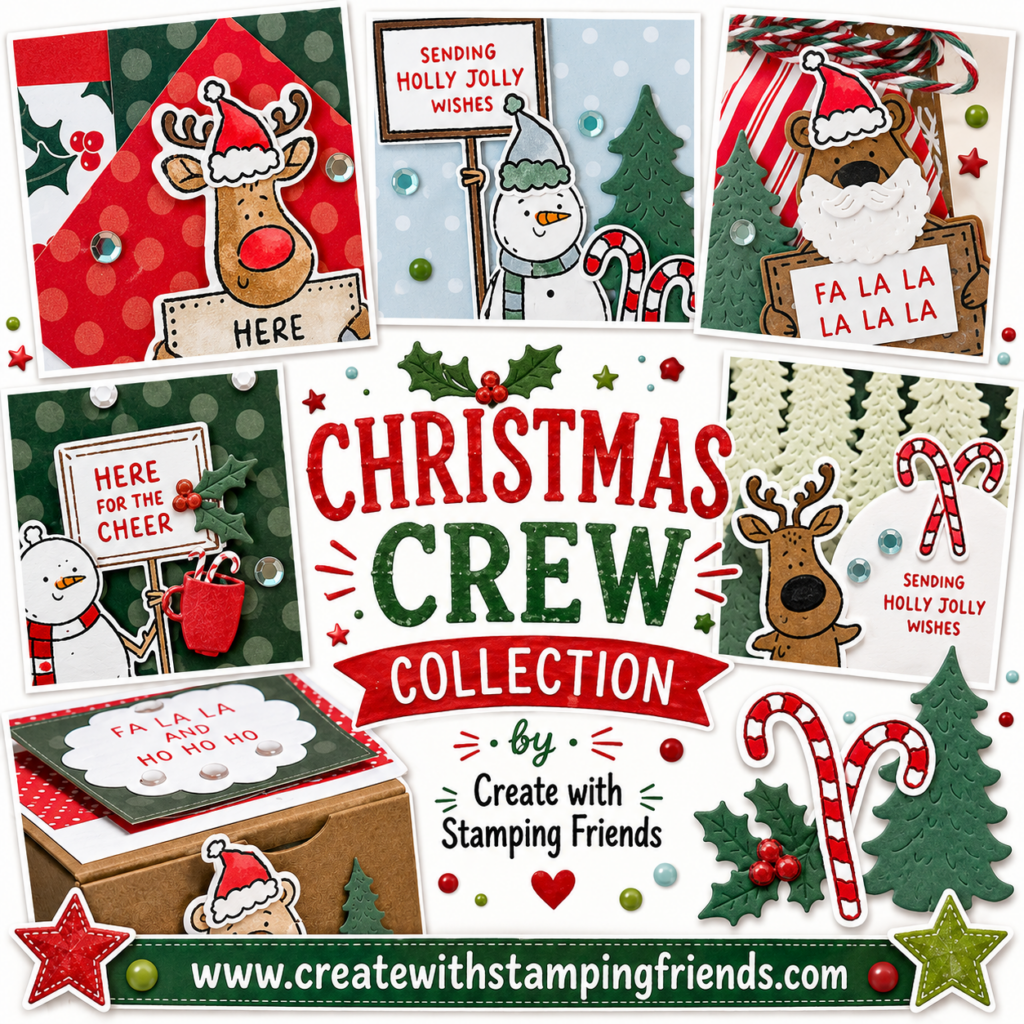
The playful critters in Stampin' Up!'s CHRISTMAS CREW BUNDLE will certainly brighten your day! Stamp and cut out the whimsical bear, snowman or reindeer, stamp a holiday greeting on their sign, then add finishing touches with the candy canes, Santa beard, evergreen trees and more! This CHRISTMAS CREW BUNDLE will give you fun tools to create festive holiday cards and tags. We've combined the CHRISTMAS CREW BUNDLE with the classic colors and patterns in the TIMELESS CHRISTMAS 12 X 12 DESIGNER PAPER! You'll get step-by-step tutorials for FOUR cards and TWO Advent Treat Box ideas for a total of 6 tutorials, all full of handmade charm. See more details HERE!


Leave a Reply