
So, here is what I came up with using the new stamp set, Winter Woods. This stamp set wasn’t on my radar at first, but I do love this grove of trees! My Stamp Club did a fall card using it last month…here is more of a “winter” scene for a Christmas card.
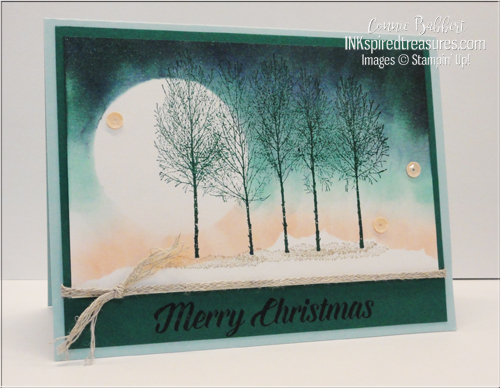
- The base is 5-1/2 x 8-1/2 Pool Party cardstock, scored at 4-1/4 and folded.
- On top is a 4 x 5-1/4 layer of Shaded Spruce cardstock, stamped along the bottom with the Merry Christmas greeting from Timeless Tidings stamp set.
- On the 3-1/4 x 5-1/4 layer of Shimmery White cardstock, the bottom was masked off with a torn piece of paper, and a 2″ Circle punched from a post-it note was added to the front. Then Blushing Bride Ink was applied upwards from the top of the torn piece with a sponge dauber. Pool Party Ink was applied going downward from the top to meet the Blushing Bride Ink and then Night of Navy and Shaded Spruce Inks were added at the top for a dark wintery morning scene.
- The circle mask was removed and the grove of trees in Winter Woods was stamped with Shaded Spruce, the ground with Crumb Cake Ink, then the Shimmery White piece added to the Shaded Spruce layer.
- A length of 1/8″ Braided Linen Trim was wrapped around and tied in a knot with the ends frayed.
- A trio of Basic Adhesive Backed Sequins were added on front.
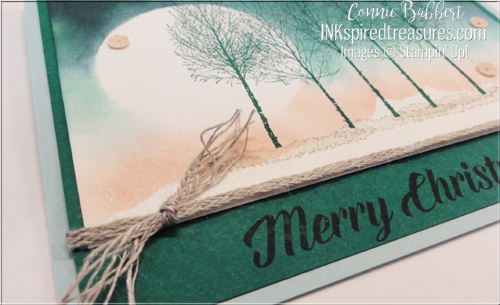
It’s been a while since I’ve done sponged backgrounds, but they are SO much fun! OK…go check out what Mary did with the Inspiration Challenge this week over on Create with Connie and Mary!


Create the feel of a nature walk through the winter woods with Stampin' Up! FROSTED PINECONES BUNDLE! Stamp the pinecone and then add textured details using the FROSTED PINECONES DECORATIVE MASKS or cut the detailed shapes with the FROSTED PINECONES DIES. Add one of the heartfelt winter sentiments to finish it off. We've paired the FROSTED PINECONES BUNDLE with the WHISPERING WOODS 12x12 DESIGNER PAPER. Our FROSTED PINECONES COLLECTION gives you step-by-step tutorials for FOUR cards and TWO small decor ideas for a total of SIX tutorials, all full of seasonal charm. See more details HERE!

Boo! October brings Halloween and the playful images in Stampin' Up!'s WEB OF FUN BUNDLE will create a little spooky fun on your cards, paper crafts, and scrapbook pages! The large greetings and detailed spiders and webs will fill your project space with eerie delights! We've paired the WEB OF FUN BUNDLE with the FRIGHTENING FUN 12x12 DESIGNER PAPER containing even more Halloween patterns and designs! Our WEB OF FUN COLLECTION gives you step-by-step tutorials for FOUR cards and TWO favor ideas for a total of SIX tutorials, all full of festive Halloween charm. See more details HERE!
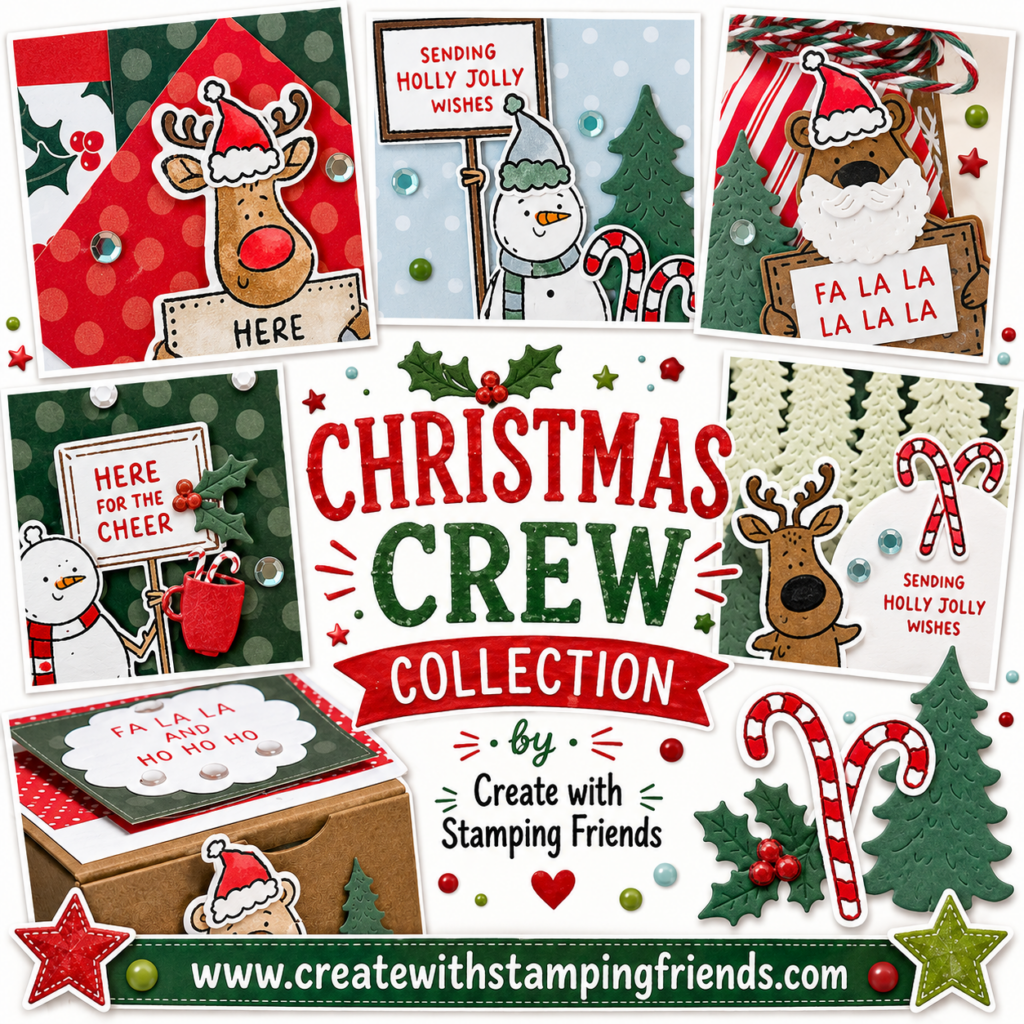
The playful critters in Stampin' Up!'s CHRISTMAS CREW BUNDLE will certainly brighten your day! Stamp and cut out the whimsical bear, snowman or reindeer, stamp a holiday greeting on their sign, then add finishing touches with the candy canes, Santa beard, evergreen trees and more! This CHRISTMAS CREW BUNDLE will give you fun tools to create festive holiday cards and tags. We've combined the CHRISTMAS CREW BUNDLE with the classic colors and patterns in the TIMELESS CHRISTMAS 12 X 12 DESIGNER PAPER! You'll get step-by-step tutorials for FOUR cards and TWO Advent Treat Box ideas for a total of 6 tutorials, all full of handmade charm. See more details HERE!


simply gorgeous! Thank you for sharing the measurements and how you created this beautiful work
This is a gorgeous card, and you did an excellent job one it.
Connie, your scene card is stunningly beautiful!! I love it! I love to check the night sky at twilight and your card has captured that loveliness!!