This will be VERY quick! I'm feeling VERY behind this year on everything! I'm still wrapping the last couple gifts! I never am this late. I've just had one thing after another going on and still trying to catch up. Still have one more run to the grocery store for dessert ingredients for Christmas dinner (here!)

My son asked me to make two special cards to go with his bosses' Christmas gifts. They are former Ohio State golf players, so I quickly put together a couple Ohio State themed cards. He says they loved them!
You can see they are basically the same supplies, but by turning the orientation and sizes of the layers, they look different! I used the Block O and Buckeye leaf and nut Quickutz dies and ran them thru my Big Shot. The Real Red Patterns Designer Paper is from a hostess pack last year (?) The Scarlet/Gray ribbon I found at my LSS. I stamped Merry Christmas and Seasons Greetings in Basic Black.
Card stock colors used were base cards of Real Red, Basic Black, Going Gray, Garden Green, Chocolate Chip and Creamy Caramel.
Merry Christmas! I have a post ready to go Friday and Saturday, you may or may not get a post from me tomorrow!
Hope you have a wonderful holiday!
 I'm back! I've been hit or miss on the Bloggers' Challenges the past month. Just too crazy busy, I guess! I love sketch challenges, though, so couldn't let this one go by without doing up a card real quick!
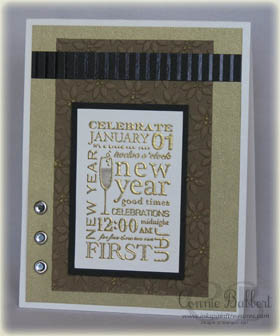 The Stampin' Up! stamp, A Brand New Year, is one I really purchased for future use. I knew that I wouldn't be making New Year's cards THIS year, but I loved this stamp! I figure sometime in the future, I can use it on scrapbook pages or for invitations. I don't have anything like it in my stash!
.jpg)
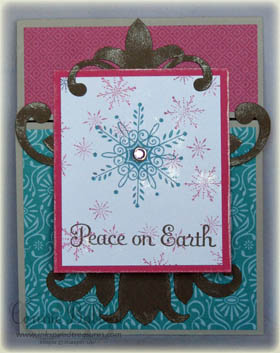 Another card that fits the non-traditional color theme over on Latenightstampers! My upline received a similar card from her upline and I loved it, so had to CASE it! It uses the Tulipe Bigz Die (ON SALE NOW
 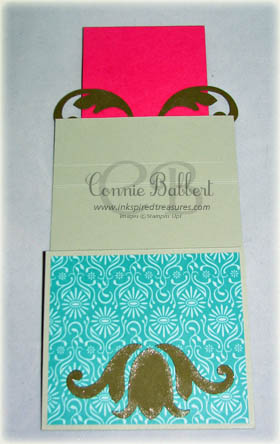 I used the Champagne Mist Shimmer Paint and a sponge dauber all around the edges of the layers, on the snowflakes and on the Tulipe diecut! It is so pretty in real life. (AND, good news!…Shimmer Paint will continue to be available as a write-in item in our catalog! Yeah! I love that stuff!)
.png)
.jpg)
.jpg)

.jpg)
.jpg) Click here
Click here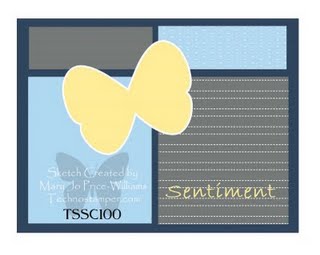
.jpg)
.jpg)
.jpg) Every year I make the tags for my Christmas presents. I had to get some done for this weekend since we are doing Christmas with my son and his fiance this weekend. I'll make close to 50 tags by the time I'm done…I know!!!
Every year I make the tags for my Christmas presents. I had to get some done for this weekend since we are doing Christmas with my son and his fiance this weekend. I'll make close to 50 tags by the time I'm done…I know!!! .jpg)
