
Happy Saturday and Happy New Year!!! One of the best things about the New Year and getting a new catalog (the Occasions and Sale-A-Bration catalogs are here!) is that I get in the mood to organize. Once I’ve cleared out the Holiday Catalog items to make room, it seems to get the entire process started. Today’s project is labeling and “filing” all my new Die Cuts. I place them on Magnetic Cards and in a plastic sleeve to protect them, then file them in a basket in my drawer (in alphabetical order, of course!) Hard thing is that the stamp set and die set names aren’t the same. So, I make a cross-reference sheet to help me with that. I print it and keep it in my drawer. That’s on today’s list to make, too!
This month on Create with Connie and Mary blog hops, we are featuring “empowerment words”. Every Saturday we will have a new word that hopefully inspires the card we make. This week’s Saturday Blog Hop word is “Encourage”. I find out I send a lot of encouragement cards to those that might need a little cheer. I think this one will put a smile on their face!
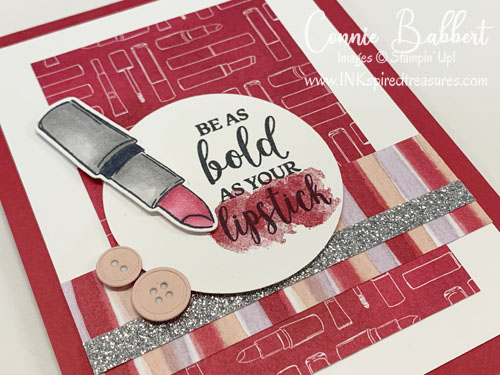
DRESSED TO IMPRESS
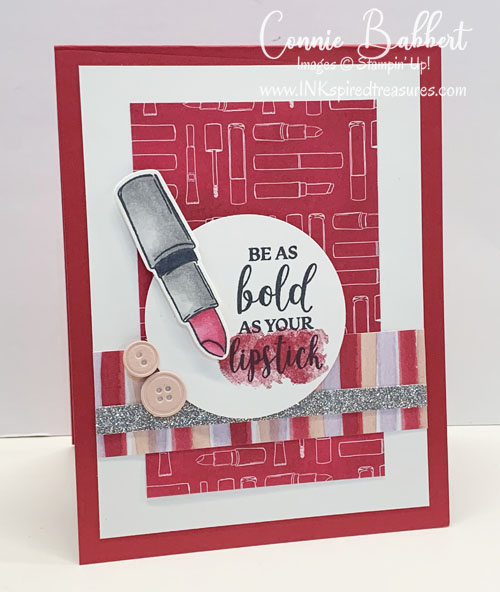
Who wouldn’t like that little bit of encouragement, especially on a dreary day?
Stampin’ Details:
- The base is 4-1/4 x 11 Lovely Lipstick cardstock, scored at 5-1/2 and folded.
- The Whisper White layer is 3-3/4 x5.
- The Best Dressed DSP lipstick print is cut to 2-3/4 x 4 and added on top.
- The Best Dressed DSP striped print is cut to 1 x 3-3/4 and added across the front towards the bottom.
- A 1/4 x 3-3/4 piece of Silver Glimmer Paper was added on top.
- The 2-1/4 Circle was punched from Whisper White cardstock and stamped with the Dressed to Impress greeting in Memento Black Ink.
- The small smudge image was stamped several times with Lovely Lipstick Ink across the word lipstick. The circle was added to the front with Stampin’ Dimensionals.
- The lipstick image from Dressed to Impress stamp set was stamped with Memento Black Ink on scrap Whisper White cardstock and colored with Lovely Lipstick Light & Dark and Smoky Slate Light and Dark Stampin’ Blends. It was cut with the Dies ad added to the circle with Stampin’ Dimensionals.
- Two buttons from the Dies were cut from Petal Pink cardstock and added next to the circle with Mini Stampin’ Dimensionals.
Another fun card made with this set! OK…next up on our blog hop is our Create with Connie and Mary website, then on to creative Mary Brown, or head backwards to see Melissa’s fabulous card! See what everyone did with this challenge!


The SIMPLY LEAVES PUNCH BUNDLE can be used for ANY season! Follow our card journey through Spring, Summer, Fall and Winter using this versatile stamp set and punch! The patterned leaves will add natural detail and texture on your cards and projects, then add one of the simple greetings to finish. We've combined the SIMPLY LEAVES PUNCH BUNDLE and the garden neutral patterns in the VALLEY OF BLOOM 12x12 DESIGNER PAPER! You'll get step-by-step tutorials for EIGHT cards...two card ideas from each season...in our SIMPLY LEAVES CARD COLLECTION! See more details HERE!

Create wonderful dimensional poinsettias in a variety of sizes with the PRETTY POINSETTIA BUNDLE! The dies cut and emboss at the same time for lots of detail and texture. The coordinating stamp images add fun seasonal greetings, sprigs and other festive touches to your cards and projects. We've combined the PRETTY POINSETTIA BUNDLE and the A STITCHED SEASON 12x12 DESIGNER PAPER for a traditional holiday look you'll love! You'll get step-by-step tutorials for SIX projects...FOUR cards and TWO favors in our PRETTY POINSETTIA COLLECTION! See more details HERE!
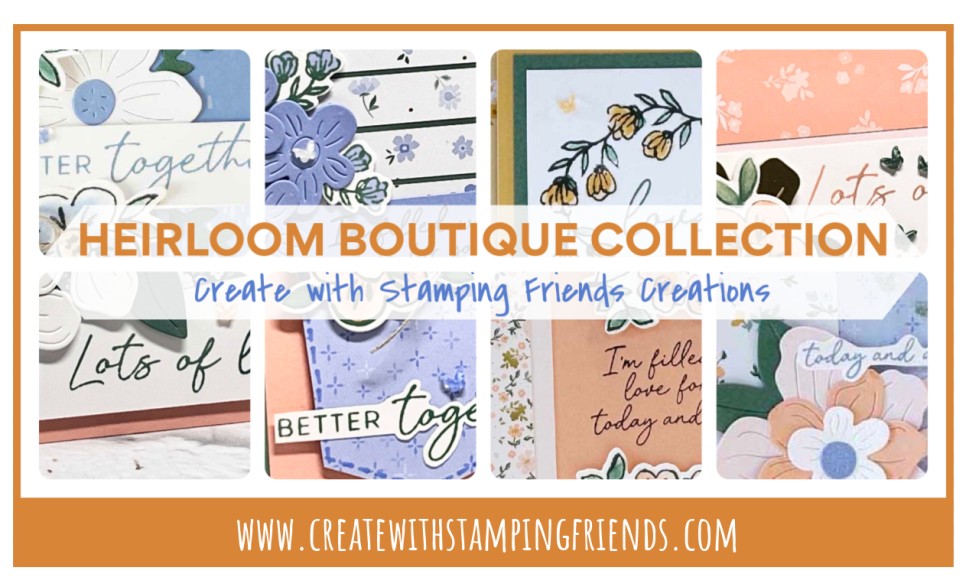
Bring your most meaningful memories to life with the HEIRLOOM BOUTIQUE BUNDLE. You’ll love how the coordinating stamps and dies add delicate florals, layered details, and heartfelt sentiments to your cards, scrapbook pages, and handmade gifts. These timeless designs will help you turn every project into a keepsake to share and cherish. We've combined the HEIRLOOM BOUTIQUE BUNDLE and the BLOOMS BOUTIQUE 12x12 DESIGNER PAPER for a soft artistic look! You'll get EIGHT step-by-step tutorials for EIGHT cards in our HEIRLOOM BOUTIQUE COLLECTION! See more details HERE!

Leave a Reply