Happy Friday! I know! An extra post for you this week from me! Currently, Debbie and I have the Sweetest Star Collection of projects for sale…you can buy the Kits or a PDF tutorial. For something different in this Collection, we made ornaments using the Sweetest Star Bundle! I had so much fun, that I made a second type of ornament for my own tree using Mrs. Claus. It turned out so cute that I thought I’d share it here.
Here’s more information about our latest collection…

The star-shaped Santa, Mrs. Claus, and gingerbread man images from Stampin’ Up!’s SWEETEST STAR PUNCH BUNDLE are adorable to use on your holiday cards, tags and paper projects. They are a wonderful take on some classic Christmas icons. Show your creativity with your favorite coloring technique, punch out the plump star, and add a holly jolly sentiment! We’ve paired the SWEETEST STAR BUNDLE with the TAKE A BOW 6×6 DESIGNER PAPER for a fun holiday look. Our SWEETEST STAR COLLECTION includes step-by-step tutorials for SIX projects…FOUR cards and TWO paper ornaments…perfect for teaching a class, giving as a gift, or for selling at craft shows! See more details HERE!
SWEETEST STAR
Stampin’ Details:
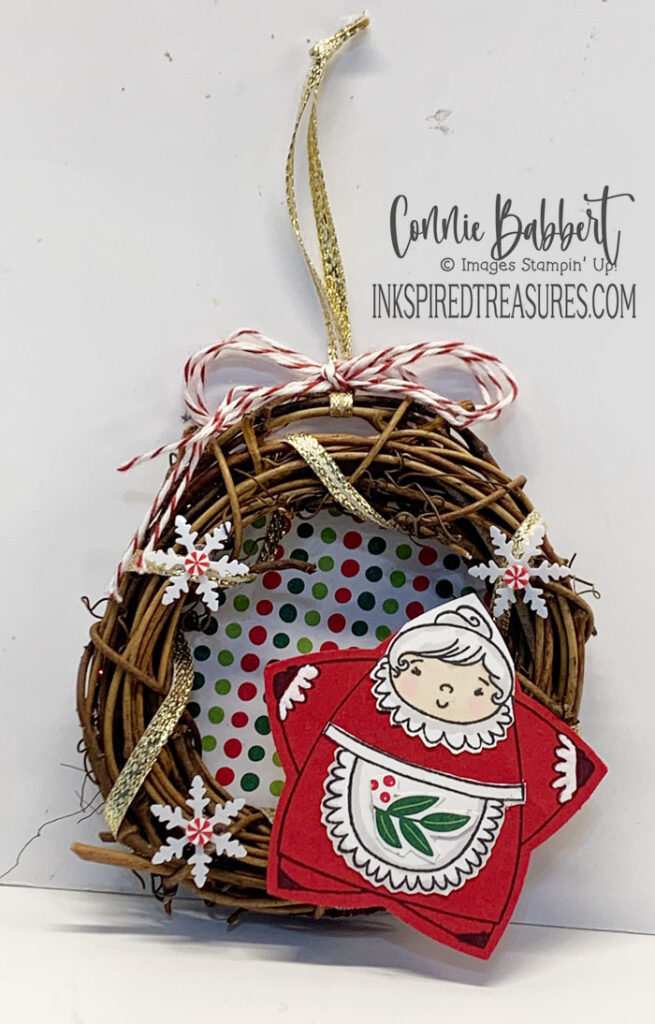
- The base is a 3″ mini grapevine wreath I ordered from Amazon. You can find them HERE!
- I wrapped the 1/8″ Gold Trim from the Gold/Silver Combo Pack around the grapevine starting at the top and ending there, securing with a Mini Glue Dot.
- A added a loop of Gold Trim at the top for the hanger and tied a knot.
- The Red & White Baker’s Twine was tripled and then tied in a bow around the base of the trim loop to hold it secure.
- I cut a 3-1/8″ Deckle Circle from Thick Basic White cardstock and another from the Take a Bow 6×6 Designer Paper and adhered them together, then glued to the back of the grapevine ornament.
- Mrs. Claus from Sweetest Star stamp set was stamped with Memento Black Ink on Real Red cardstock and on Basic White cardstock and punched both with the Sweetest Star Punch. The head and apron were cut away from the Basic White and adhered to the Real Red one. I used Ivory, Light Flirty Flamingo, and Light Gray Granite Stampin’ Blends to color her face, hair and shadows on the apron.
- One of the holly leaves was cut from the Take A Bow DSP and added to her apron.
- White Pearlized Effects was applied to her cuffs.
- Mrs. Claus was added to the side of the grapevine wreath with Stampin’ Dimensionals (or use a glue gun for extra security).
- A trio of white Adhesive Backed Snowflake Assortment snowflakes were added to the wreath.
- Some Red & White Peppermints were added to the centers of the snowflakes.
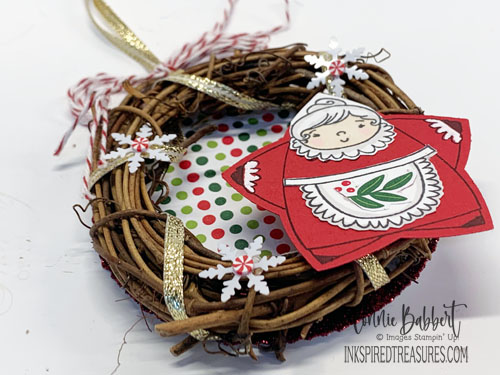
Isn’t she so CUTE? I can’t wait to add her to my Christmas tree!
Supplies:
Stamps: Sweetest Star
Ink: Memento Black
Blends: Ivory, Light Flirty Flamingo, Light Gray Granite
Cardstock: Basic White, Real Red, Take a Bow 6×6 Designer Paper
Accessories: Sweetest Star Punch, Deckled Circle (or other 3″ size circle), Adhesive Backed Snowflake Assortment (Online Exclusive), Gold/Silver 1/8″ Trim Combo Pack, Red & White Adhesive Backed Peppermints, Real Red & White Baker’s Twine, Adhesives


Stampin' Up!'s SWEET BUGS BUNDLE showcases a sweet selection of garden critters helping to capture the joy of relaxing in the garden! Stamp the caterpillars, ladybugs, bees and others, then add mushrooms, flowers and garden touches to finish your creation. We've combined the SWEET BUGS BUNDLE and the CUTE AS A BUG 12x12 DESIGNER PAPER featuring even more images to cut out and use! You'll get step-by-step tutorials for SIX projects...4 regular cards and, 2 ENHANCED fun fold cards...to get you creating! See more details HERE

Leave a Reply