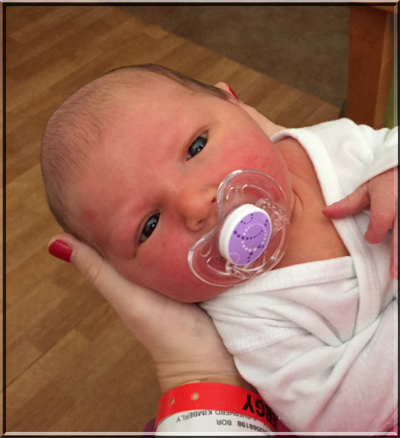
OK…I’ll get to my card in a minute, but first have to show off my newest grand-daughter, Quinn! She was born on October 9th and weighed 8 lbs, 10 oz, 21-1/2″ long! Since her mom had an unexpected c-section, I’ve been fortunate enough to be spending my days helping out over at their house and getting LOTS of snuggle time. Of course, Quinn has her days and nights mixed up so we are working on that! This was taken right before she came home on Sunday.
I had a Christmas Bauble image sitting on my desk that I didn’t use on another project, so I decided to use it on a card.

Here are the details…
- The base is 4 1/4 x 11 Rich Razzleberry cardstock, folded in half.
- The 4 x 5 1/4 Whisper White layer is embossed with the Lucky Stars folder.
- The Color Me Autumn Designer Paper was cut with the Apothecary Accent framelit. A hole was punched in the top point for the ribbon to go thru.
- The Rich Razzleberry 1/4″ Ribbon was wrapped thru the hole and adhered to the back.
- Christmas Bauble image was stamped with Memento Black Ink (center stamped twice) and colored with the Rich Razzleberry and Crumb Cake Blendabilities Markers. Old Olive and Cherry Cobbler was also used for the holly leaves and berries.
- The ornament was cut out, and the 1″ circle center punched on the second image. The center was layered with the 1-1/4 Champagne Glimmer Paper Circle and added to the center with Stampin’ Dimensionals. In the very center, the star was punched from Champagne Glimmer Paper and adhered. The ornament was popped up on the front with Stampin’ Dimensionals.
- I stamped Merry from Cheerful Tags with Rich Razzleberry Ink on a strip of Whisper White, cut a flag end and added it under the Christmas Bauble.
- Finally, I added a Gold Designer Button tied with Linen Thread.
Well, little Quinn is stirring from her nap. Need to get going! Have a great day!
 We have JUST begin our Holiday Collections 2014 over on Create with Connie and Mary and it’s not too late to join! Don’t miss out on joining us for some FABULOUS ideas using Christmas and Winter stamp sets in the Holiday Catalog! For only $29.95 US, you’ll get over 24 project tutorials with full directions and photos!
Have you stamped today?

This is a very elegant card and ornament! I love the colors you used and your coloring is great!
Sue Erickson
http://www.soggystamper.com
I have a couple people who DEMAND a purple holiday card! I always have trouble envisioning something. I usually have a purple background and snowflakes but this will be a different look for me. I have ornaments but none that take the center stage like this one. So, I guess I need to get yet another Christmas stamp! Thanks for the inspiration!
Oh what a sweet little grand-daughter, Connie! Love seeing photos! Congratulations to all!’ And thanks for sharing!
Your card is lovely! Hugs, Laura
Oh Connie how wonderful. There is simply nothing like holding a grandchild is there, more special than can be imagined. Our 1st granddaughter is on her way though rather late now and is likely to be a c section too in a few days. I have a tear down my cheek looking at Quinn. She is so beautiful. Oh aren’t they precious. Oh sorry, the card is lovely too. Enjoy all those baby hugs.
Your card is lovely – love your color choices and of course the bling! BUT IT DOES NOT COMPARE to your newest grandbaby…Quinn is absolutely adorably perfect…big congratulations to everyone!!!
Hi Connie,
Just a little note thanks for choosing me for a FREE
subscription to create with Connie and Mary. I am enjoying it so much! Your new addition is just precious and adorable. Please give her a snuggle for
me. Best wishes to the new parents!!
Quinn is beautiful….enjoy your new bundle of grandmother joy!!!!
Congratulations on your new grand-daughter. Quinn is adorable! Enjoy your time with her.