It's Thursday and time for another Create with Connie and Mary Thursday Challenge! We have a FUN sketch for you to try…love the background elements in this one! I''m anxious to see what you come up with, so grab your stamps and play along! Upload your creation over on Create with Connie and Mary. We announce the Top 3 Picks every Wednesday…so check back to see if your card was selected!

And here is my card! I love this Celebration Designer Paper (I think I've said that once or twice before!) and the colors are so fun for a kids birthday or encouragement card.
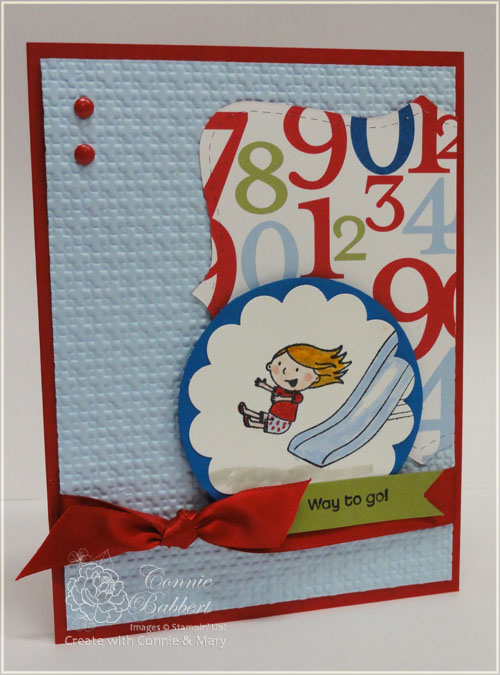
I started with a base of Real Red and layered on Bashful Blue that I ran thru the Big Shot with the Square Lattice Impressions Folder. I cut half of the Top Note lengthwise out of the Celebrations DSP and placed it on the right side. I stamped the girl sliding from Stampin' Up!'s Recess stamp set with Black Stazon on Whisper White and colored her with Stampin' Write Markers…like her polka dot shorts? lol! I punched with the 2 3/8 Scallop Circle Punch and then layered it on the 2 1/2 Circle Punch of Pacific Point cardstock. I wrapped some Red Satin Ribbon around and tied a knot. I added a banner that is stamped with Way To Go from the same stamp set. and used the retiring Photo Corner Punch to notch out the end. I thought it needed something up in the upper left corner, so I used a couple Real Red Mini Brads.
Make sure to check out what the rest of the Create with Connie and Mary Design Team did this week. We have a NEW designer joining us for our Thursday Challenges…we want to welcome Nance Leedy to our design team!


.png) It's not too late to join Create with Connie and Mary! We feature new Holiday Mini products every week. There is a new project posted every day and there will be an average of two fabulous tutorials each and every week. NEW is a project sheet for every project not having a tutorial! We like to have fun so we have challenges and prizes for our subscribers. Our sites stay up long after the session is done, so you will always have access to the site and the tutorials. For more information and to see our Preview Week projects please visit at
It's not too late to join Create with Connie and Mary! We feature new Holiday Mini products every week. There is a new project posted every day and there will be an average of two fabulous tutorials each and every week. NEW is a project sheet for every project not having a tutorial! We like to have fun so we have challenges and prizes for our subscribers. Our sites stay up long after the session is done, so you will always have access to the site and the tutorials. For more information and to see our Preview Week projects please visit at 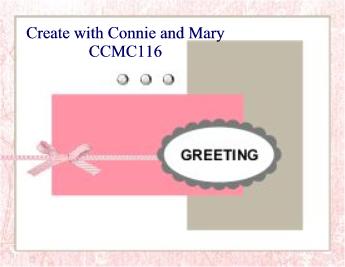
.png) Again, check out what the other Challenge Team Designers on
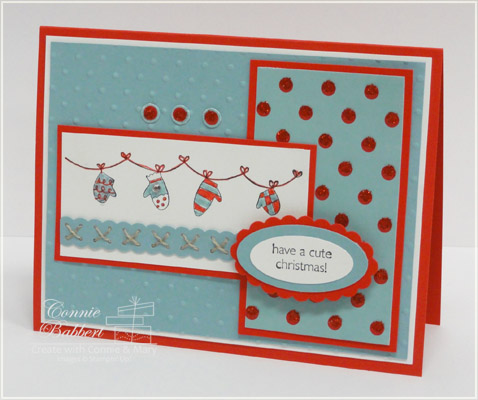
Again, check out what the other Challenge Team Designers on  I don't think I've used Stampin' Up!'s Fun & Fast Notes in ages! I received it as one of the free Convention Sets, I believe, a couple years ago. It really is a good, basic stamp set for beginners and has some fun images! The cakes are probably one of the images I use the most for weddings and showers.

 I added more layers to the center focal piece with Pale Plum cardstock layered on Perfect Plum. I stamped the vine image in Pale Plum over the Pale Plum cardstock, then used my piercing tool and mat to create the corner design. I added a 1 3/8 circle punched from Old Olive, then tucked some Old Olive leaves made with the 5 petal punch (I sponged around the edges with Old Olive). I stamped the large flower with Perfect Plum on Whisper White and cut it out and two smaller flowers with Pale Plum and cut them out. The center of the large flower has a small flower punched from Trio of Flowers, then a Jumbo White Brad in the center. The two smaller flowers have Old Olive Mini Brads in the centers.

 I stamped the Like-O-Meter image in Basic Black on Whisper White, then colored in the themometer with the Real Red Stampin' Write marker up to …a lot but not like a stalker. I added a very light coat of Crystal Effects over top of the red. You need to be careful because the marker is water based and will run if you add too much. When dry, I punched the Small Heart in the lower right corner, then layered it on Real Red, then Basic Black cardstocks. Finally I added a Black Gingham Bow to the upper left corner.
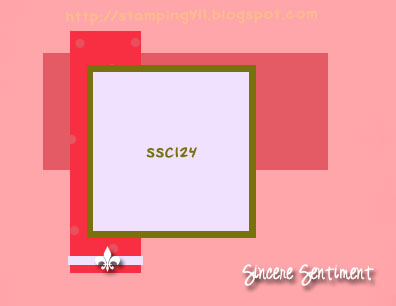 it's Saturday! Time for another sketch challenge from Stamping 411. I must say, I love the sketches that Selene has been doing lately! If you attend my classes, you'll see some of these as the basis for future cards we will do! I'm combining this challenge with the Late Night Stampers challenge since the theme is masculine, I thought it fit that criteria.
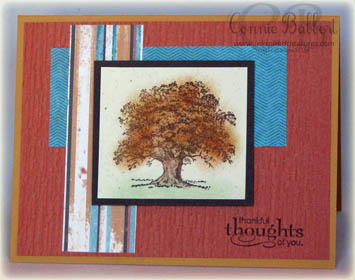 I started with a base of More Mustard cardstock. I ran the Really Rust layer thru the Big Shot with the woodgrain texturz plate and then stamped "Thankful Thoughts of You" from Grateful Greetings in the lower right corner. I added a couple strips of designer paper from Autumn Meadows Designer Pack. Then I stamped the tree with Chocolate Chip ink on Vanilla Naturals cardtock and used my sponge daubers to add the Really Rust, More Mustard and Garden Green colors to the tree and grass area. I colored the trunk of the tree with Close to Cocoa Classic Ink and a Blender pen. This piece was layered onto Chocolate Chip cardstock and placed on the front with Stampin' Dimensionals.
.jpg)