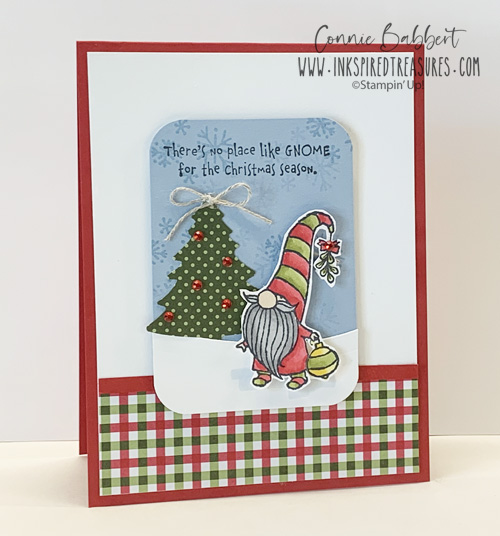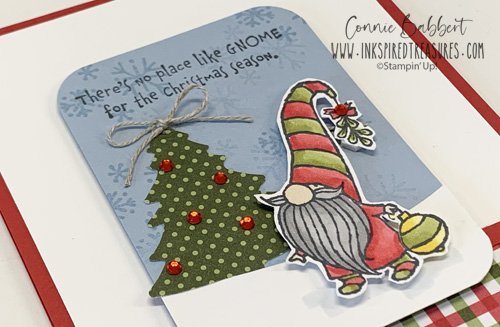
Happy Monday! It’s time for our Create with Connie and Mary Inspiration Monday challenge! I’ve been lightly obsessed with gnomes the past year or so and have collected quite a few for different holidays! I love this Gnome wreath and I was really excited that Stampin’ Up! came out with the Gnome for the Holiday stamp set. However, I noticed that Mary got her card done before mine and she used that stamp set…so I remembered a couple punch art gnomes that I had made before. Perfect!

Wreath Builder Dies
The wreath builder dies worked perfectly again for this challenge and I copied the way I made the Fall Wreath a couple weeks ago by intertwining the Crumb Cake and Bermuda Bay wreaths, then adding in some sprigs of Whisper White that were cut apart from the second wreath.

Stampin’ Details:
-
- The base is 4-1/4 x 11 Cherry Cobbler cardstock, scored at 5-1/2 and folded.
- A 4 x 5-1/4 layer of In Good Taste woodgrain DSP was added to the background.
- A 1 x 4 piece of Plaid Tidings Designer Paper was added across the bottom. To get the colors I needed to go with the inspiration wreath, I colored the white areas of the Cherry Cobbler/White Plaid with my Bermuda Bay Stampin’ Blends.
- One leaf wreath was cut from Bermuda Bay cardstock and one sprig wreath from Crumb Cake cardstock using the Wreath Builder Dies and intertwined together. Then another sprig wreath was cut from Whisper White and cut apart, then tucked around the wreath randomly. I added it to the card with Mini Stampin’ Dimensionals.
- The gnome hat was punched with the Pine Tree Punch by coloring more of the Plaid Paper. Some Linen Thread was wrapped around the hat in a cross cross pattern.
- I wanted a longer beard, so I used the trees from the Snow Time Dies, cut from Whisper White cardstock, and just trimmed off the smaller tree, then added it under the Pine Tree hat.
- The nose is a 3/8″ Circle punched from Blushing Bride cardstock.
- The feet/boots are punched from Cherry Cobbler cardstock with the Perennial Flower punch. He was added to the wreath with Stampin’ Dimensionals.
- The bow and small flower from the Wreath Builder Dies were cut from Cherry Cobbler cardstock and added to the wreath and his hat.
- I used the label from the Snow Time Dies cut from Whisper White cardstock and stamped the greeting from Itty Bitty Christmas with Cherry Cobbler Ink.
- Some Blue Adhesive Backed Gems were added to the label and to the flower on his hat for a little sparkle.

SOOOO happy with how this turned out! I think I may need to find a gnome wreath for my door this year! OK…check out what Mary did with the Inspiration Monday Challenge over on Create with Connie and Mary!
But first check out our current Collection…

How fun to create a traditional Christmas Village using Stampin' Up!'s WELCOME NOEL BUNDLE! Stamp the houses, trees and deer elements to build your holiday scene or cut them quickly with the detailed shapes and the WELCOME NOEL DIES. We used greetings from the Winter Adventures stamp set or use your own sentiments to finish it off. We've paired the WELCOME NOEL BUNDLE with the WINTER DREAMS 12x12 DESIGNER PAPER featuring white on deep blue designs for your winter-themed crafts. Our WELCOME NOEL COLLECTION gives you step-by-step tutorials for FOUR cards and TWO enhanced special fold card ideas for a total of SIX tutorials to use in your classes or personal use. See more details HERE!

Create the feel of a nature walk through the winter woods with Stampin' Up! FROSTED PINECONES BUNDLE! Stamp the pinecone and then add textured details using the FROSTED PINECONES DECORATIVE MASKS or cut the detailed shapes with the FROSTED PINECONES DIES. Add one of the heartfelt winter sentiments to finish it off. We've paired the FROSTED PINECONES BUNDLE with the WHISPERING WOODS 12x12 DESIGNER PAPER. Our FROSTED PINECONES COLLECTION gives you step-by-step tutorials for FOUR cards and TWO small decor ideas for a total of SIX tutorials, all full of seasonal charm. See more details HERE!

Boo! October brings Halloween and the playful images in Stampin' Up!'s WEB OF FUN BUNDLE will create a little spooky fun on your cards, paper crafts, and scrapbook pages! The large greetings and detailed spiders and webs will fill your project space with eerie delights! We've paired the WEB OF FUN BUNDLE with the FRIGHTENING FUN 12x12 DESIGNER PAPER containing even more Halloween patterns and designs! Our WEB OF FUN COLLECTION gives you step-by-step tutorials for FOUR cards and TWO favor ideas for a total of SIX tutorials, all full of festive Halloween charm. See more details HERE!