Happy Saturday! It’s time for another Saturday Blog Hop! So far the past few weeks, we’ve done Cute Halloween cards, Spooky Halloween Cards and now we are doing Halloween Favors! You still have a few days until Halloween, so get those craft supplies out!

The candy bar is revealed by pulling up on the bow of the ribbon!

Stampin’ Details:
- The base is 3-1/4 x 7 Basic Black cardstock, scored at 1/2, 1, 2-1/4 and 2-3/4.
- The bat Monster Bash DSP is cut 1 x 3 and adhered on the top of the box portio
- 1/4″ holes are punched on the front panel and back panel
- Tear & Tape is applied to the tab end of the Basic Black, then folded around to form a box (the top and bottom are open).
- The 2-3/4 x 3 Whisper White panel is stamped with the cobweb from Wonderfully Wicked with Gray Granite Ink, the “Have a” and “Good Time” greetings with Memento Black Ink. It is adhered to the Basic Black panel.
- Wicked is stamped with Pumpkin Pie Ink on Whisper White, then cut with the Ornate Frames die.
- The Ornante Frame is cut from Pumpkin Pie, and the greeting layered on top.
- The cat from Wonderfully Wicked is stamped with Memento Black Ink on scrap Whisper White, hand-cut, and added to the Wicked Greeting with Mini Glue Dots.
- Some Linen Thread is tied in a bow and added to the neck of the cat with a Mini Glue dot.
- Wicked is adhere to the top of the box portion with Stampin’ Dimensionals only on the left side.
- The raven from Monster Bash Enamel Shapes was added to the top of the W.
- The Black Glitter Ribbon is fed thru both holes, then the Hershey bar placed inside the ends. Push the ribbon and candy bar down thru the box and then tie a bow with the ribbon at the top.

OK…that’s my favor! Go check out the rest of the Design Team to see what they did for their Halloween Favor! Next up on our blog hop is our Create with Connie and Mary website, then on to creative Mary Brown, or head backwards to see Melissa’s fabulous card!



Create the feel of a nature walk through the winter woods with Stampin' Up! FROSTED PINECONES BUNDLE! Stamp the pinecone and then add textured details using the FROSTED PINECONES DECORATIVE MASKS or cut the detailed shapes with the FROSTED PINECONES DIES. Add one of the heartfelt winter sentiments to finish it off. We've paired the FROSTED PINECONES BUNDLE with the WHISPERING WOODS 12x12 DESIGNER PAPER. Our FROSTED PINECONES COLLECTION gives you step-by-step tutorials for FOUR cards and TWO small decor ideas for a total of SIX tutorials, all full of seasonal charm. See more details HERE!

Boo! October brings Halloween and the playful images in Stampin' Up!'s WEB OF FUN BUNDLE will create a little spooky fun on your cards, paper crafts, and scrapbook pages! The large greetings and detailed spiders and webs will fill your project space with eerie delights! We've paired the WEB OF FUN BUNDLE with the FRIGHTENING FUN 12x12 DESIGNER PAPER containing even more Halloween patterns and designs! Our WEB OF FUN COLLECTION gives you step-by-step tutorials for FOUR cards and TWO favor ideas for a total of SIX tutorials, all full of festive Halloween charm. See more details HERE!
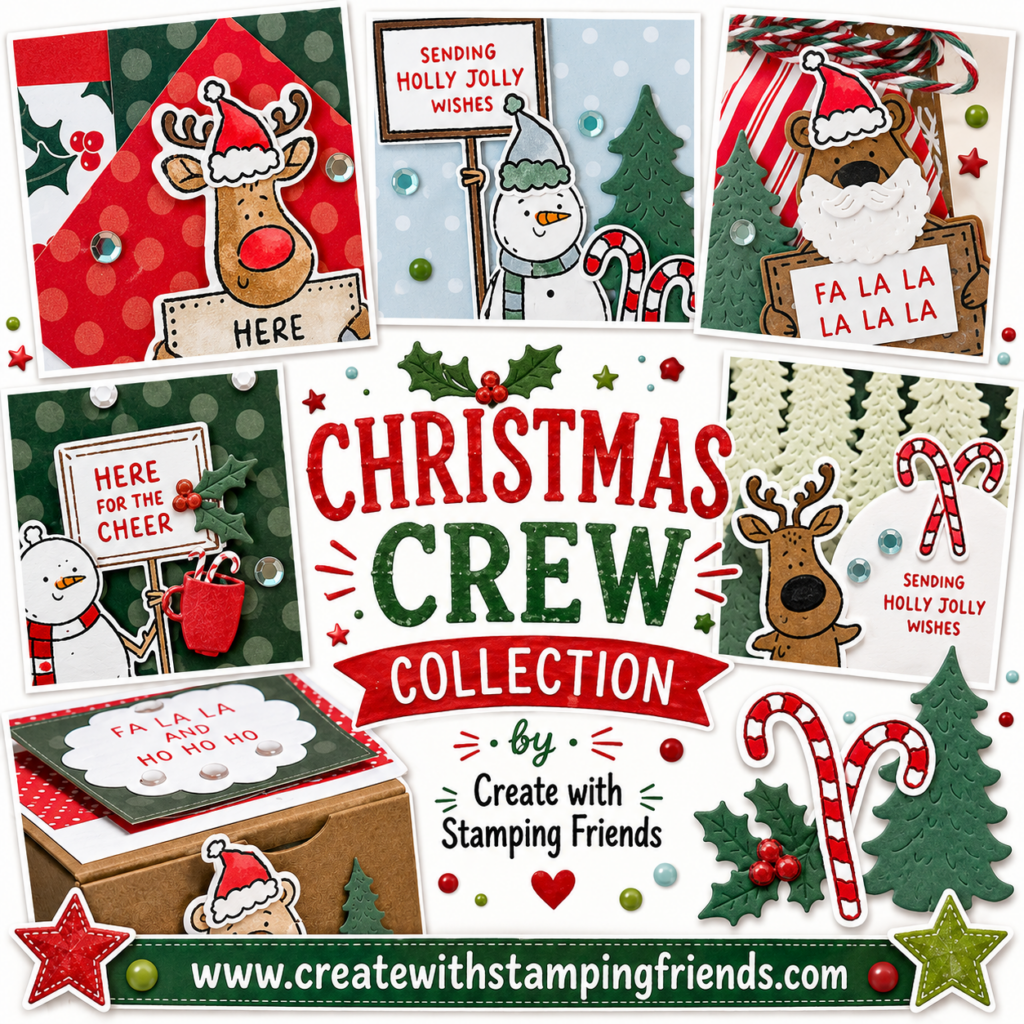
The playful critters in Stampin' Up!'s CHRISTMAS CREW BUNDLE will certainly brighten your day! Stamp and cut out the whimsical bear, snowman or reindeer, stamp a holiday greeting on their sign, then add finishing touches with the candy canes, Santa beard, evergreen trees and more! This CHRISTMAS CREW BUNDLE will give you fun tools to create festive holiday cards and tags. We've combined the CHRISTMAS CREW BUNDLE with the classic colors and patterns in the TIMELESS CHRISTMAS 12 X 12 DESIGNER PAPER! You'll get step-by-step tutorials for FOUR cards and TWO Advent Treat Box ideas for a total of 6 tutorials, all full of handmade charm. See more details HERE!