Oh my GOSH!!! I'm SO excited! I found out last night that Shelli (our CEO of Stampin' Up!) chose my Fashionable Hearts frame and card for her "Love is in the Air" Creative Challenge! I had made it for the December Tour de Freaks…if you haven't taken that tour…you should!!! It was pretty awesome! You can see my winning project again HERE...
A coincidence because today's card uses some leftover hearts from the Fashionable Hearts Embosslit, too! It is certainly getting a work out in my studio!
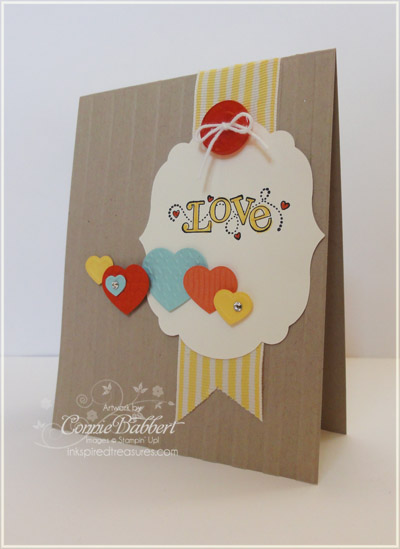
I started with a base of Crumb Cake cardstock and ran the front thru the Big Shot with the Stripes Impressions Folder. I added the 1 1/4" Daffodil Delight Striped Ribbon in the background. I cut one of the new Labels Collection frames from Very Vanilla. I stamped the LOVE from one of the Sale-A-Bration selections coming up soon…Outlined Occasions Stamp Set! Yours FREE with a $50 purchase starting January 24 (or select from any of the other Sale-A-Bration products!) Then I started adding the embossed hearts in Pool Party, Calypso Coral, Poppy Parade and Daffodil Delight. I added some Rhinestone Jewels for bling…and a large Red button tied with White Baker's Twine. I think it is LOTS of fun and pretty simple…great for a class!
.png) WOOHOO!!! It's PREVIEW week over on Create with Connie and Mary…and you know that means BLOG CANDY, right? Go check out where it is today and go leave a comment on her blog! We know you love Elizabeth Price's work and we are THRILLED she is back as one of our full Design Team members! I adore her card today!
WOOHOO!!! It's PREVIEW week over on Create with Connie and Mary…and you know that means BLOG CANDY, right? Go check out where it is today and go leave a comment on her blog! We know you love Elizabeth Price's work and we are THRILLED she is back as one of our full Design Team members! I adore her card today!
We have LOTS of surprises this week over on Create with Connie and Mary, make sure to stop by often for Guest Designer Announcements, Blog Candy and Preview Projects! This week is the last chance to sign up and save $5 off the regular $34.95 US price for a six week subscription! With over 36 step-by-step tutorials featuring products in the Occasions and SAB Minis…that is less than $1 per day for some GREAT ideas! Click on my right sidebar to join TODAY or check us out on Create with Connie and Mary!
.png) Did you check out
Did you check out 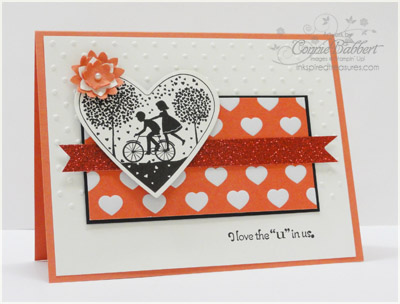
.png)
.jpg)


.jpg)
.png)

.png)


