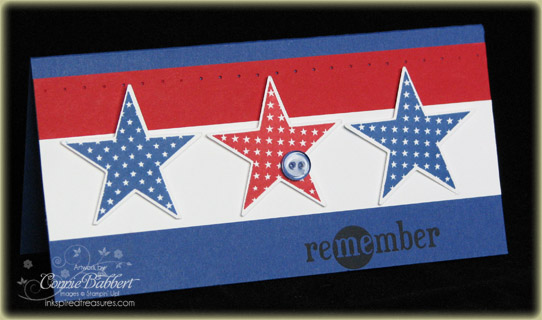
Well..what do you think? Pretty wild list of retiring products, huh? Well…don't put off getting what you want or need. Some things are already gone. I was thankful that I put in my order for Craft Refills…lots of the colors are gone already. I did order two Glorious Green Craft Refills by mistake (now sold out) so if you need that color…give me a shout before I send it back to Stampin' Up!


I combined a couple challenges today, the ColourQ (CQC35) challenge and Mercy's Sketch Challenge (MTSC76). Well…the colors were DEFINITELY a stretch…can you say BRIGHT! I tried to calm them down a little with some white layers. I did use Dusty Durango instead of Tangerine Tango…there is a slight shade difference, but I used what I had available. You can see what my partner, Mary, did with this sketch and color challenge HERE! She warns you to put on your sunglasses!
.jpg)
OK…I'll admit it…I'm obsessed with Stampin' Up!'s Watercolor Trio stamp set. I just love how easy it is to use! It was still laying out from my Technique Class last night, so it was just TOO tempting to use! I started to build the card with the greeting from Stampin' Up!'s Favorite Thoughts stamp set in the Summer Mini. I love the greetings in this set! I stamped the saying in Dusty Durango on Whisper White. I inked up my flower with Stampin' Write Markers in Dusty Durango, Crushed Curry, Green Galore and a little Glorious Green on the edges of the leaves, then stamped it around the edges of the Whisper White. I layered this on Dusty Durango cardstock. Next I inked up the leaf image with Green Galore, then edged with my Glorious Green Stampin' Write Marker and stamped in the lower right corner of the Green Galore cardstock. I wrapped the Dusty Durango Polka Dot Ribbon around and tied. This all was layered on Whisper White that I ran thru the Big Shot with the Perfect Polka Dots Impressions Folder. The base of the card is Crushed Curry. I added some Crushed Curry Beautiful Wings Embosslit butterflies to the leaves and above the greeting. I liked how this turned out! This will be a birthday card for my husband's assistant at work! I think she'll like it!
Tomorrow is the premier of Create with Connie and Mary's Weekly Challenges! We've done these with our subscribers, but now are opening it up to everyone who wants to participate! We'll have Mr. Linky available for you to play along and show us what you can do with the sketch, color or inspiration challenge of the week! So stop by tomorrow for more information and see what we are doing!


.jpg)

.png)


 Today's Bloggers Challenge is a sketch! As you know, I LOVE sketches! This card came together pretty quickly using it. I used Watercolor Trio again as it is one of the three sets we are featuring this week over on
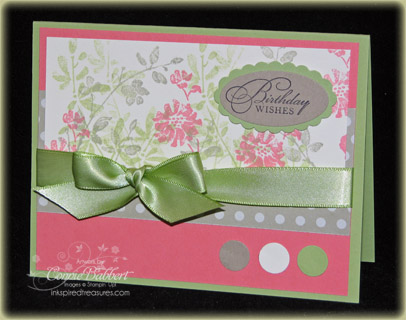
.png)
