It's time! The February Tour de Freaks is here…brought to you by your Control Freak Swappers! You've probably just arrived from Wendy Janson's blog, weren't her projects gorgeous? We have 16 stops for you today!
.jpg)
Our theme this month was the Occasions Mini! Well…that's a broad theme! I'm sure you'll get lots of new ideas!

My first projects uses…what else…Chocolate Bunny! What can I say…he just is a favorite of mine! I stamped him in Chocolate Chip Craft Ink on Close to Cocoa cardstock and embossed with Clear Embossing Powder, then cut him out.
Can you tell what the carrot is made from? Yep! The Large Scallop Circle Die! I received one of these carrots for a swap at Leadership, but I changed out the colors and added the bunny in the top. I wanted to use a real chocolate bunny, but the ones I bought were too big. That's when I figured that my stamped one would work even better!
The base of the carrot is from Pumpkin Pie cardstock and I sponged the edges. The leaves of the carrot are Old Olive and also sponged. I used some fancy shredded paper to fill it. I punched two holes to be able to tie the Old Olive Satin Ribbon and help hold the edges closed. Then stamped Happy Easter from Well Scripted with Old Olive ink and punched with the Wide Oval Punch. Isn't it FUN???
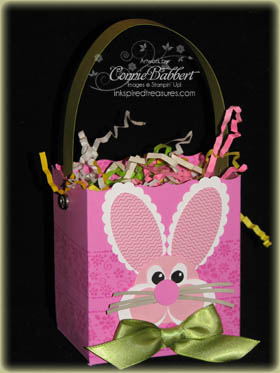 My second project uses the Big Shot again with the Fancy Favor Box. I cut it from Pixie Pink cardstock and ran the Spring Floral Wheel in Pixie Pink Ink Cartridge across the bottom of it twice. I used the Wheel Guide to help me keep it straight!
On the front I made a bunny from punches! The face is a 1 3/8 circle of Pretty in Pink, the cheeks are 1" Whisper White circle punches and 3/4 Pretty in Pink circles layered in top. His nose is a Pixie Pink 1/2" circle. The whiskers are Sahara Sand slivers of cardstock. The eyes are actually Small Ovals cut down to a smaller size with 1/4" circles of Basic Black and highlighted with the White Gel Pen. The ears are Scallop Ovals from Whisper White and the Welcome Neighbors Designer Paper punched with the Large Oval Punch. I gave him a bowtie made from the Old Olive Satin Ribbon and the Old Olive handle is attached with Clear Rhinestone Brads.

I kept the back simple with just the Easter stamp from Eggcoutrements stamped in Old Olive Classic Ink on Whisper White and punched with the Designer Label punch. It is popped up with Stampin' Dimensionals!
I filled it with some multi-colored shredded paper. I was going to fill it with Jelly Beans, but my husband ate them all! lol!
Well, you can continue on the tour by clicking on the button to go to Mary Brown's Blog! I'm sure she'll have some fantastic projects! Have fun taking the tour!
.jpg)
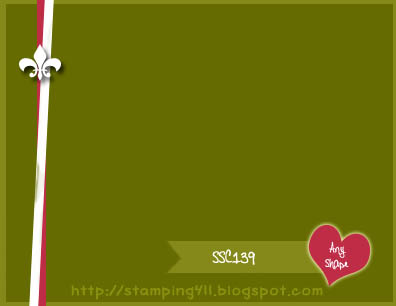 It is time for another Stamping 411 Sketch Challenge! The weeks are FLYING by aren't they? You can tell it is a BUSY night/day for me with posts. Stamping 411, Tour de Freaks and Create with Connie and Julie Challenge will all post at the same time!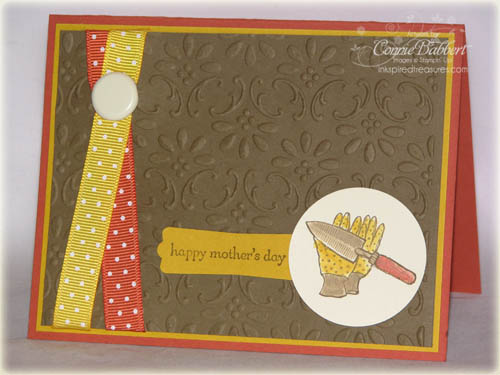


.jpg)
.jpg)
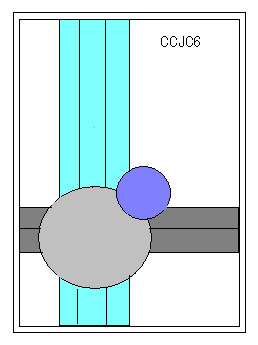 Every Saturday on the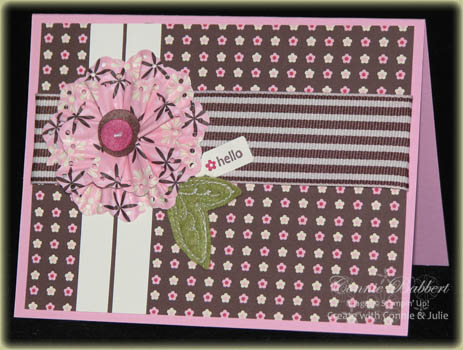

 It's Saturday and time for another Stamping 411 sketch challenge! I always love to see what the other Operators create. I'm amazed at how different our cards normally are, even using the same sketch!

