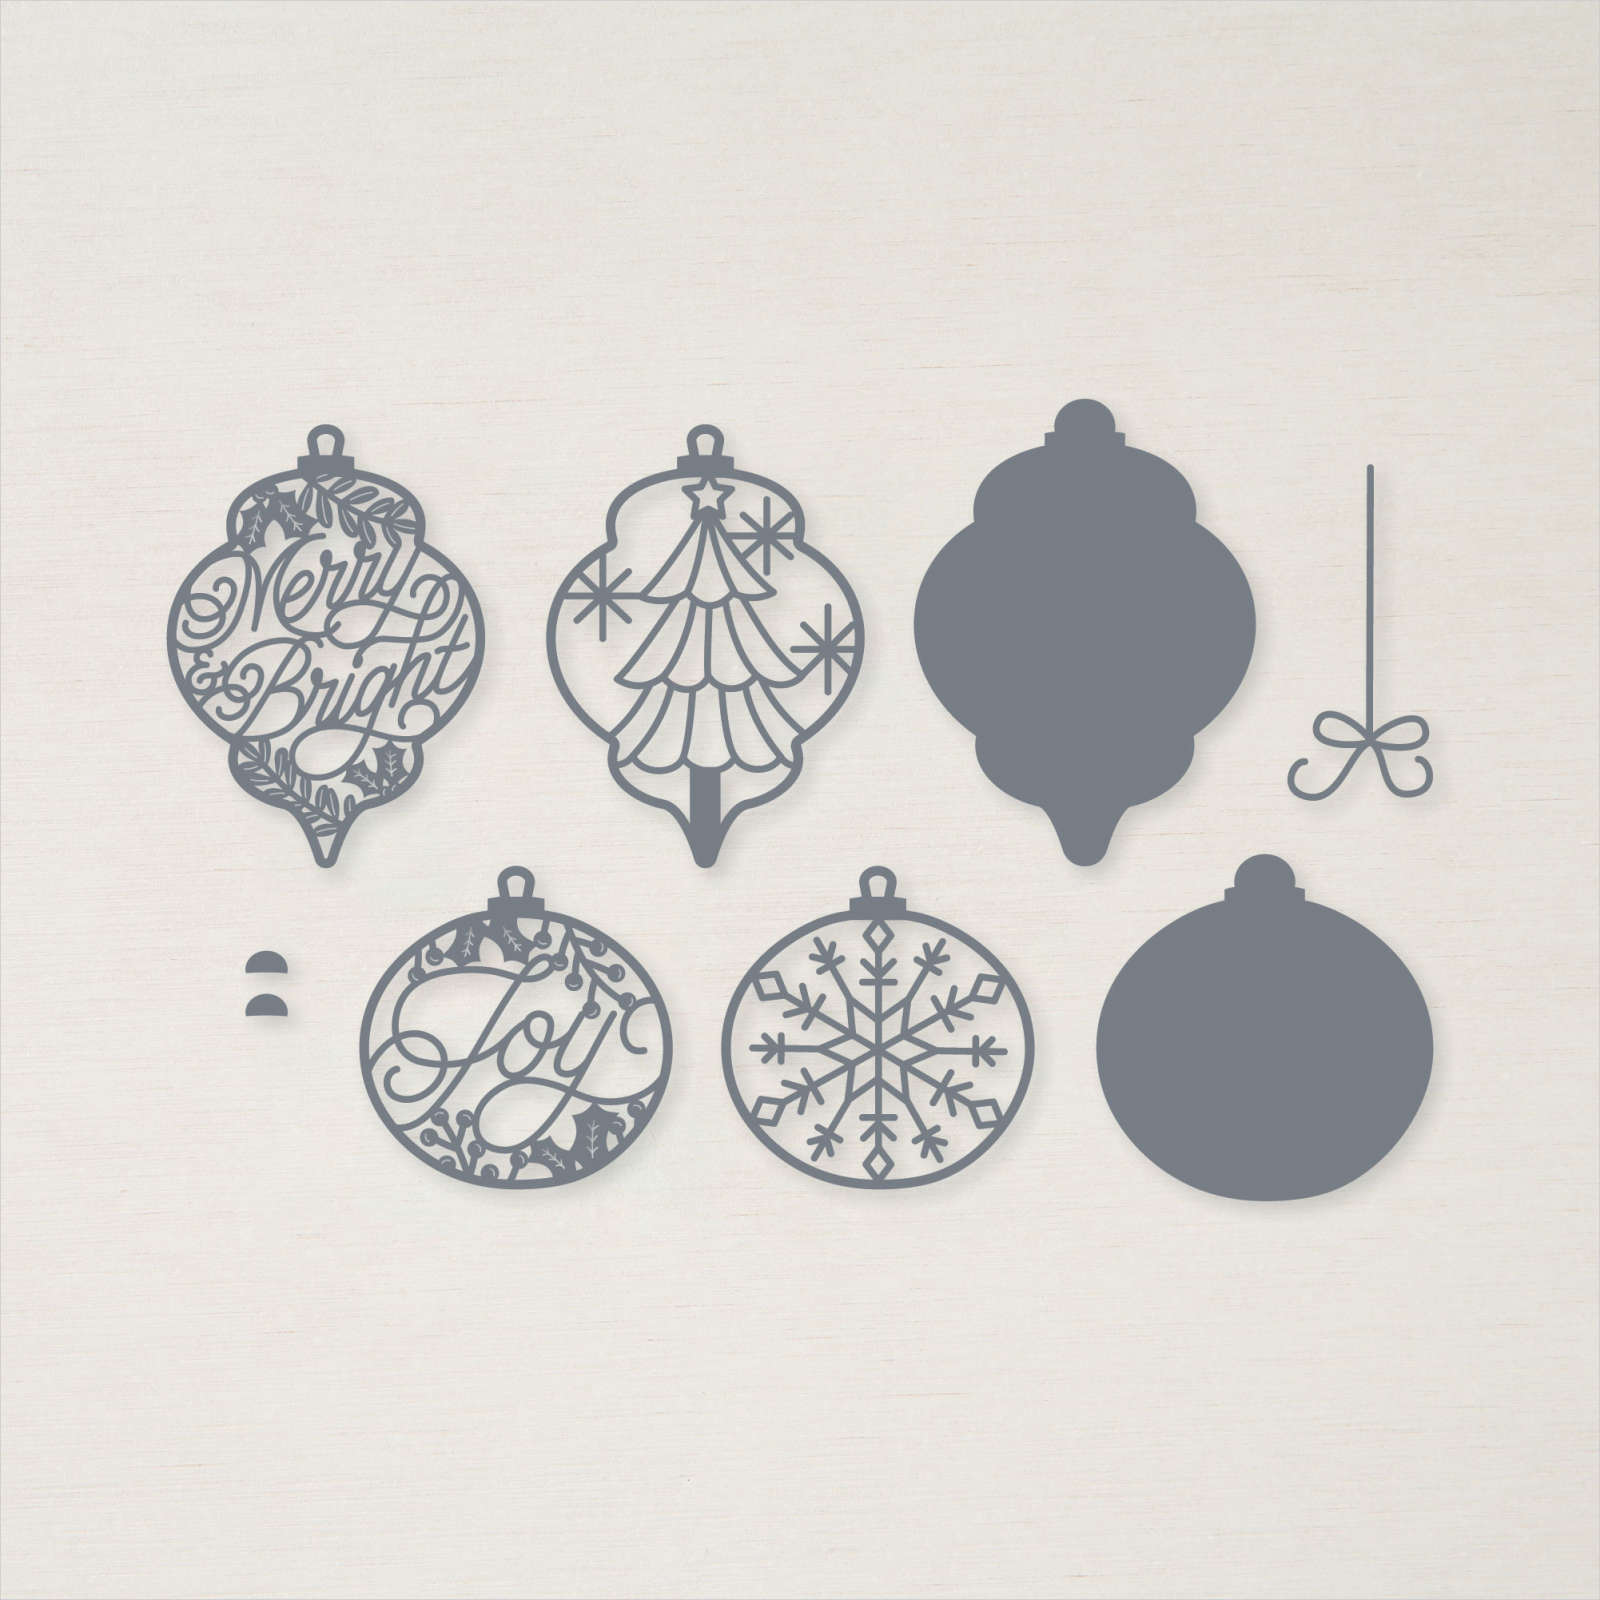
I’ve made another popular couple using the famous Delicate Baubles Dies…a boy and girl pilgrim! My girlfriend, Annette, requested these and I thought it was a great idea!
You can see my GNOME, SANTA, GINGERBREAD, ELF, PENGUIN, SNOWMAN, WITCH, MICKEY MOUSE, DRACULA, RUDOLPH, GRINCH & MAX, NUTCRACKER, SCARECROW and SANTA AND MRS CLAUS by clicking on their name.
Stampin’ Details for both cards:
- The base is 5-1/2 x 8-1/2 Crumb Cake cardstock, scored at 4-1/4 and folded.
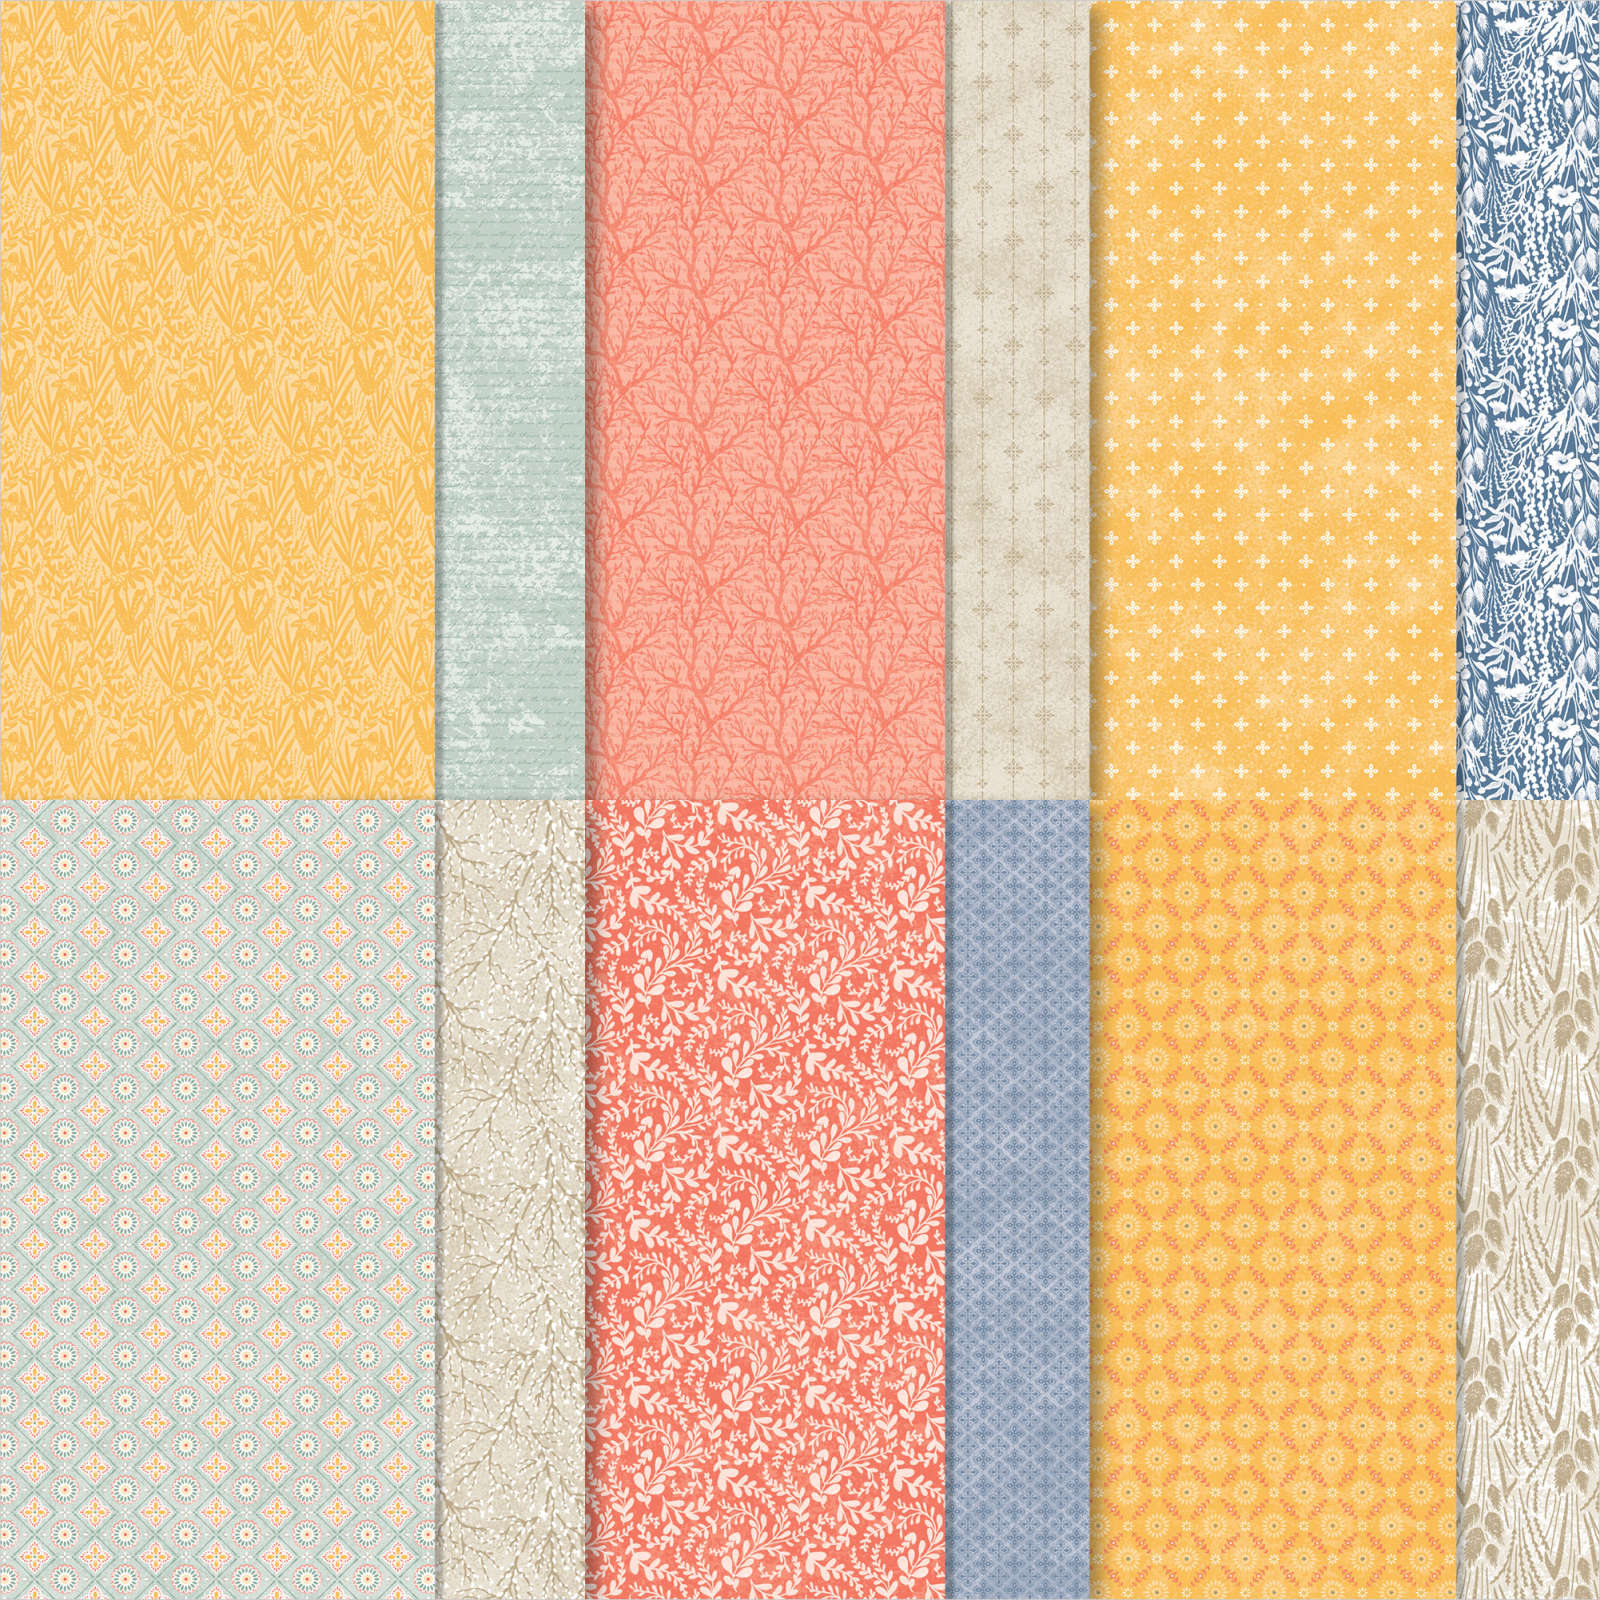
- A 4 x 5-1/4 layer of Harvest Meadow Designer Paper is added on top.
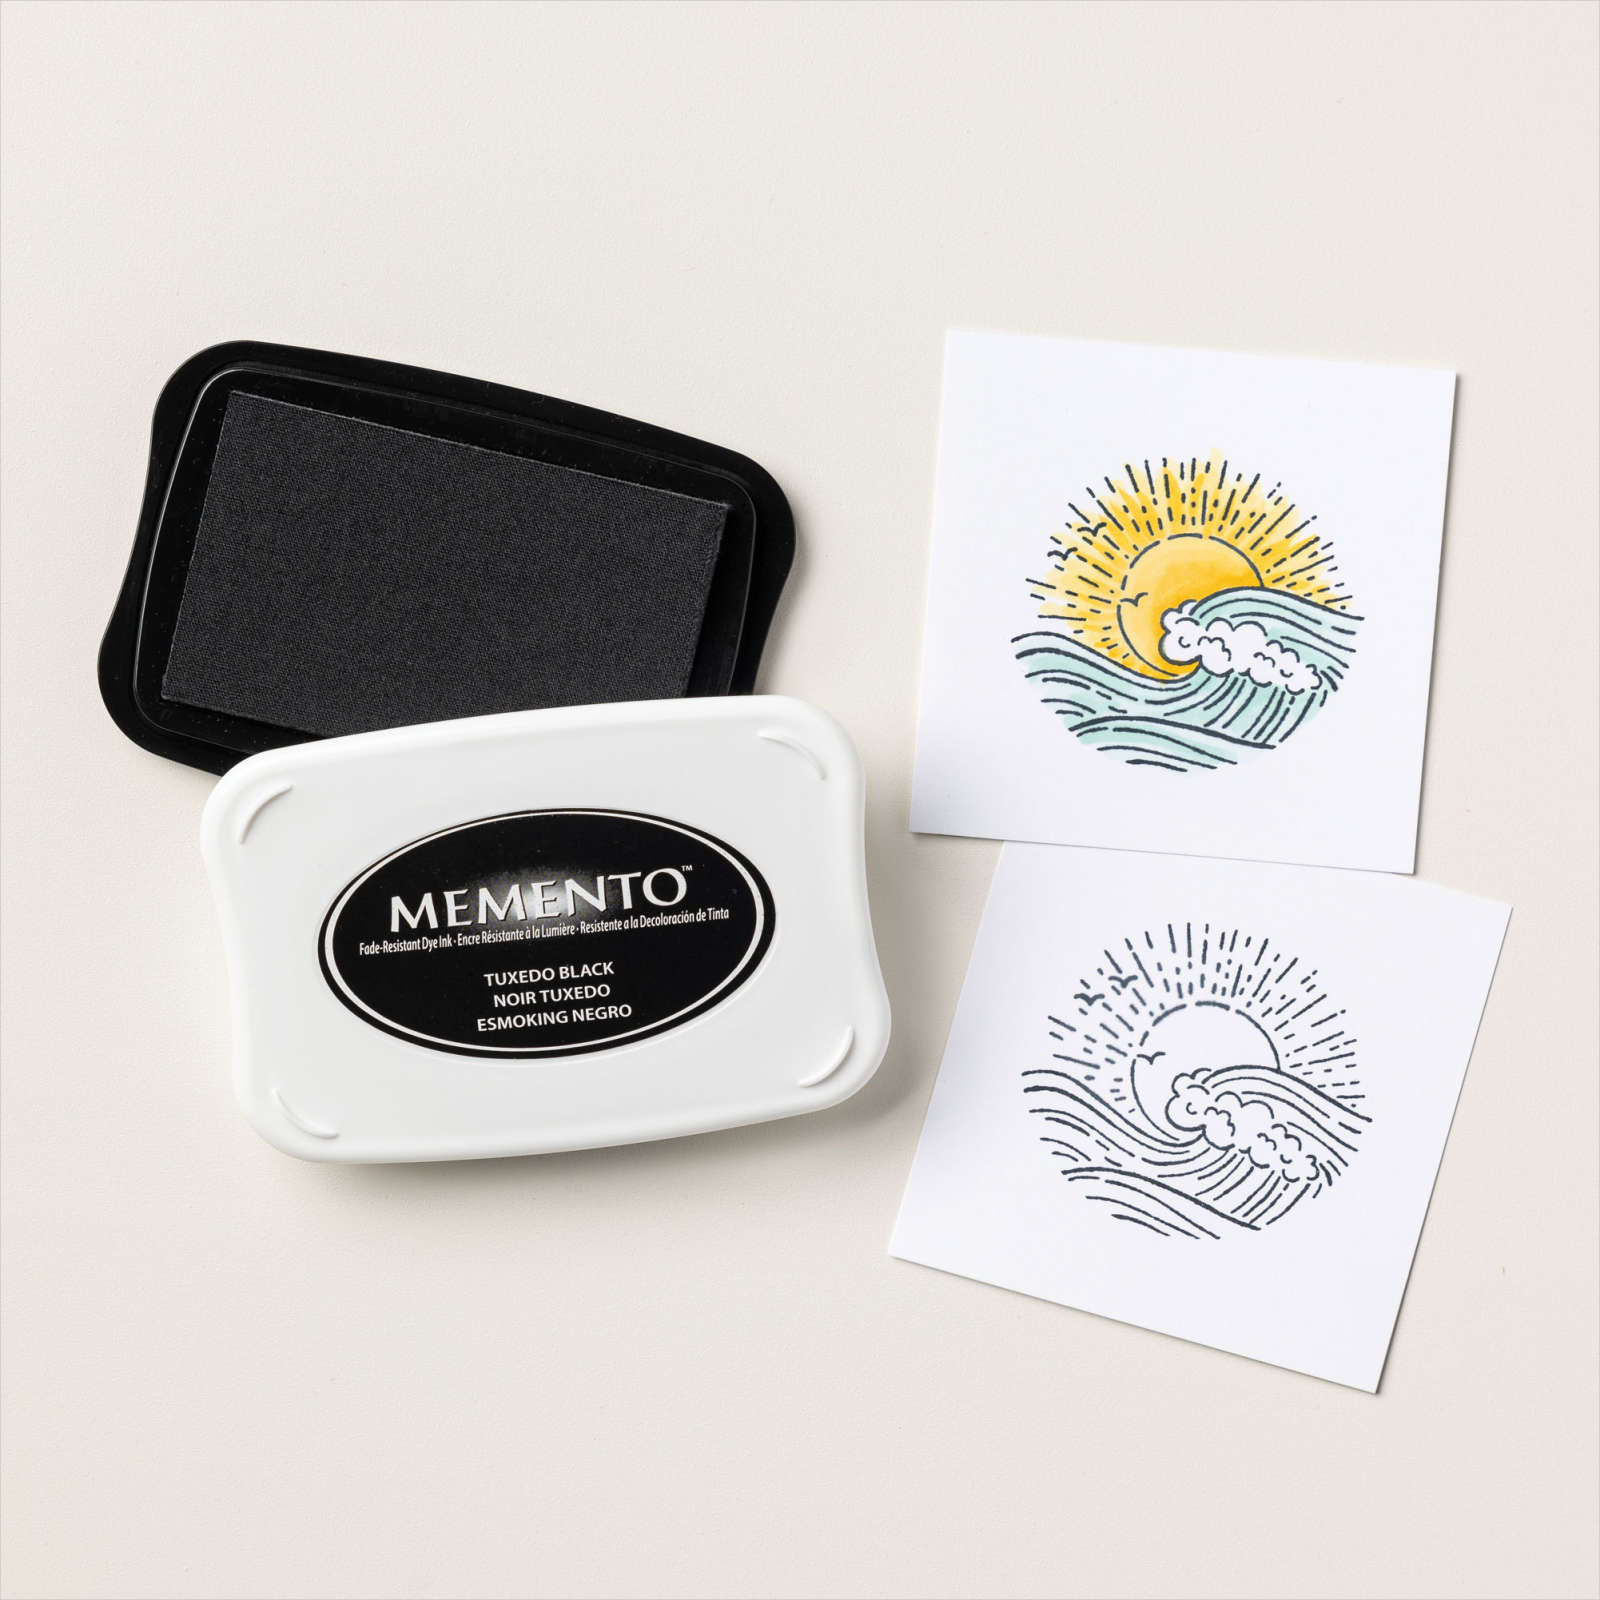
- The Banner Year greeting was stamped with Memento Black Ink on the 1-1/2 x 4 piece of Crumb Cake cardstock and adhered across the front towards the bottom.
- A trio of Genial Gems were added to the Crumb Cake background.
GIRL PILGRIM
- The arabesque solid shape in the Delicate Bauble Die was cut from Petal Pink, Basic Black and Basic White cardstocks.
- The bottom of the Basic Black was cut off and added to the Petal Pink cardstock.
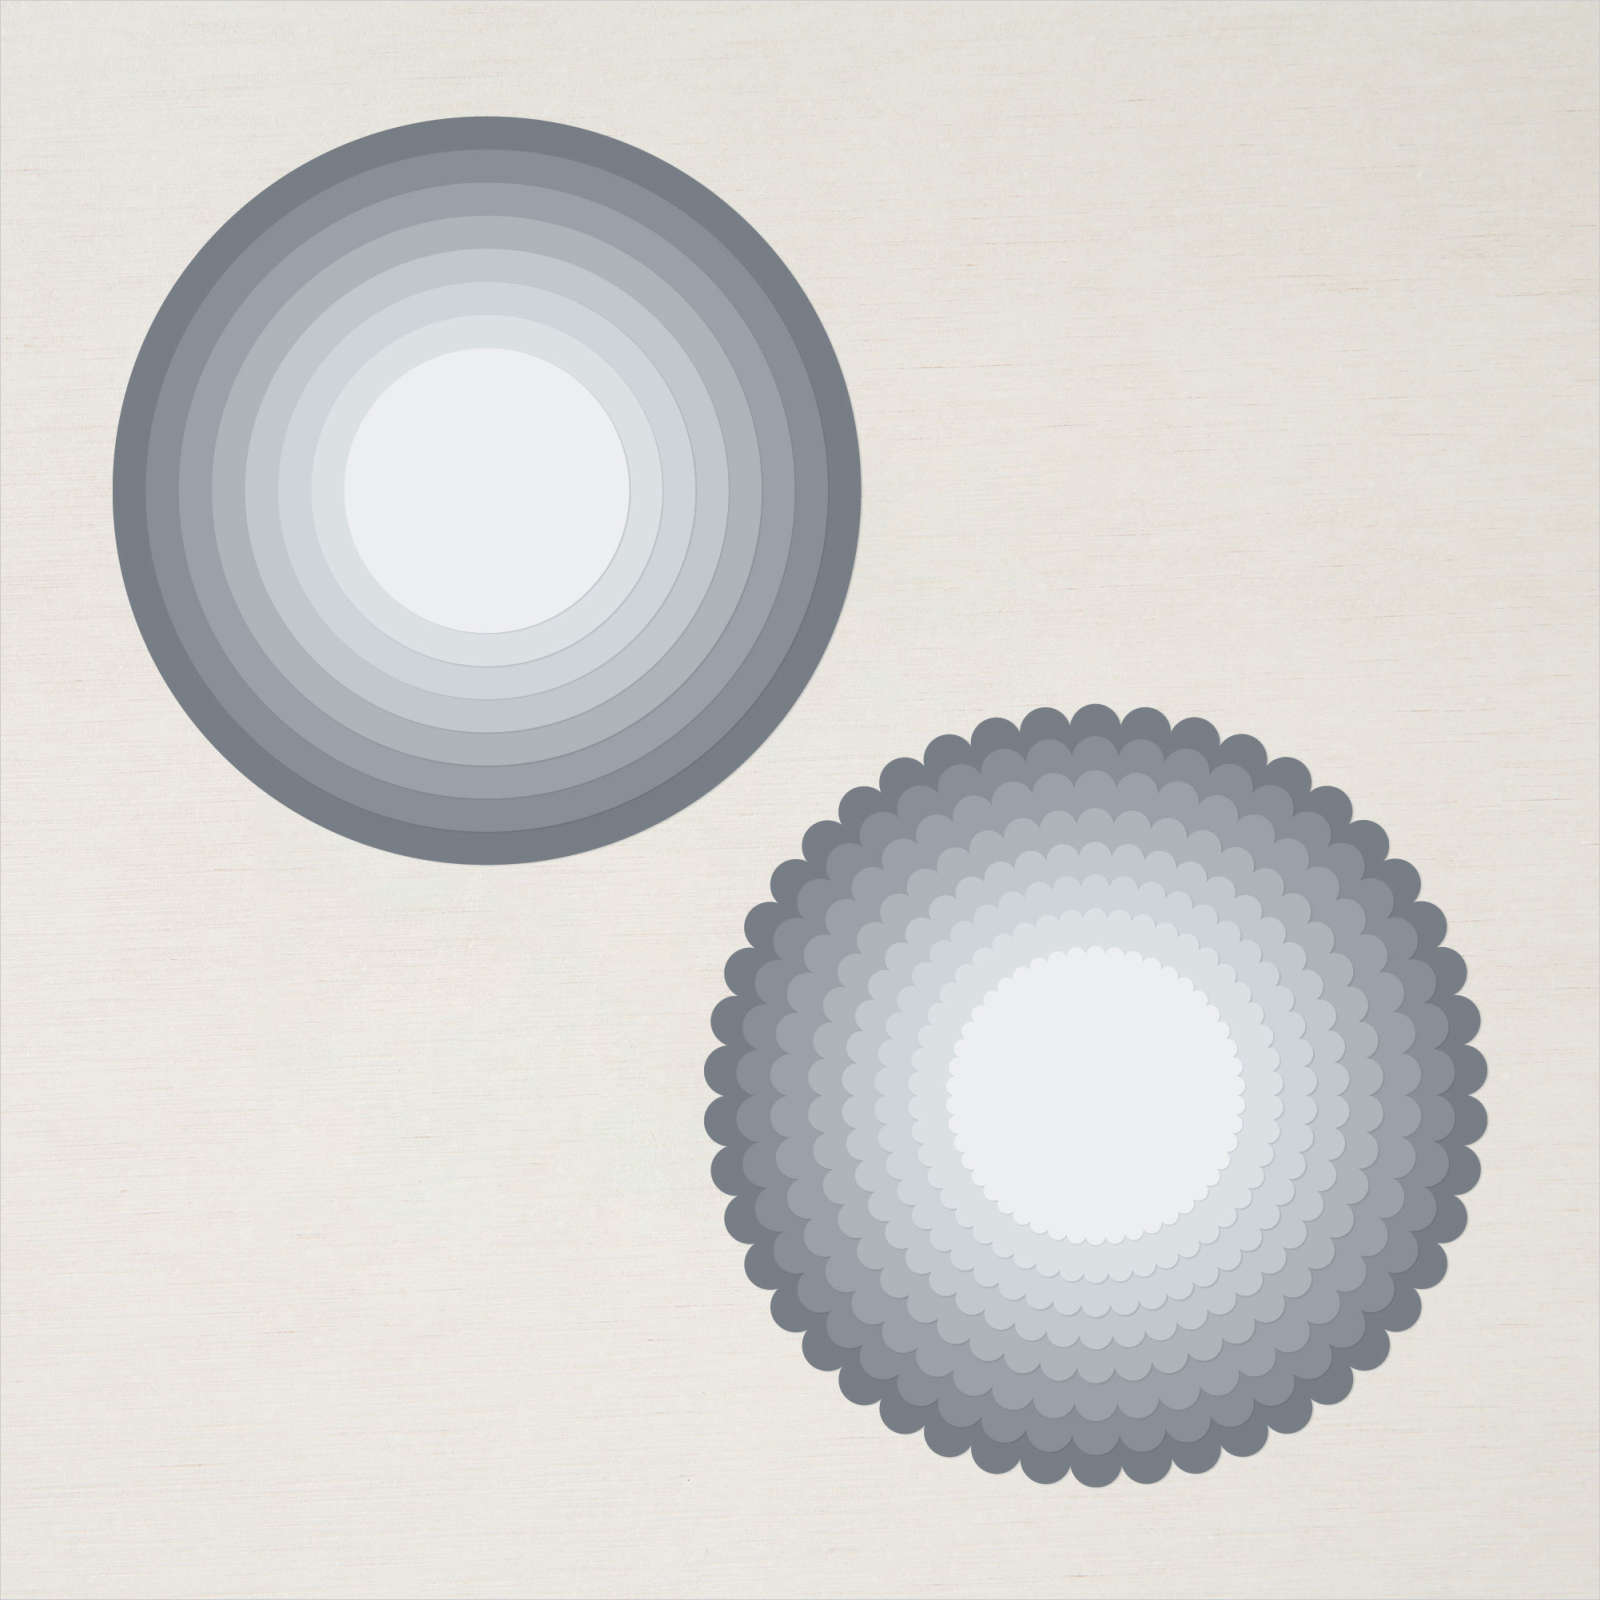
- I cut the Basic White Delicate Bauble in half, then used the Layering Circle to cut away the bonnet and adhered it over the Petal Pink Bauble. I used the scrap piece to hand-cut her collar and added that over the Basic Black at the bottom.
- I hand-cut her hair from Early Espresso cardstock and tucked it under the bonnet.
- The eyes are 3/8″ circles from Basic Black cardstock and the cheeks are 1/2″ circles from Flirty Flamingo cardstock and adhered with Mini Glue Dots. The nose is 3/8″ circle popped up with Stampin’ Dimensional.
- The bow from Delicate Baubles Dies was cut from scrap Basic White cardstock and added with a Mini Glue Dot.
- The eyes were highlighted with the White Chalk Pen.
- The pilgrim bauble was added to the front of the card with Stampin’ Dimensionals.
BOY PILGRIM
-
- The arabesque solid shape in the Delicate Bauble Die was cut from Petal Pink, Basic Black and Basic White cardstocks.
- The bottom of the Basic Black was cut off and added to the Petal Pink cardstock.
- I cut the Basic White Delicate Bauble bottom and hand-trimmed for the collar and added that over the Basic Black at the bottom.
- A 1-1/2 x 2 piece of Basic Black was angled on the sides to form the hat, then a 1/8 x 2-3/4 of Basic Black was used for the hat brim. It was added to the top of the Petal Pink Bauble.
- The buckle from All Dressed Up dies was cut from Bumblebee cardstock and added to his hat.
- I hand-cut his hair from Early Espresso cardstock and tucked it under his hat.
- The eyes are 3/8″ circles from Basic Black cardstock and the cheeks are 1/2″ circles from Flirty Flamingo cardstock adhered with Mini Glue Dots. The nose is 3/8″ circle popped up with Stampin’ Dimensional.
- A 1/4″ circle was cut from Bumblebee cardstock for his button.
- The eyes and button were highlighted with the White Chalk Pen.
- The pilgrim bauble was added to the front of the card with Stampin’ Dimensionals.
Aren’t they just the cutest couple? I love how they turned out!

 Hurray for spring! You can celebrate with Stampin' Up!'s new SPRINGTIME SCENES BUNDLE by stamping ladybugs, leaves and flowers on your paper projects in a rainbow of colors! The circle borders and cheerful sentiments add just the right touch of whimsy! We've combined the SPRINGTIME SCENES BUNDLE and the DELICATE DREAMS 12x12 DESIGNER PAPER that will give your projects a hint of bronze foil shine! You'll get step-by-step tutorials for SIX projects...4 regular cards and 2 small home decor projects great for stamp camps or retreats! See more details HERE!

How fun is Stampin' Up!'s new EASTER BASKET BUNDLE that allows you to weave your own paper Easter baskets in the colors and styles you choose? Then add one of the whimsical bunnies, chicks or Easter eggs and a cheerful greeting to further personalize your springtime creation! We've combined the EASTER BASKET BUNDLE and the EASTER JOY 12x12 DESIGNER PAPER that will give your projects a hint of metallic foil shine! You'll get step-by-step tutorials for SIX projects...4 regular cards and 2 darling Easter Favors for your table or to give to family or friends! See more details HERE!

Stampin' Up!'s SWEET BUGS BUNDLE showcases a sweet selection of garden critters helping to capture the joy of relaxing in the garden! Stamp the caterpillars, ladybugs, bees and others, then add mushrooms, flowers and garden touches to finish your creation. We've combined the SWEET BUGS BUNDLE and the CUTE AS A BUG 12x12 DESIGNER PAPER featuring even more images to cut out and use! You'll get step-by-step tutorials for SIX projects...4 regular cards and, 2 ENHANCED fun fold cards...to get you creating! See more details HERE









Leave a Reply