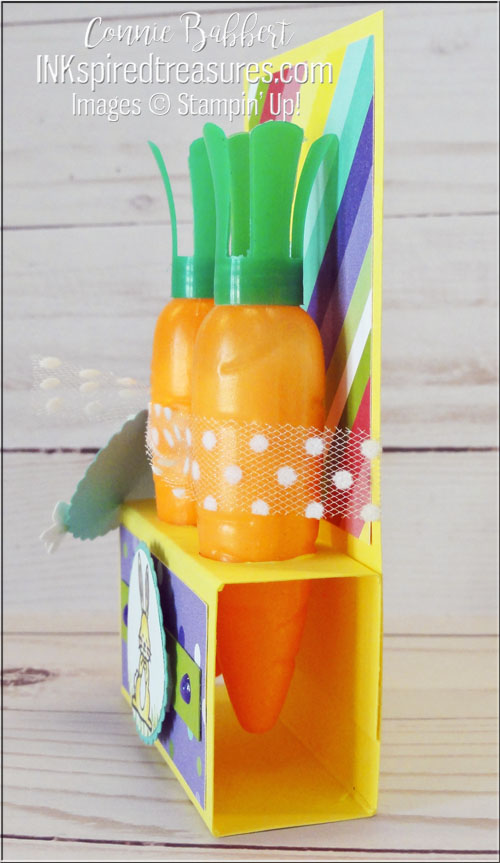
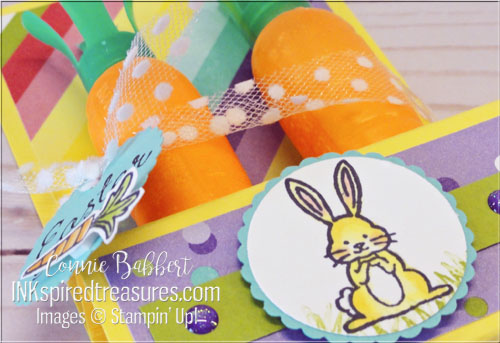
Happy Saturday! It’s time for the Create with Connie and Mary Saturday Blog Hop and our theme this week is Easter favors (to coordinate with the Easter cards we did last week)! Not getting together for Easter dinner this year, but still plan on having the grandkid families over (separately!) to hunt Easter eggs outside…keeping a distance of 6 feet, of course!
WELCOME EASTER
I made a cello bag holder for some Palmer Chocolate Easter Eggs. Love that little bunny in the Welcome Easter stamp set! And, like last week, I used the Best Dressed Designer Paper…such nice colors for Easter!

Stampin’ Details:
- The base is actually two parts.
- On the left the 2-1/2 x 6 piece of Best Dressed floral DSP was adhered to a 2-3/4 x 6 piece of Mint Macaron cardstock.
- On the right, a tray was made from 1-3/4 x 5-1/4 piece of Mint Macaron, scored with the short side on top at 1/4 and 1-1/2.
- The eggs were adhered to the center of the tray with Mini Glue Dots, then the tray added to the larger base to form one piece.

- The tag was cut with the Bonanza Die from Mint Macaron cardstock.
- A 3/4 x 2-1/4 piece of striped Best Dressed DSP was added to the bottom.
- The bunny was stamped with Memento Black Ink on Whisper White cardstock and colored with Light Flirty Flamingo and Light Crumb Cake Blends. It was hand-cut and added to the tag with Stampin’ Dimensionals.
- Happy Easter was stamped with Memento Black on Whisper White cardstock and hand-cut closely around the words, then adhere to the top of the tag.
- A trio of Nobel Peacock pink Rhinestones were added in the background.

- The base piece slides into the 3 x 9 Printed Gusset Cellophane Bag and is tied with Petal Pink 1/4 Metallic Edge Ribbon with the tag added to the ribbon.

SOOOO cute!!! This was so fun to design! Next up on our blog hop is our Create with Connie and Mary website, then on to creative Mary Brown, or head backwards to see Melissa’s fabulous card and see what everyone did with this challenge!


But first check out our current Collection…

How fun to create a traditional Christmas Village using Stampin' Up!'s WELCOME NOEL BUNDLE! Stamp the houses, trees and deer elements to build your holiday scene or cut them quickly with the detailed shapes and the WELCOME NOEL DIES. We used greetings from the Winter Adventures stamp set or use your own sentiments to finish it off. We've paired the WELCOME NOEL BUNDLE with the WINTER DREAMS 12x12 DESIGNER PAPER featuring white on deep blue designs for your winter-themed crafts. Our WELCOME NOEL COLLECTION gives you step-by-step tutorials for FOUR cards and TWO enhanced special fold card ideas for a total of SIX tutorials to use in your classes or personal use. See more details HERE!

Create the feel of a nature walk through the winter woods with Stampin' Up! FROSTED PINECONES BUNDLE! Stamp the pinecone and then add textured details using the FROSTED PINECONES DECORATIVE MASKS or cut the detailed shapes with the FROSTED PINECONES DIES. Add one of the heartfelt winter sentiments to finish it off. We've paired the FROSTED PINECONES BUNDLE with the WHISPERING WOODS 12x12 DESIGNER PAPER. Our FROSTED PINECONES COLLECTION gives you step-by-step tutorials for FOUR cards and TWO small decor ideas for a total of SIX tutorials, all full of seasonal charm. See more details HERE!

Boo! October brings Halloween and the playful images in Stampin' Up!'s WEB OF FUN BUNDLE will create a little spooky fun on your cards, paper crafts, and scrapbook pages! The large greetings and detailed spiders and webs will fill your project space with eerie delights! We've paired the WEB OF FUN BUNDLE with the FRIGHTENING FUN 12x12 DESIGNER PAPER containing even more Halloween patterns and designs! Our WEB OF FUN COLLECTION gives you step-by-step tutorials for FOUR cards and TWO favor ideas for a total of SIX tutorials, all full of festive Halloween charm. See more details HERE!