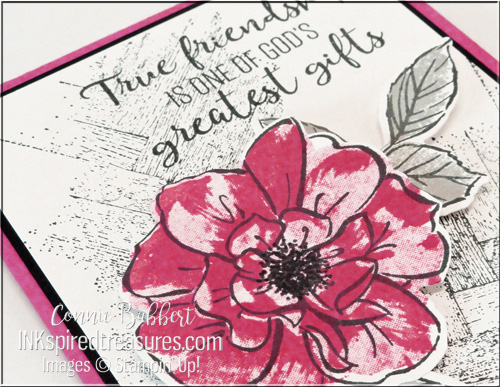
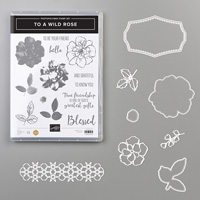
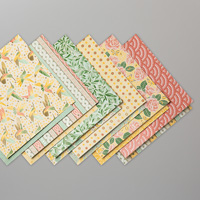
Happy Saturday! It’s time for another Saturday Blog Hop! This week our CCMC theme is Vintage or Antique cards! Should be a FUN challenge! I don’t normally do that style, so it will be a stretch for me! I pulled out To a Wild Rose because the flower looks very vintage and old-fashioned to me, and combining it with Woven Threads Designer Paper was a perfect match for a vintage look!

Stampin’ Details:
- The base is 5-1/2 x 8-1/2 Thick Whisper White cardstock, scored at 4-1/4 and folded.
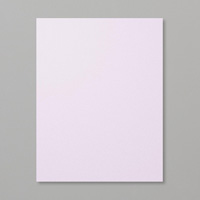
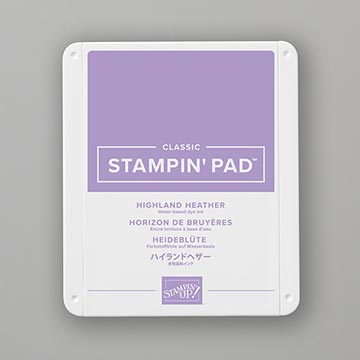
- The 4 x 5-1/4 layer of Rococo Rose cardstock was stamped with the Birch Background stamp in Rococo Rose Ink. It was torn along the right side and adhered.
- A 2-1/2 x 4 piece of Woven Threads DSP was distressed along the edges and inked with Rococo Rose Ink and a sponge dauber. It was added towards the left side.
- A doily was cut in half and tucked under the top of the DSP.
- Under the 1/2 x 4 strip of coordinating Woven Threads DSP that was sponged along the edges, a length of 3/8 Scallop Lace Trim was added and tied in a bow.
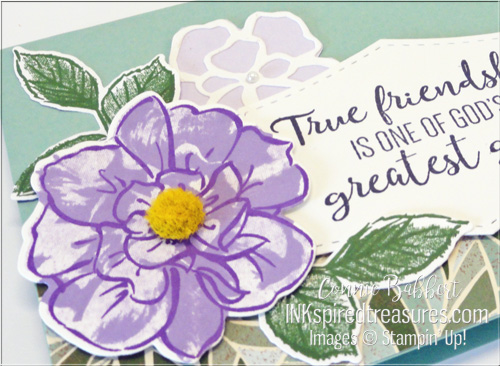
- The flower was stamped off with Seaside Spray Ink on Whisper White, then stamped second full strength and outlined full-strength and cut with the Wild Rose Die. A duplicate was made, then the center cut out and layered over the first rose. The edges were crumpled for some dimension. A trio of large Pearls were added to the center and it was popped up on the front with Stampin’ Dimensionals.
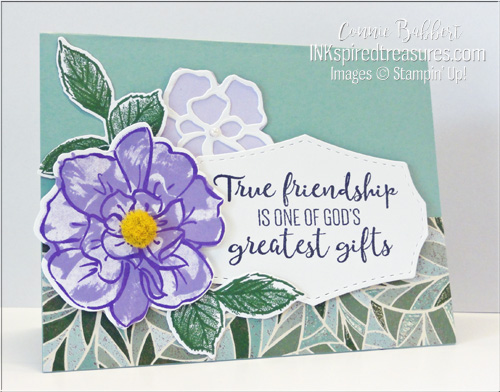
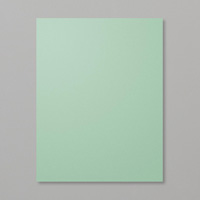
- Two leaves were stamped with Soft Seafoam Ink, cut with the Wild Rose Dies and tucked under the flower.
- Hello was stamped on a 3/4 x 2 piece of Whisper White with Rococo Rose Ink and cut with a banner end. It was added under the flower, too.

I’m really happy with how this turned out! Continue on the “Vintage” blog hop…next up is our Create with Connie and Mary website, then on to creative Mary Brown, or head backwards to see Melissa’s fabulous card!


Ghosts and bats and cats, oh my! The OH MY FRIGHT COLLECTION will kick off your Halloween season with sweet and spooky images! Create layers of scary fun with a twisted tree and add cats, bats, a spiderweb, a witch's hat and other accessories to decorate your cards, tags, scrapbook pages and other crafty projects! Finish with a playful Halloween greeting! We've combined the OH MY FRIGHT BUNDLE and the magical patterns in the FRIGHTFULLY FUN 12x12 DESIGNER PAPER! You'll get step-by-step tutorials for FOUR cards and TWO decorated White Gable Box ideas in our OH MY FRIGHT COLLECTION! See more details HERE!

The SIMPLY LEAVES PUNCH BUNDLE can be used for ANY season! Follow our card journey through Spring, Summer, Fall and Winter using this versatile stamp set and punch! The patterned leaves will add natural detail and texture on your cards and projects, then add one of the simple greetings to finish. We've combined the SIMPLY LEAVES PUNCH BUNDLE and the garden neutral patterns in the VALLEY OF BLOOM 12x12 DESIGNER PAPER! You'll get step-by-step tutorials for EIGHT cards...two card ideas from each season...in our SIMPLY LEAVES CARD COLLECTION! See more details HERE!

Create wonderful dimensional poinsettias in a variety of sizes with the PRETTY POINSETTIA BUNDLE! The dies cut and emboss at the same time for lots of detail and texture. The coordinating stamp images add fun seasonal greetings, sprigs and other festive touches to your cards and projects. We've combined the PRETTY POINSETTIA BUNDLE and the A STITCHED SEASON 12x12 DESIGNER PAPER for a traditional holiday look you'll love! You'll get step-by-step tutorials for SIX projects...FOUR cards and TWO favors in our PRETTY POINSETTIA COLLECTION! See more details HERE!


 Stampin’ Details: