While Mary and I are at Convention, we are swapping gift card holders for Create with Connie and Mary using the Pop N Cuts Die. It's a combination of two gift holders you've probably seen…but put together in a unique way! If you see us, make sure to stop and say hello and swap with us (while supplies last)! If you are a subscriber…let us know that, too! We'd love to meet you!

Mary filmed a video so you could see exactly how our holder is put together, so if you miss out on getting one…you can still see what we did! Mary used butterflies on hers…I used my favorite Flower Shop and Pansy punch flowers! lol! And we used a combination of colors and designer paper so not all look exactly like these…just sayin'!
Love it…don't you? Sounds like we are in for a fast paced, exciting NEW Convention this year! We can't wait to see it all and catch up with old (and new!) friends! Hope to see you there!
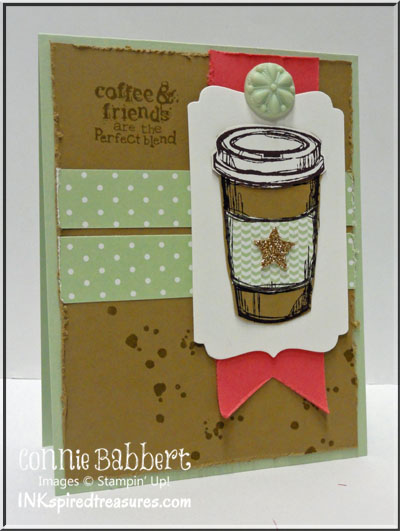
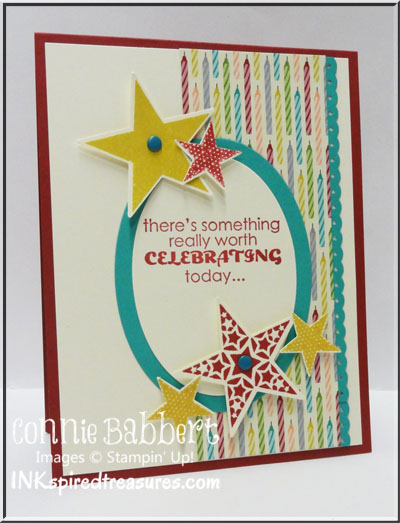
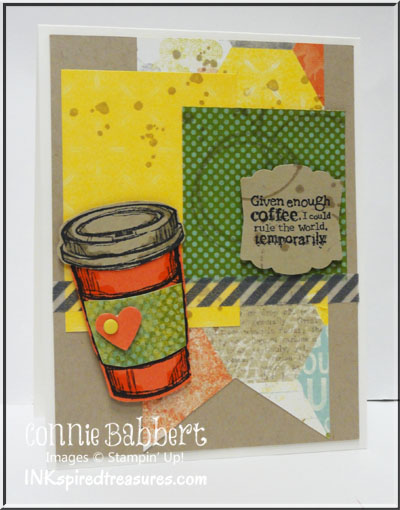
.jpg) We are just starting Week 4 over on
We are just starting Week 4 over on  We are just finishing up Week 3 over on


.png)