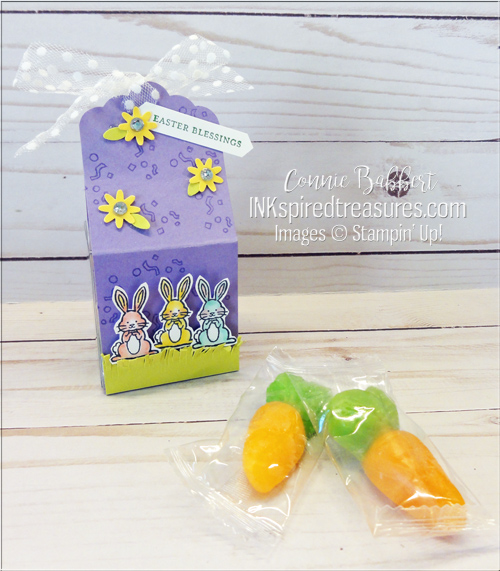
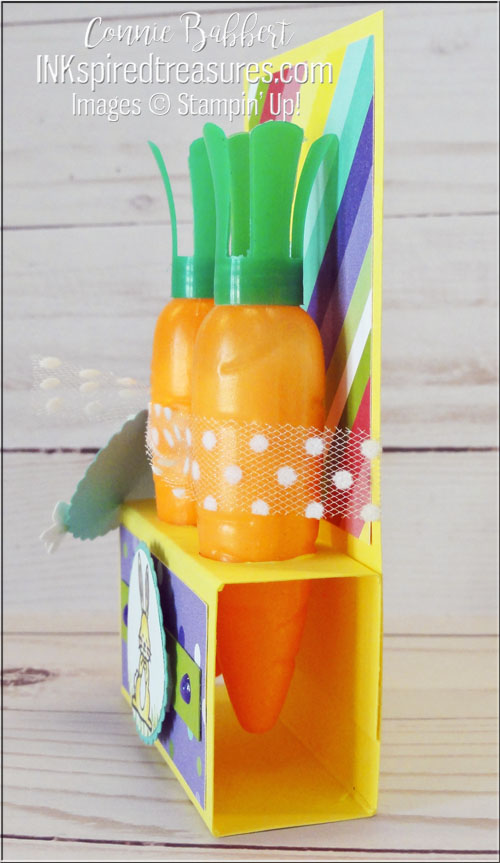
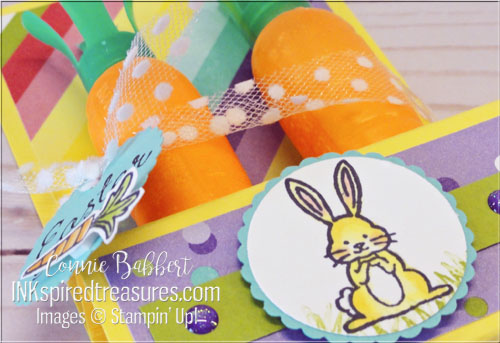
Happy Saturday! It’s time for another Saturday Blog Hop! Our theme is “Easter Favors”. I love doing little favors for the place settings at holdays. This is a pretty quick one! The Clear Tiny Treats box does most of the work!
Stampin’ Details:
- Assemble the Clear Tiny Treat Box and fill with treats! (I bought these gummy carrots at The Dollar Tree)!
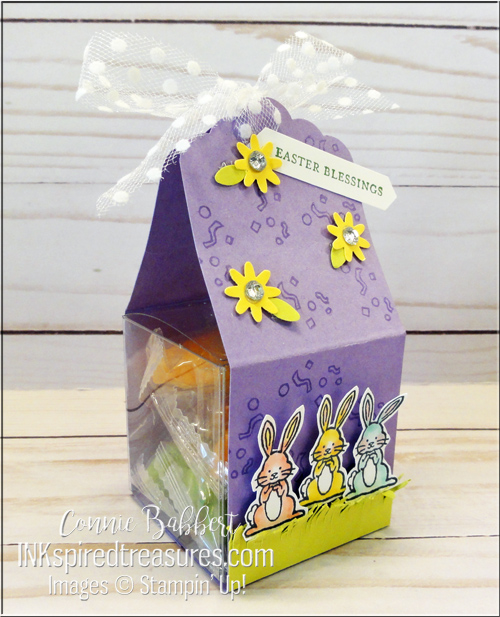
- Cut two pieces of Highland Heather cardstock at 2 x 5-7/8 and score both at 2-1/2 and 4-5/8.
- Stamp with the confetti image from Best Bunny stamp set with Highland Heather Ink randomly over the entire two pieces.
- Punch the larger panel end of both pieces with the Scallop Tag Topper Punch.
- Place Tear & Tape at the other end of one piece right along the edge and wrap the two pieces around the Clear Tiny Treat Box to fit, then adhere. The ends overlap about 1/4″ under the box.
- Add the 5/8″ Polka Dot Tulle Ribbon thru the holes in the tag and tie a bow.
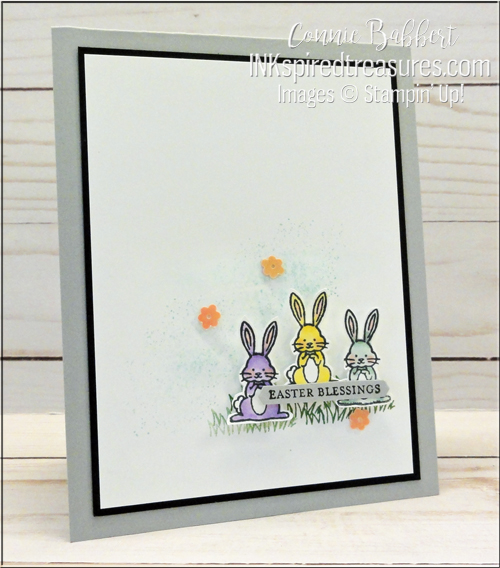
- Cut a 1/2 x 2 piece of Lemon Lime Twist cardstock and cut slits with scissors to make the “grass”. Adhere to bottom of front.
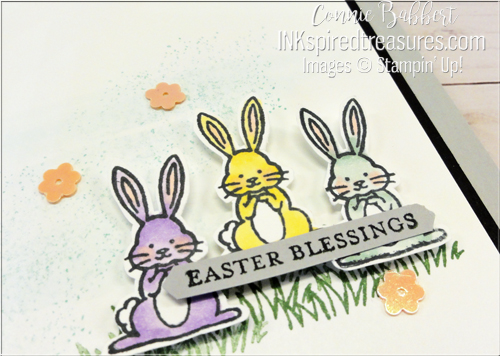
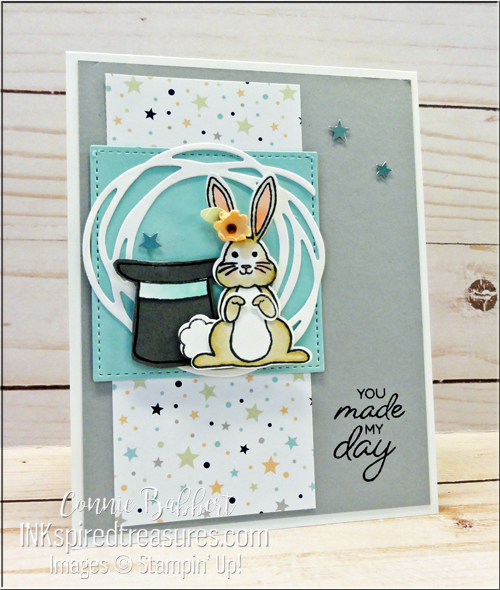
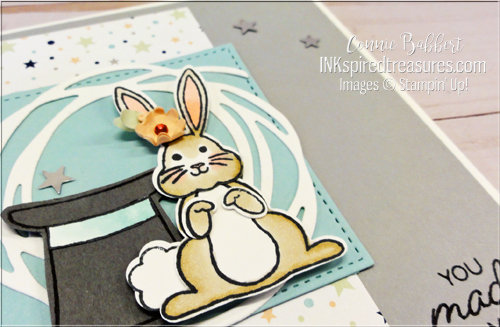
- Stamp the small bunnies in Best Bunny with Memento Black Ink and color with Flirty Flamingo, Daffodil Delight and Pool Party Stampin’ Blends. Color ears and cheeks with Flirty Flamingo Blends. Add to front above grass with Mini Stampin’ Dimensionals.
- Punch three flowers from Daffodil Delight cardstock and leaves from Lemon Lime Twist using the Bitty Blooms Punch Pack. Add to front with Mini Glue Dots.
- Add Rhinestone Jewels to centers of each flower.
- Stamp Easter Blessings from Itty Bitty Greetings with Memento Black Ink and punch with Classic Label Punch that is shortened. Tuck end under flower.
Isn’t that a fun favor??? Now, continue the blog hop to see what our Design Team did with the Easter Favor Challenge this week! I can’t wait to see their ideas! Next up is our Create with Connie and Mary website, then on to creative Mary Brown, or head backwards to see Melissa’s fabulous card!


Hurray for spring! You can celebrate with Stampin' Up!'s new SPRINGTIME SCENES BUNDLE by stamping ladybugs, leaves and flowers on your paper projects in a rainbow of colors! The circle borders and cheerful sentiments add just the right touch of whimsy! We've combined the SPRINGTIME SCENES BUNDLE and the DELICATE DREAMS 12x12 DESIGNER PAPER that will give your projects a hint of bronze foil shine! You'll get step-by-step tutorials for SIX projects...4 regular cards and 2 small home decor projects great for stamp camps or retreats! See more details HERE!

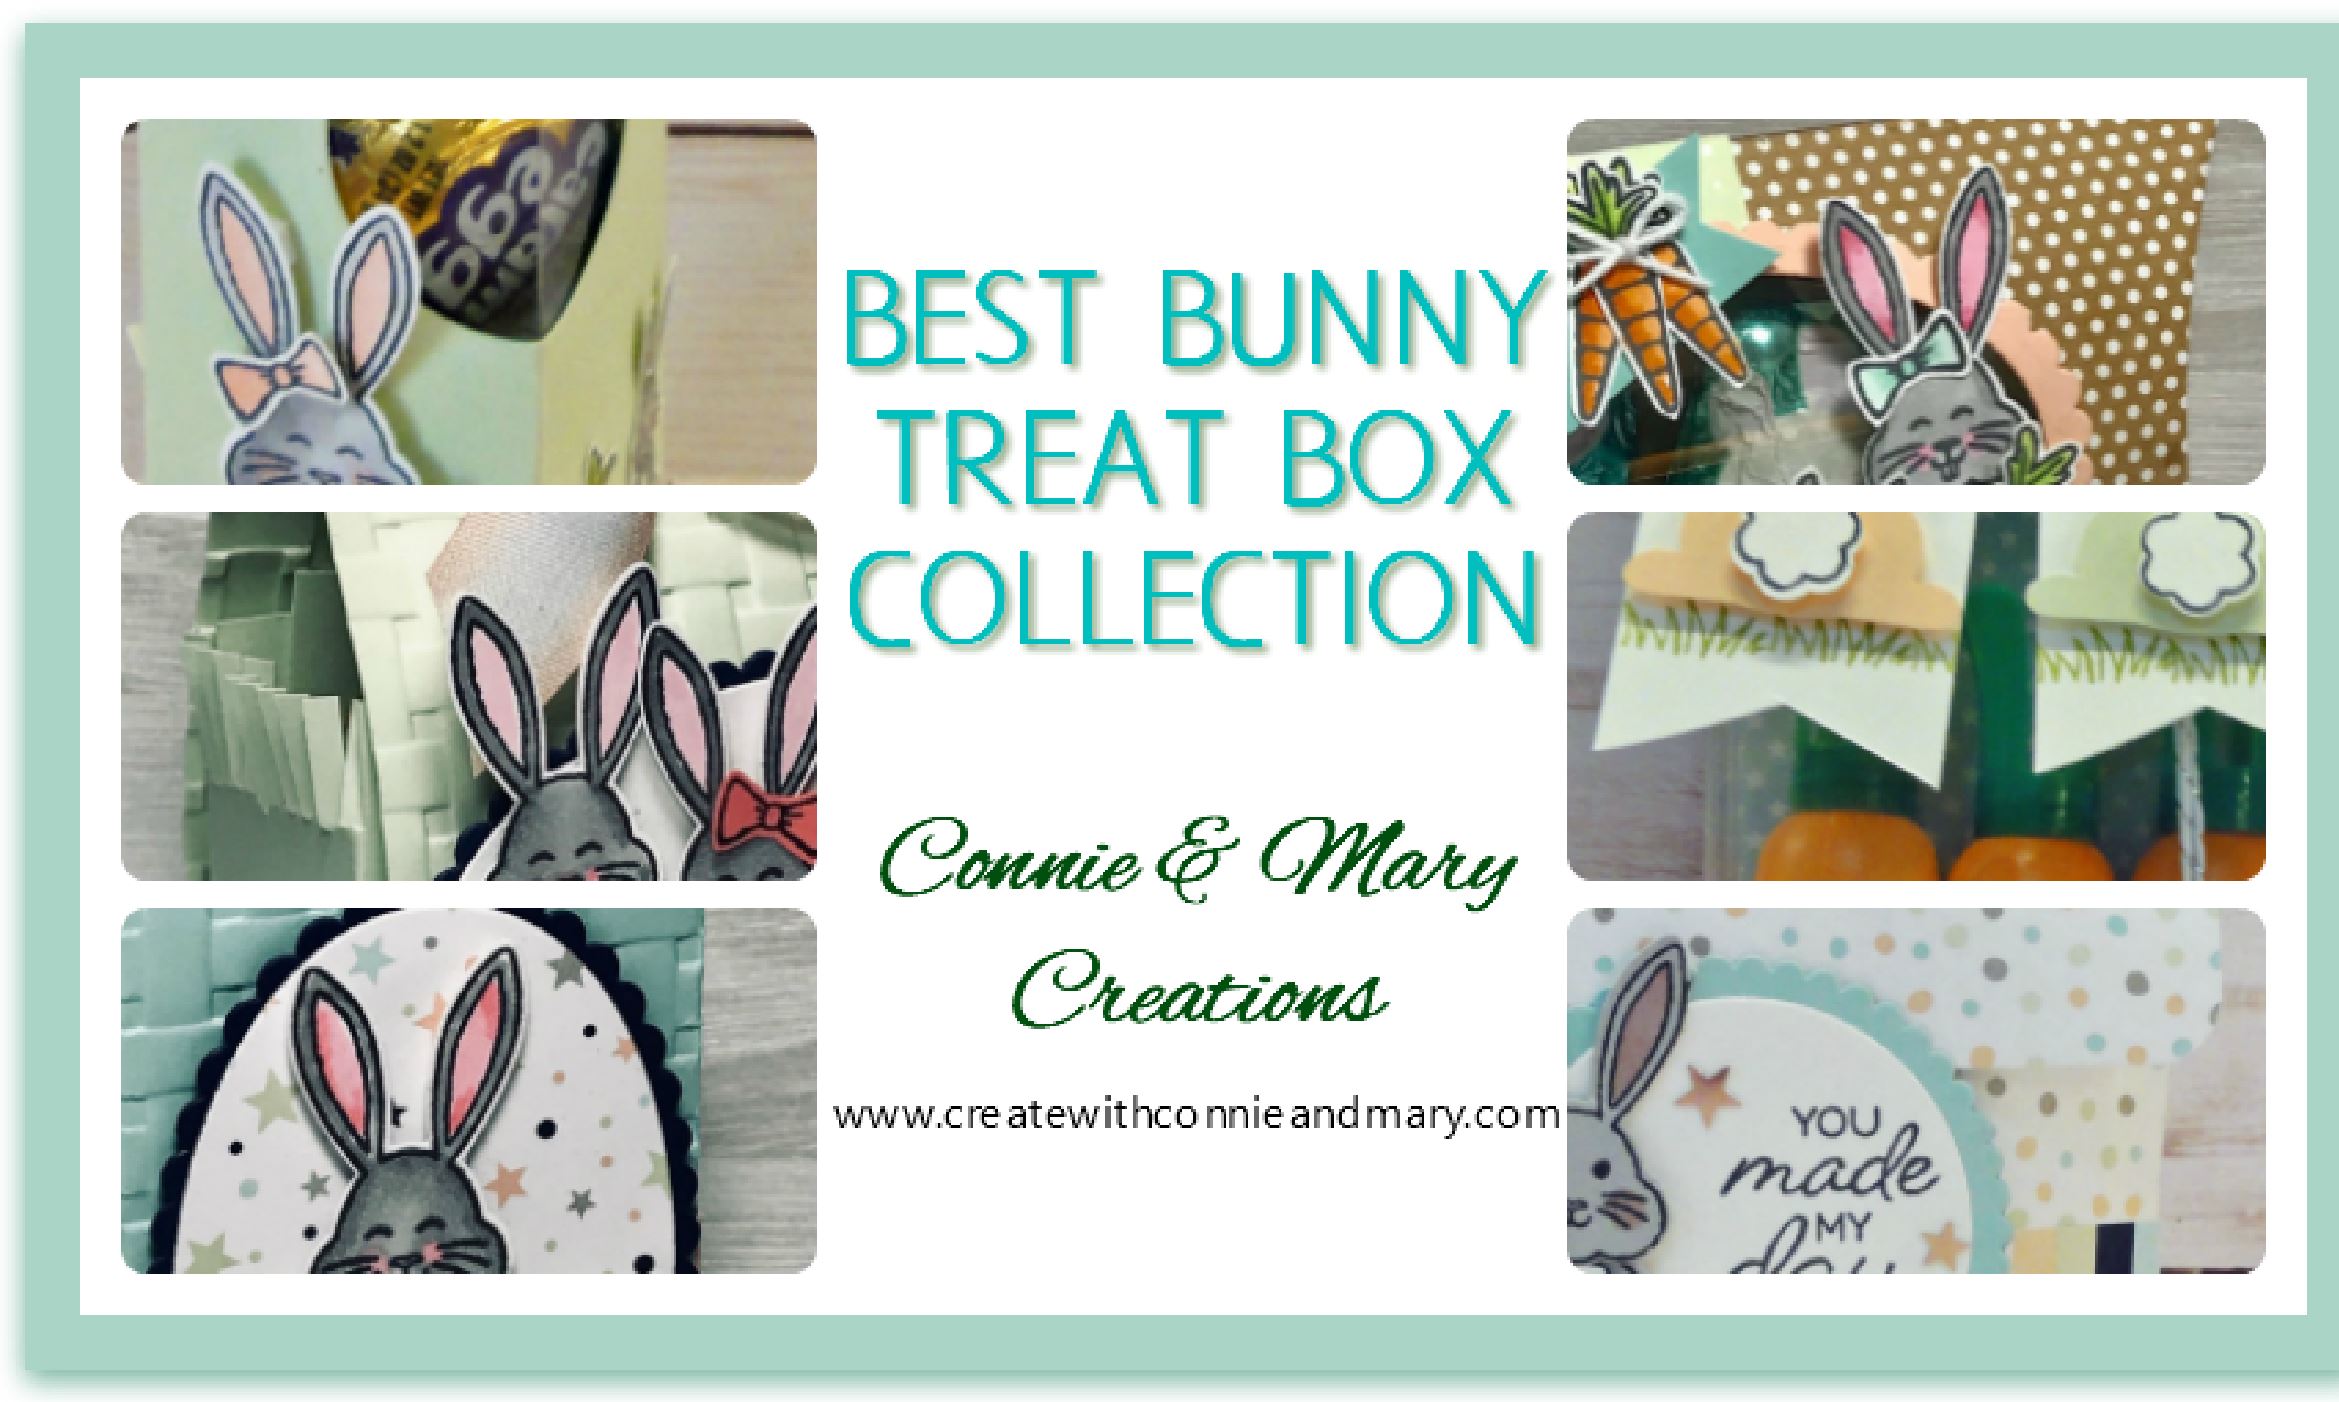
How fun is Stampin' Up!'s new EASTER BASKET BUNDLE that allows you to weave your own paper Easter baskets in the colors and styles you choose? Then add one of the whimsical bunnies, chicks or Easter eggs and a cheerful greeting to further personalize your springtime creation! We've combined the EASTER BASKET BUNDLE and the EASTER JOY 12x12 DESIGNER PAPER that will give your projects a hint of metallic foil shine! You'll get step-by-step tutorials for SIX projects...4 regular cards and 2 darling Easter Favors for your table or to give to family or friends! See more details HERE!

Stampin' Up!'s SWEET BUGS BUNDLE showcases a sweet selection of garden critters helping to capture the joy of relaxing in the garden! Stamp the caterpillars, ladybugs, bees and others, then add mushrooms, flowers and garden touches to finish your creation. We've combined the SWEET BUGS BUNDLE and the CUTE AS A BUG 12x12 DESIGNER PAPER featuring even more images to cut out and use! You'll get step-by-step tutorials for SIX projects...4 regular cards and, 2 ENHANCED fun fold cards...to get you creating! See more details HERE
 Since Best Bunny is STILL on my desk from working on the tutorials for the


 Stampin’ Details: