The next few weeks our design team for Create with Connie and Mary will be taking a tour of the new July-December Mini Catalog! This week’s blog hop theme is our Favorite July-Dec Mini Catalog Designer Paper!
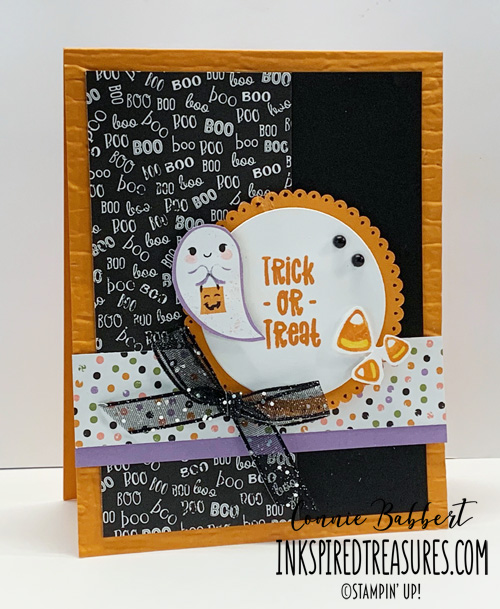
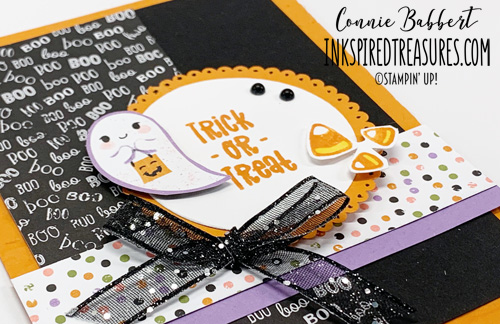
CUTE HALLOWEEN DSP
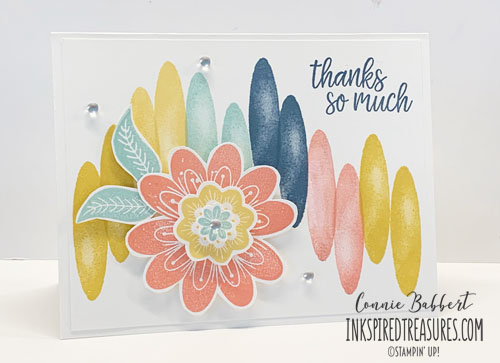
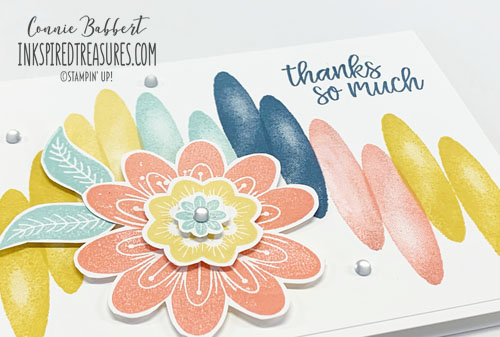
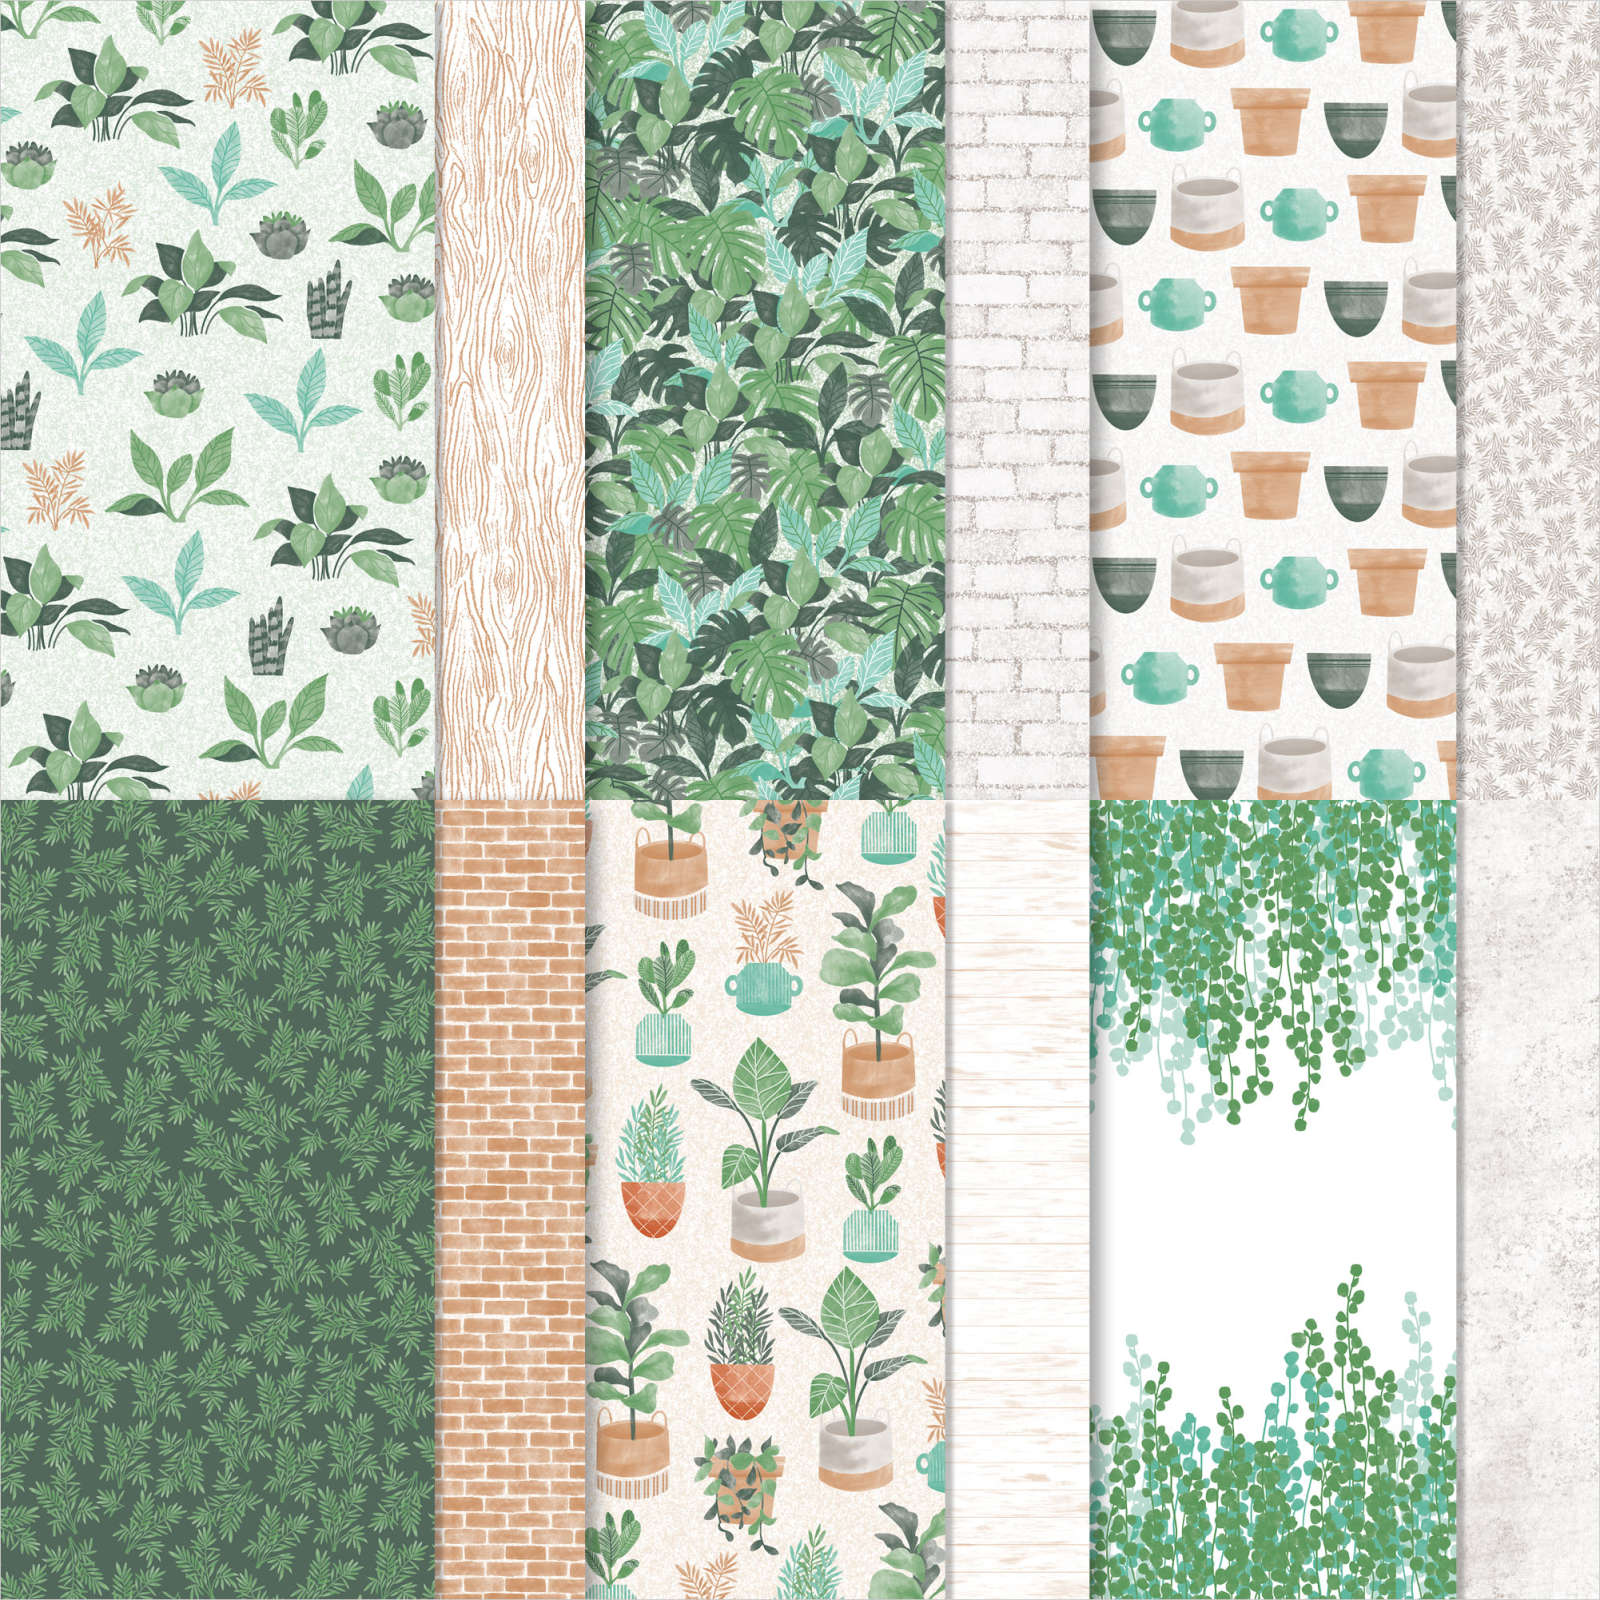
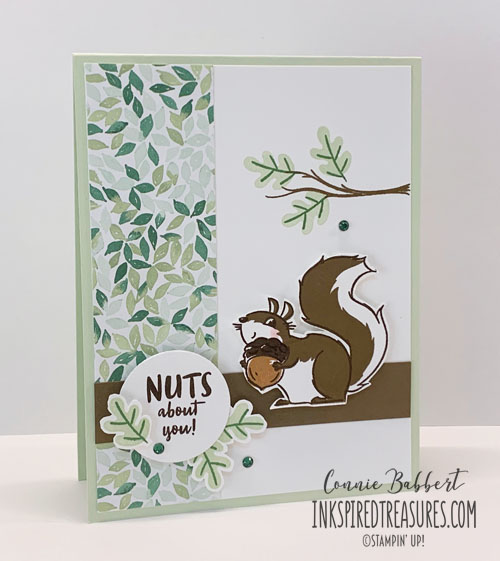
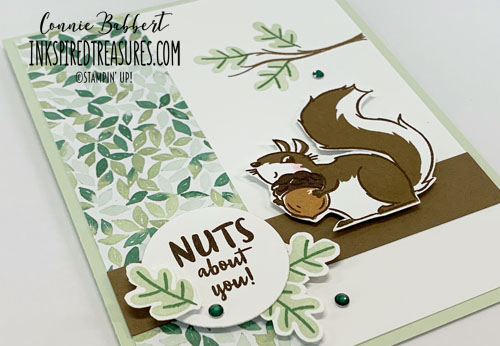
Again, it was hard to choose ONE designer paper to use, but I do LOVE all the colors and images in Stampin’ Up!’s new Cute Halloween Designer Paper Pack. I like that it has images you can cut or punch out!
Stampin’ Details:
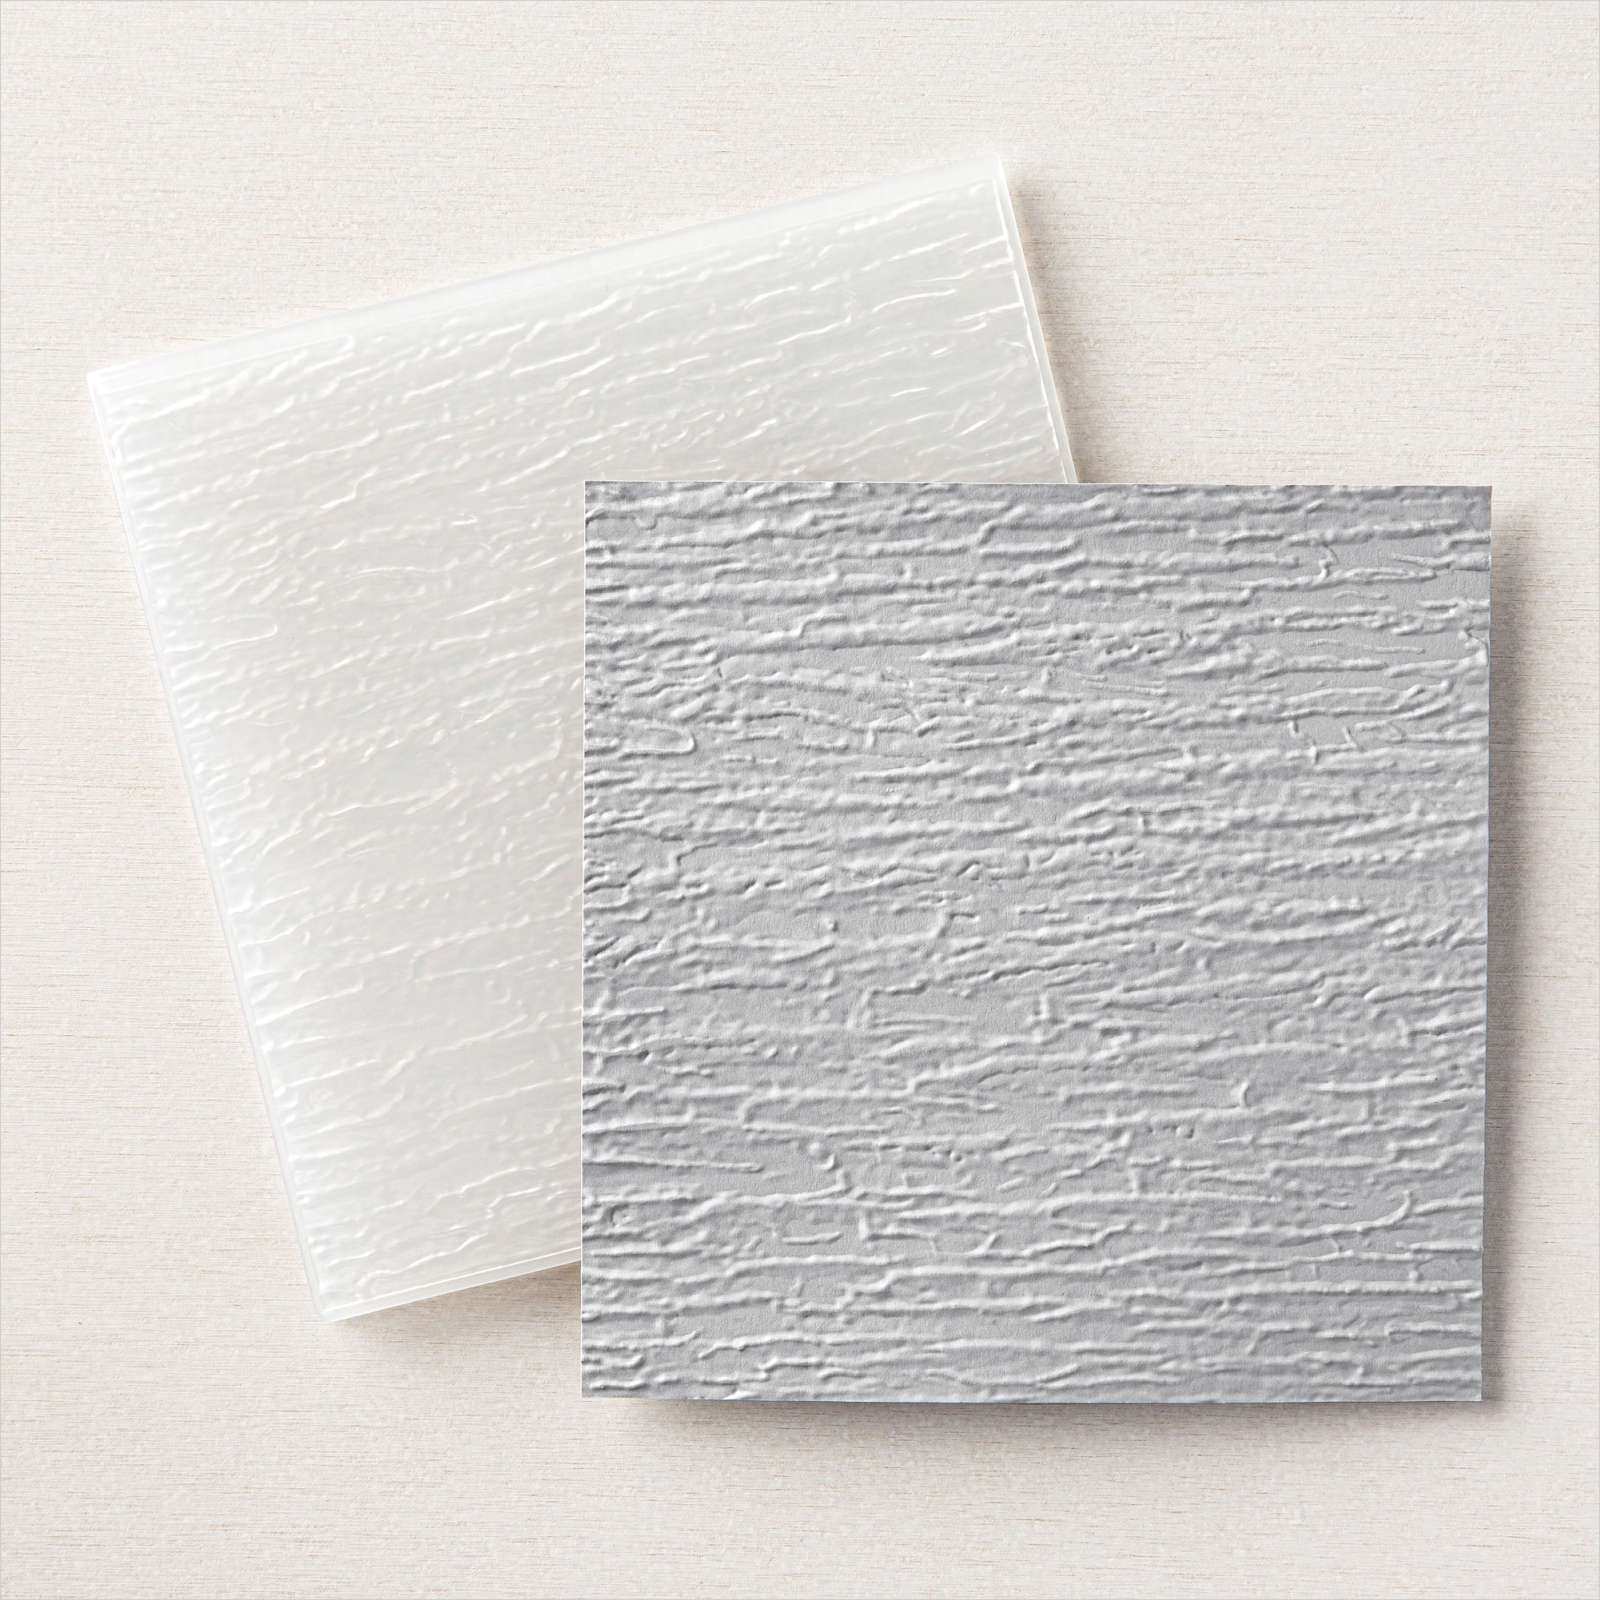
- The base is 4-1/4 x 11 Pumpkin Pie cardstock, scored at 5-1/2 and folded. The front was embossed with the Bark Embossing Folder.
- A 3-3/4 x 5 piece of Basic Black was added to the front.
- The 2-1/4 x 5 piece of Cute Halloween “Boo” DSP was added towards the left side on the front.
- Next a 1/4 x 4-1/4 strip of Highland Heather cardstock was added under the 1 x 4-1/4 strip of polka dot Cute Halloween DSP then was added across the bottom front.
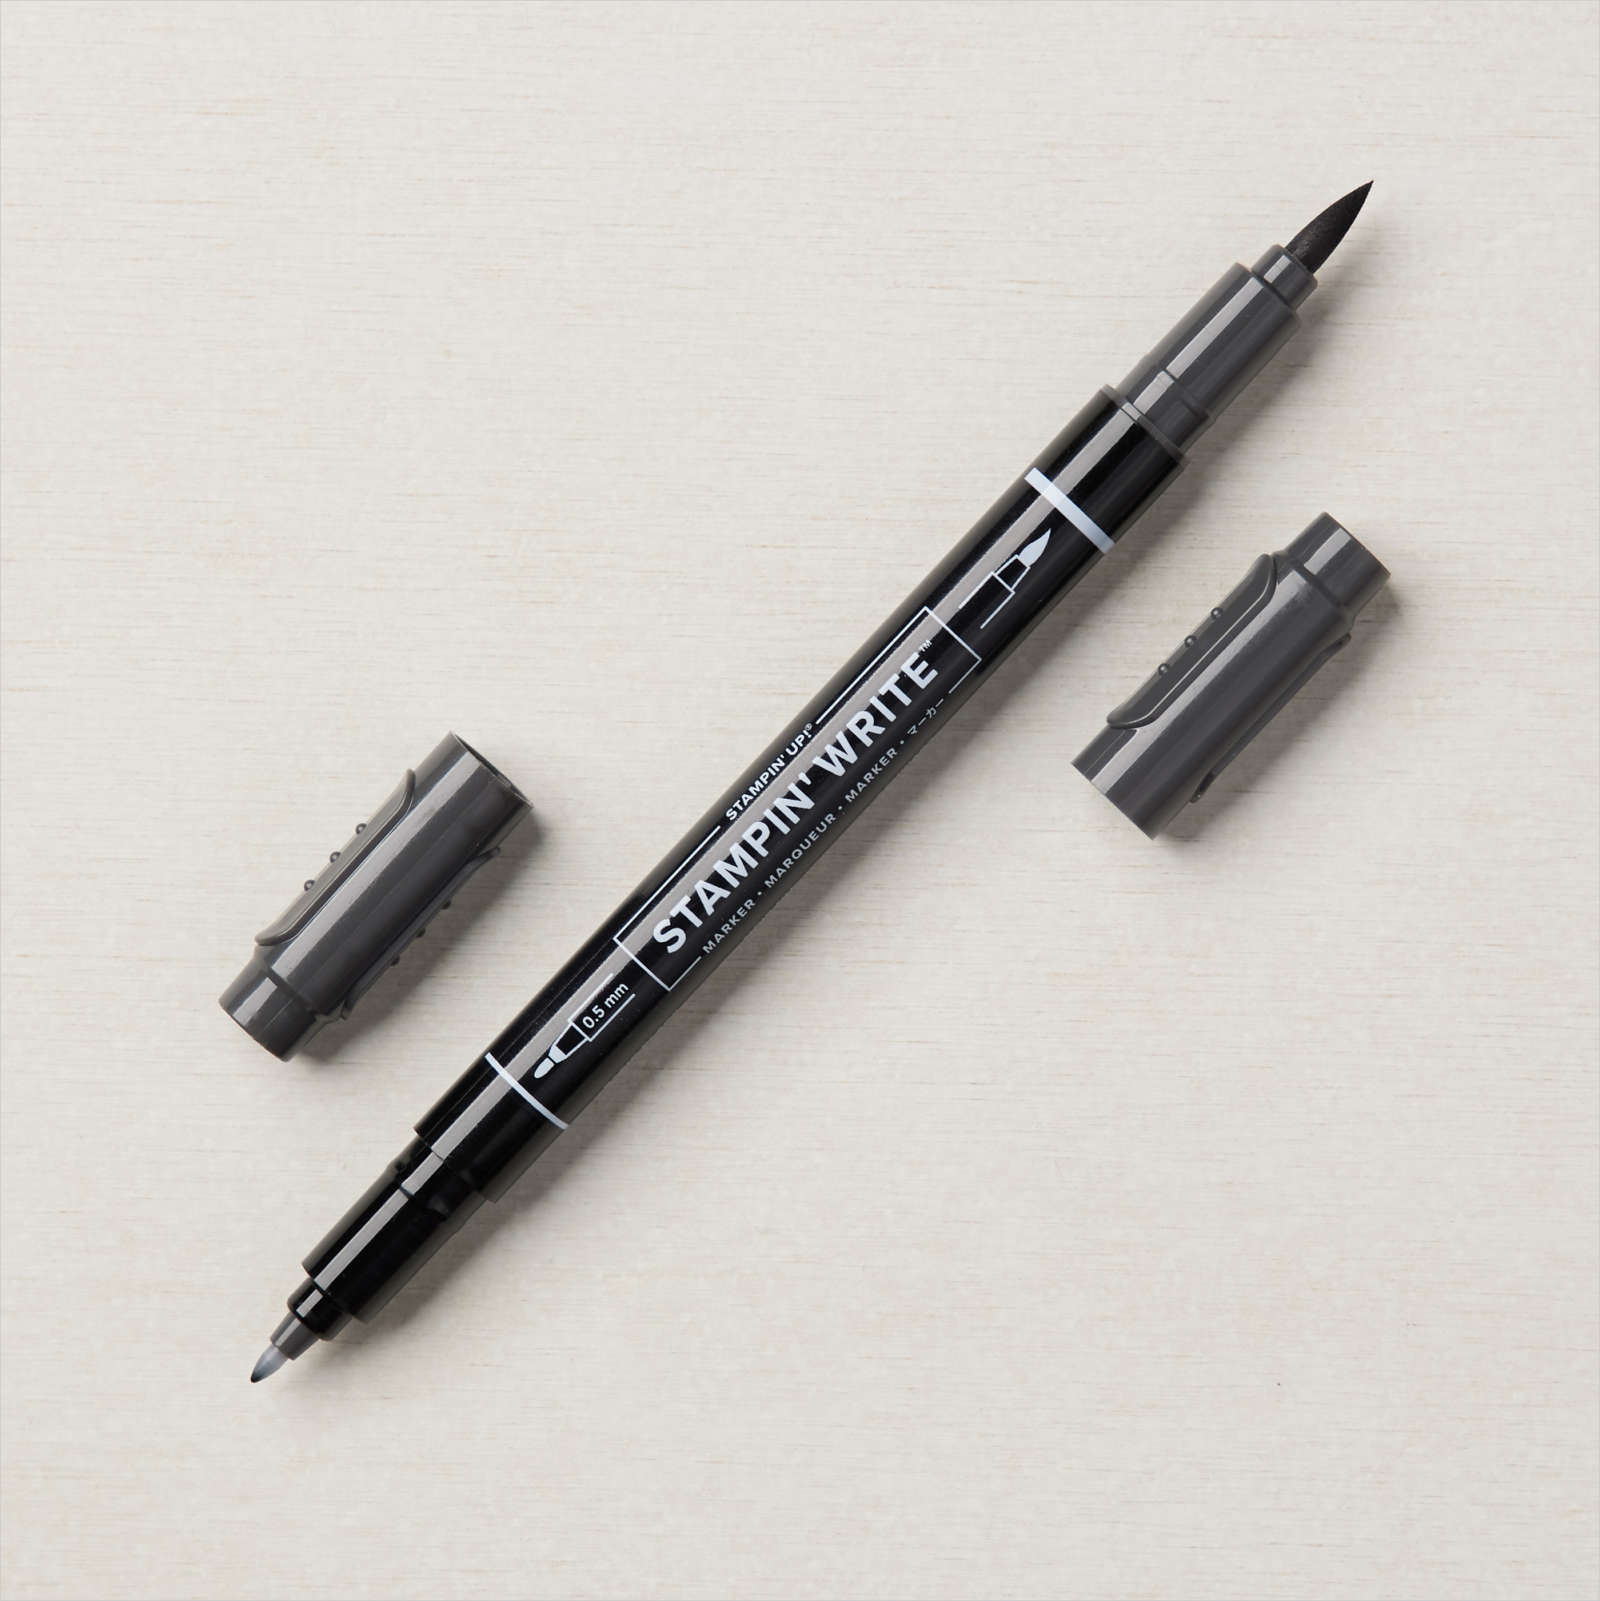
- A 2-1/2 scallop circle was cut with the Layering Circle Dies from Pumpkin Pie cardstock. A small dot was added to each of the scallops with a Black Stampin’ Write Marker.
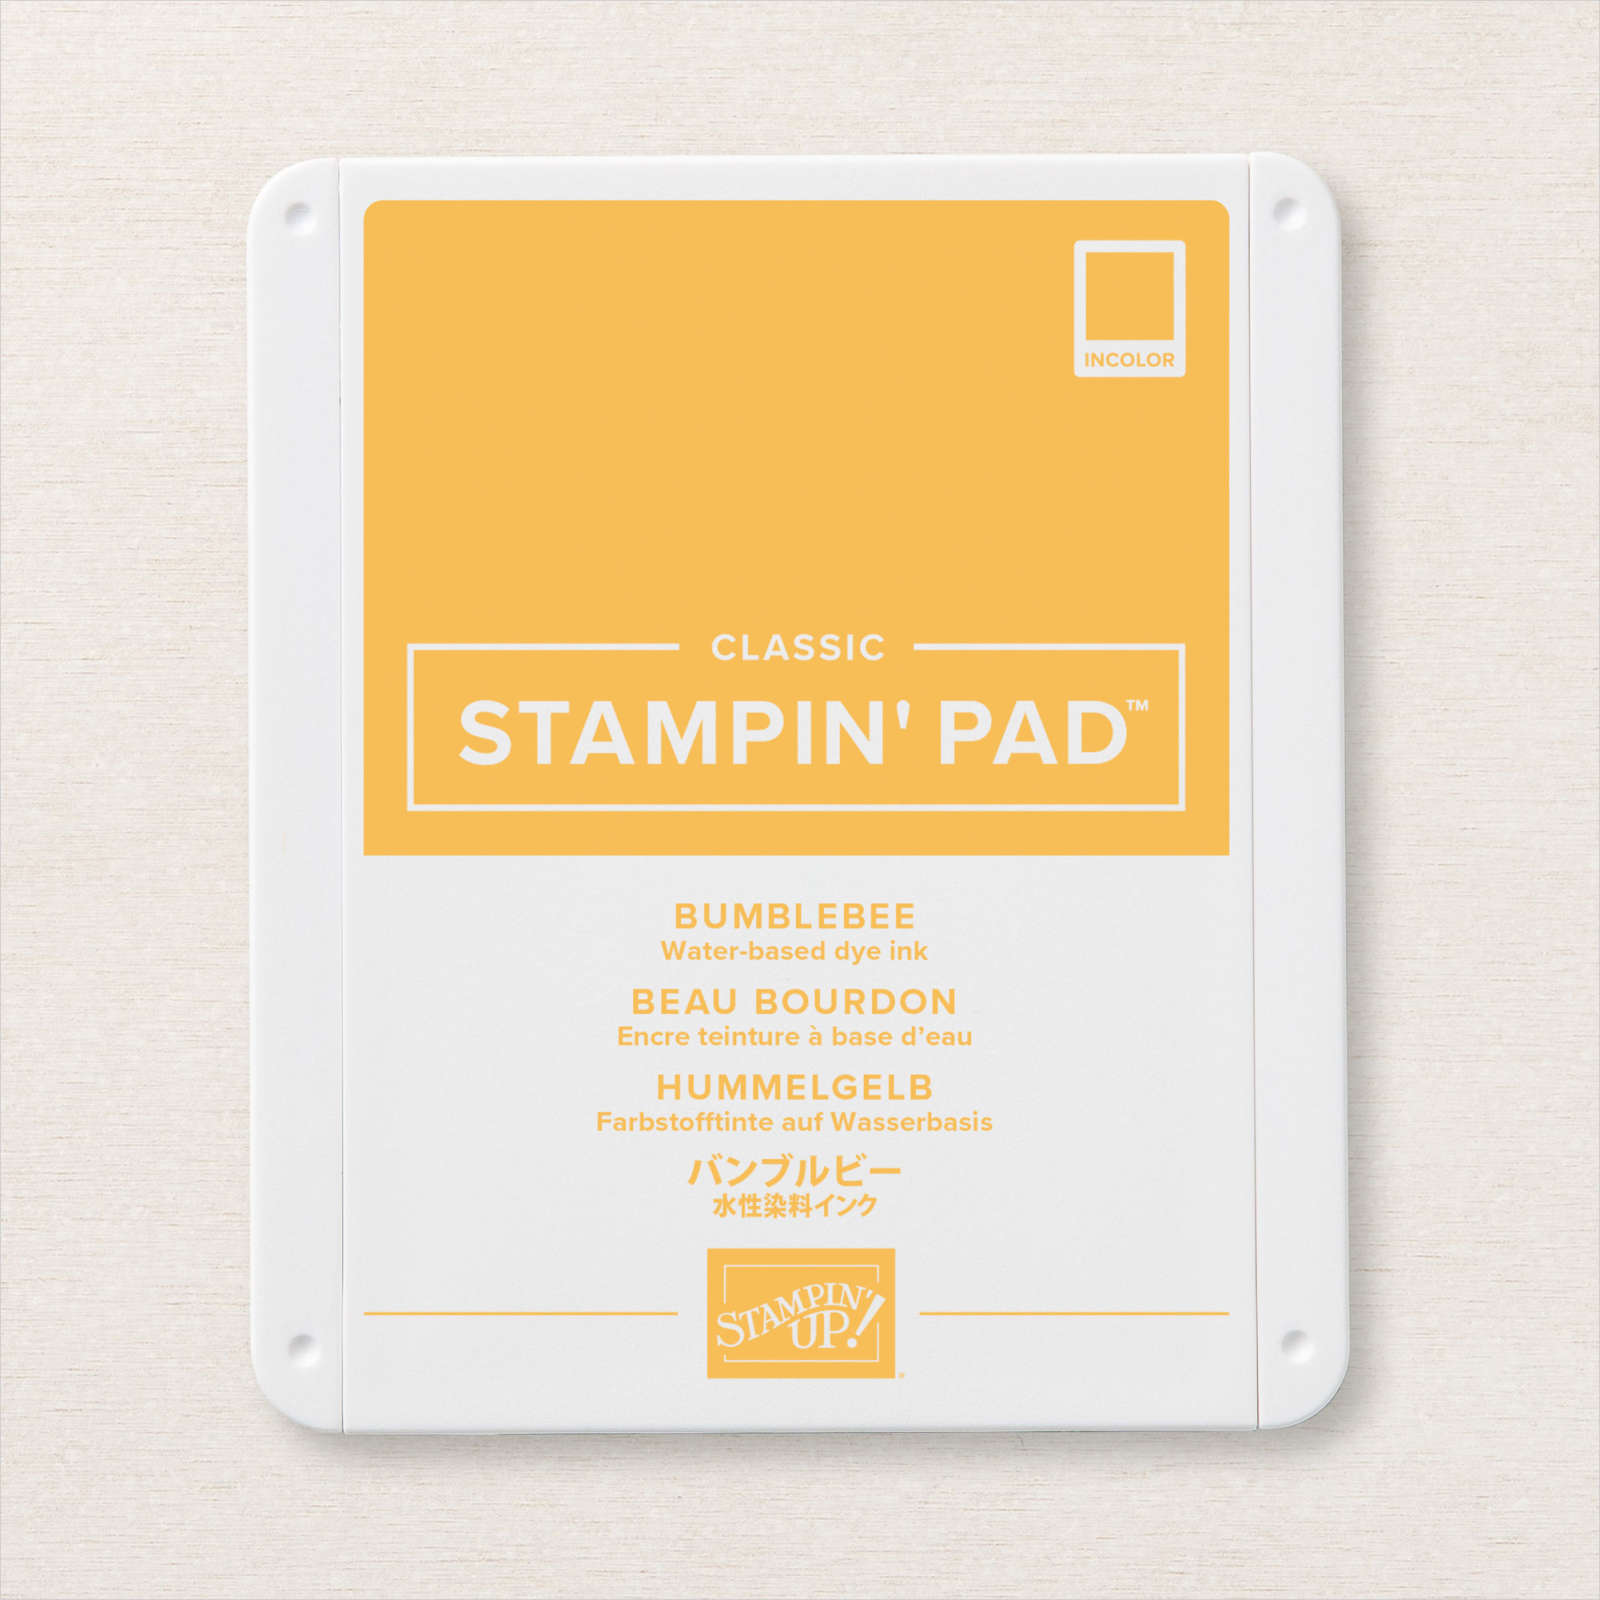
- Trick or Treat from Cutest Halloween stamp set was stamped with Pumpkin Pie Ink on scrap Basic White and cut with a smaller 2-1/8 Layering Circle. It was added to the scallop circle, then popped up on the front with Stampin’ Dimensionals.
- The ghost from the DSP was punched with the Halloween Punch and added to the circle with Stampin’ Dimensionals.
- The candy corn from Cutest Halloween stamp set was stamped with Pumpkin Pie Ink on scrap Basic White and hand-cut, then added to the circle with Stampin’ Dimensionals.
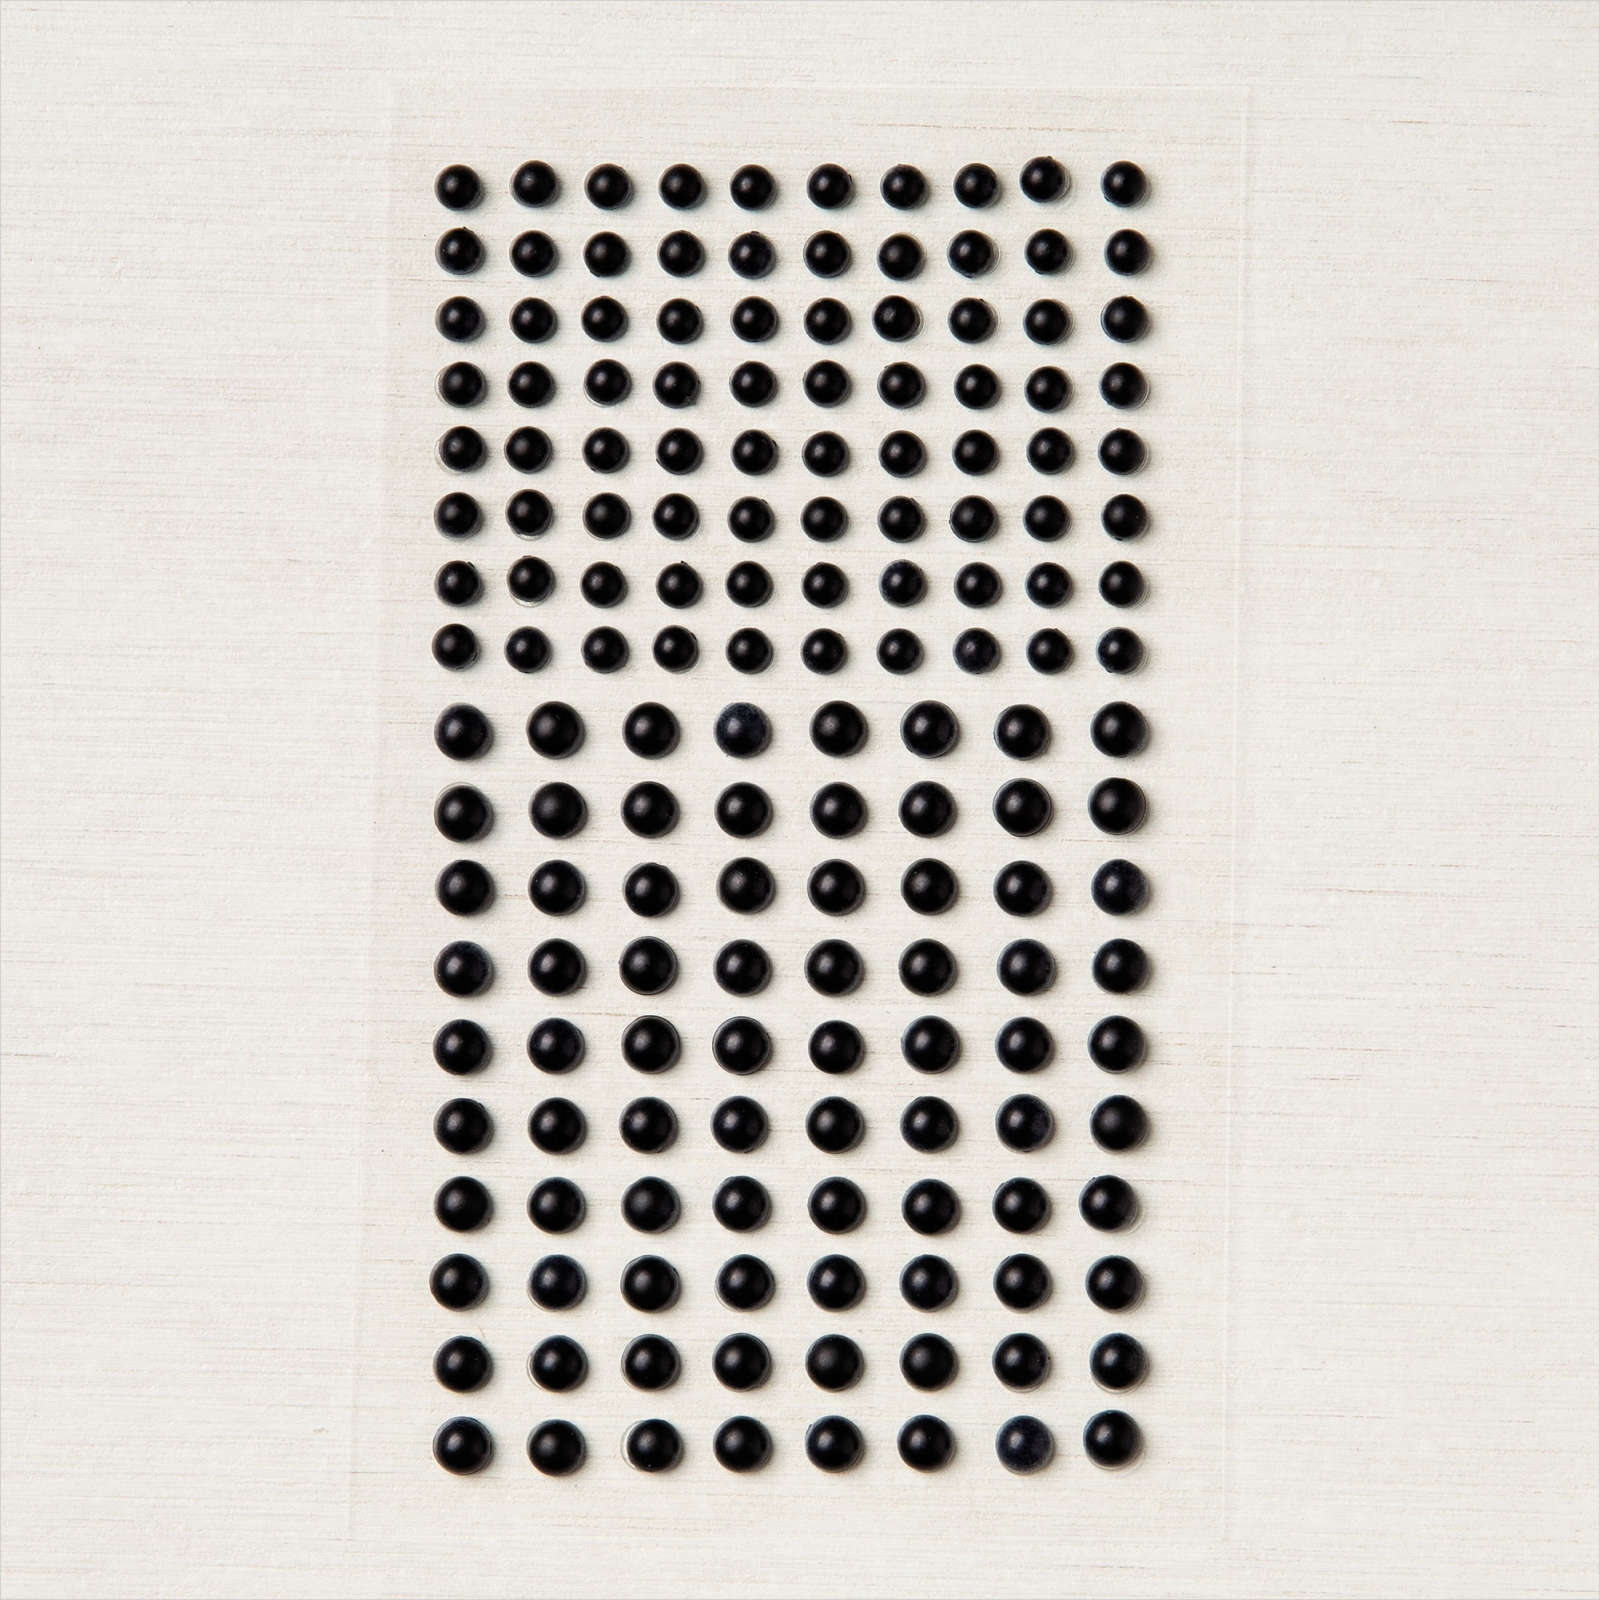
- Two Matte Black Dots were added to the circle.
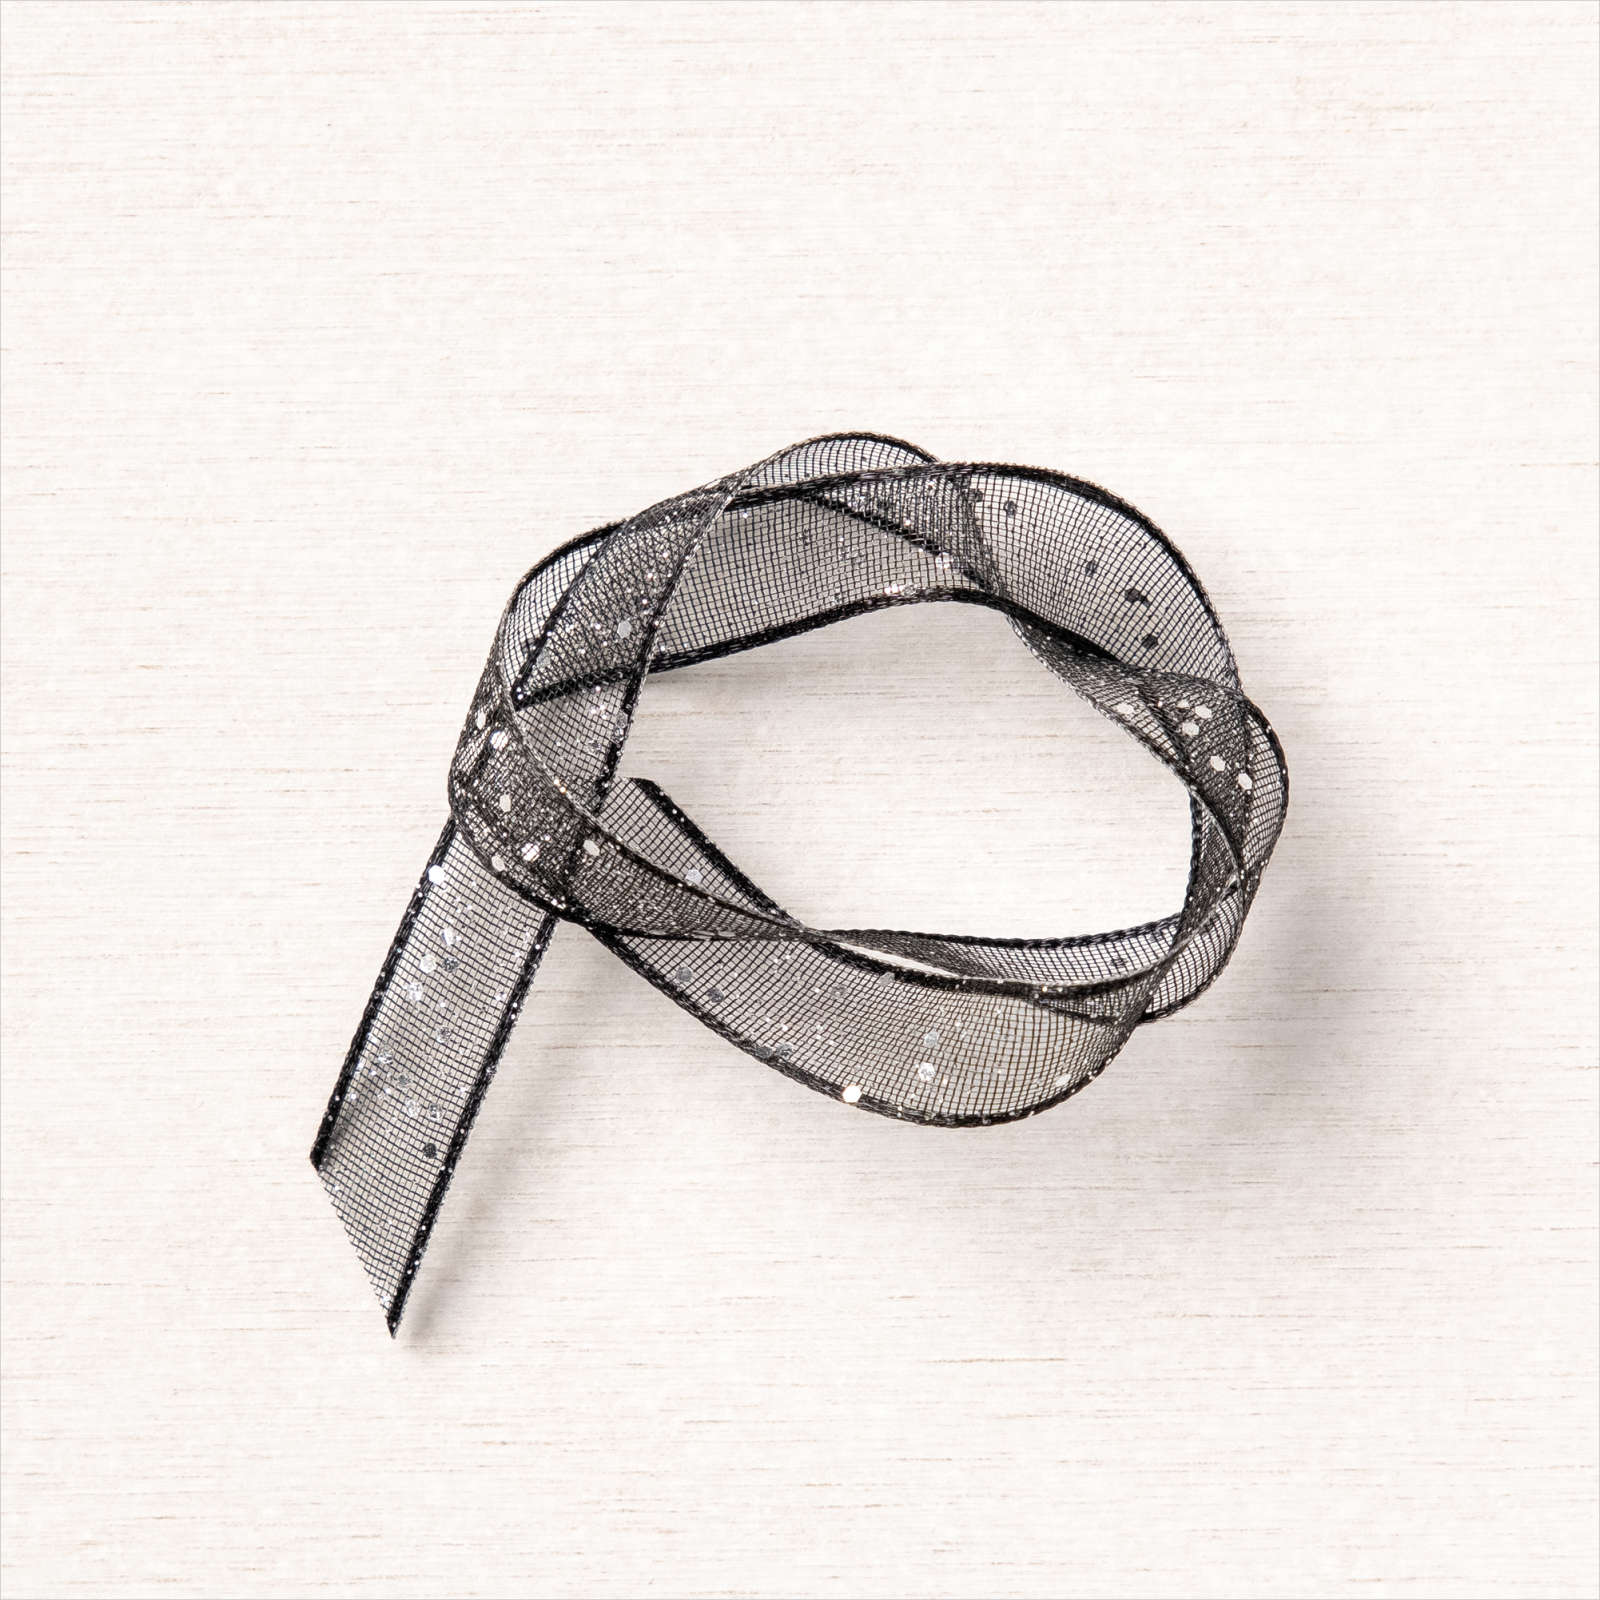
- Some Black Glittery Ribbon was tied in a bow, then added to the front with Mini Glue Dots.
Isn’t that just the CUTEST??? OK, next up on our blog hop is our Create with Connie and Mary website, then on to creative Mary Brown, or head backwards to see Melissa Davies’ fabulous project and see what everyone did with this challenge!


Create wonderful dimensional poinsettias in a variety of sizes with the PRETTY POINSETTIA BUNDLE! The dies cut and emboss at the same time for lots of detail and texture. The coordinating stamp images add fun seasonal greetings, sprigs and other festive touches to your cards and projects. We've combined the PRETTY POINSETTIA BUNDLE and the A STITCHED SEASON 12x12 DESIGNER PAPER for a traditional holiday look you'll love! You'll get step-by-step tutorials for SIX projects...FOUR cards and TWO favors in our PRETTY POINSETTIA COLLECTION! See more details HERE!
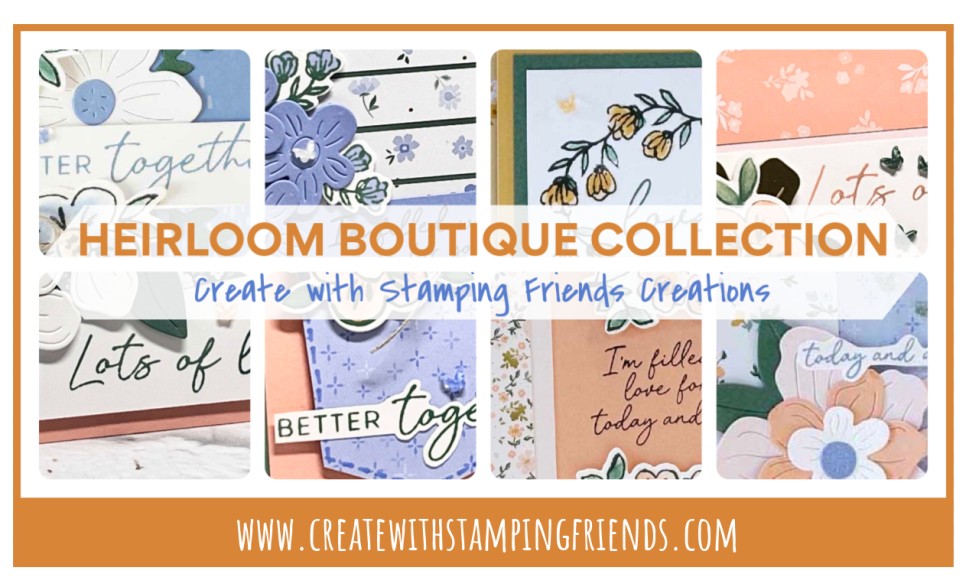
Bring your most meaningful memories to life with the HEIRLOOM BOUTIQUE BUNDLE. You’ll love how the coordinating stamps and dies add delicate florals, layered details, and heartfelt sentiments to your cards, scrapbook pages, and handmade gifts. These timeless designs will help you turn every project into a keepsake to share and cherish. We've combined the HEIRLOOM BOUTIQUE BUNDLE and the BLOOMS BOUTIQUE 12x12 DESIGNER PAPER for a soft artistic look! You'll get EIGHT step-by-step tutorials for EIGHT cards in our HEIRLOOM BOUTIQUE COLLECTION! See more details HERE!
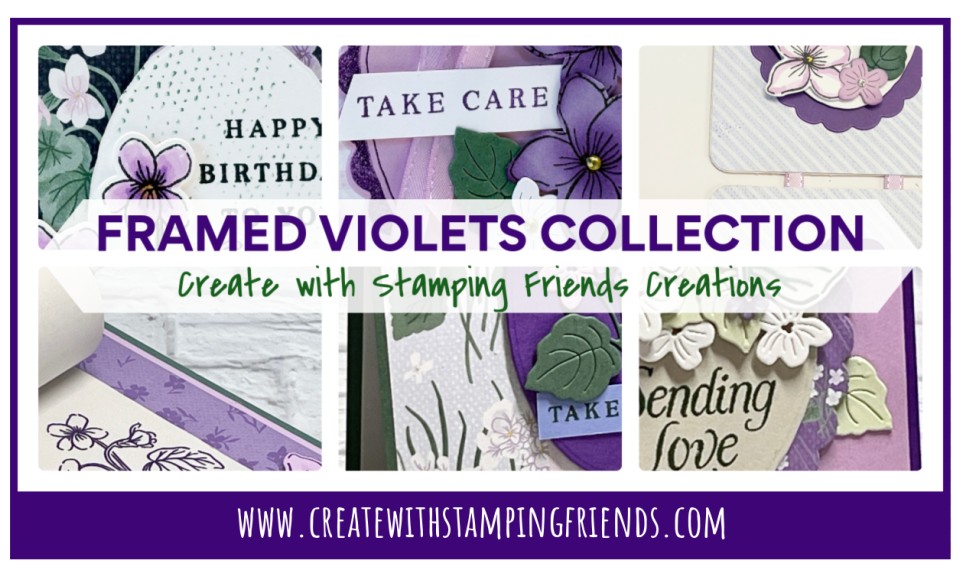
Stamp a bunch of violets quickly with the line-drawn images in Stampin' Up!'s FRAMED VIOLETS BUNDLE (available for customers beginning July 1st). Layer them together easily and add a die-cut oval, some accent florals and leaves for extra texture and subtle details. Everyday greetings give a finished level of polish. We've combined the FRAMED VIOLETS BUNDLE and the VIOLET DREAMS 12x12 DESIGNER PAPER for an eye-catching cohesive look! You'll get SIX step-by-step tutorials for FOUR regular cards and TWO small 3D projects in our FRAMED VIOLETS COLLECTION! See more details HERE!